Source: Applied Consultation Society

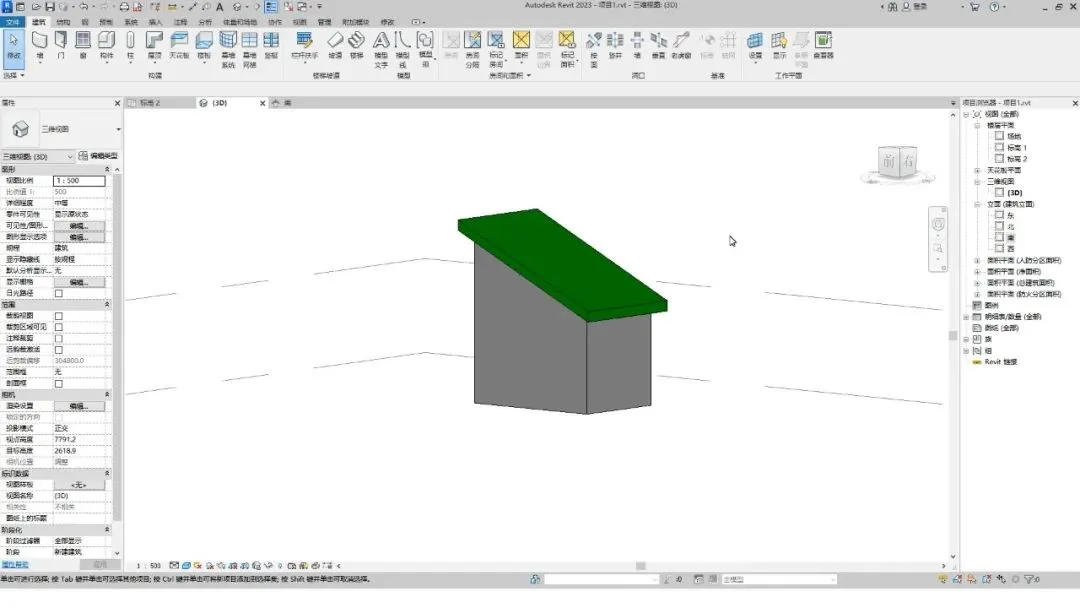
There are two main methods for drawing sloping roofs like the one shown above.
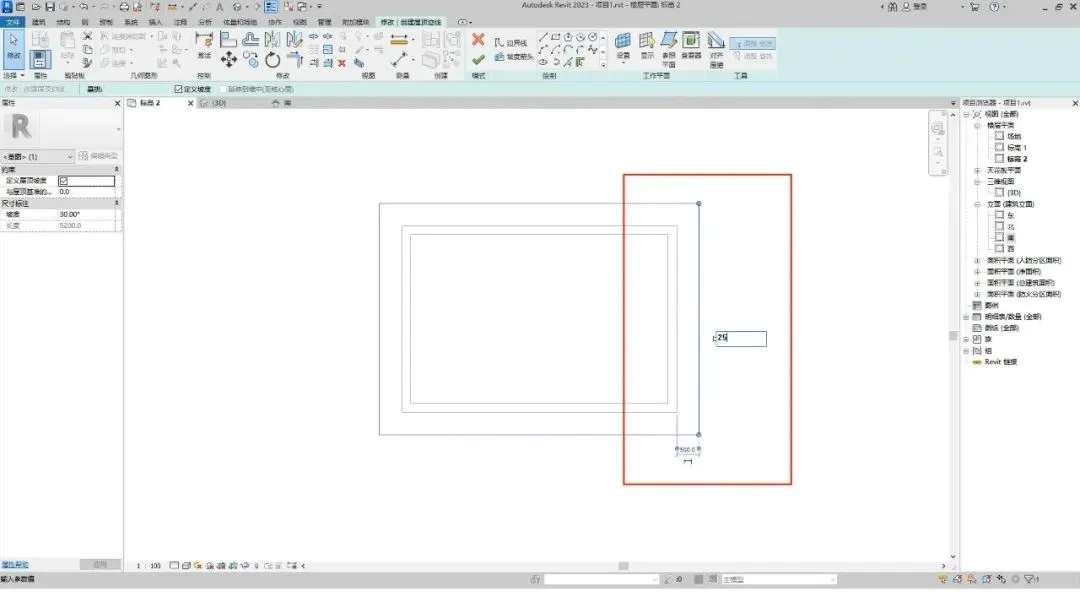
Method 1: Defining the Slope
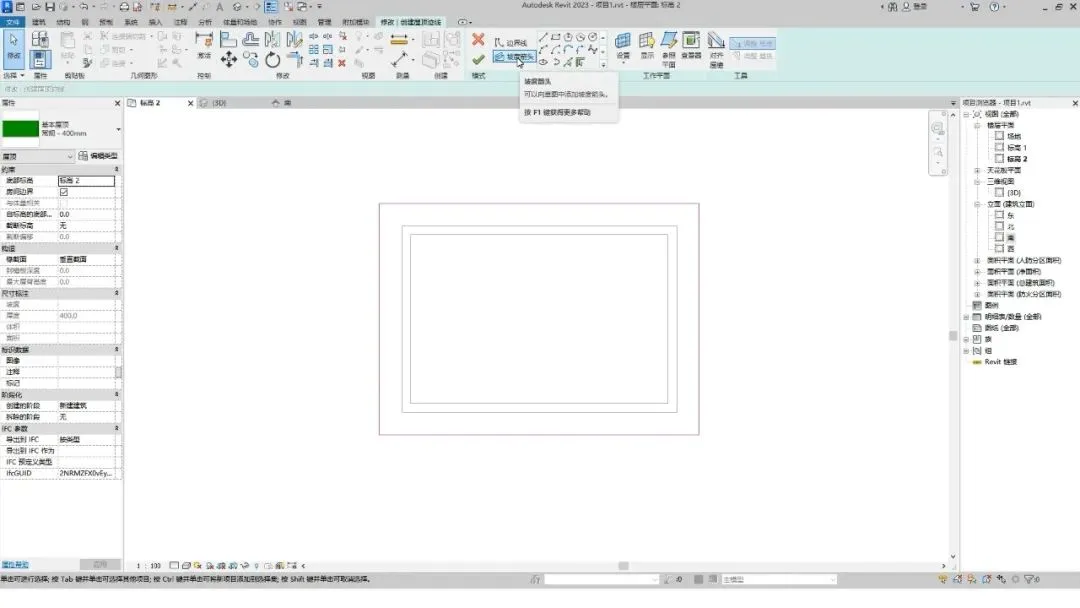
Start by clicking the Roof button under the Build tab.
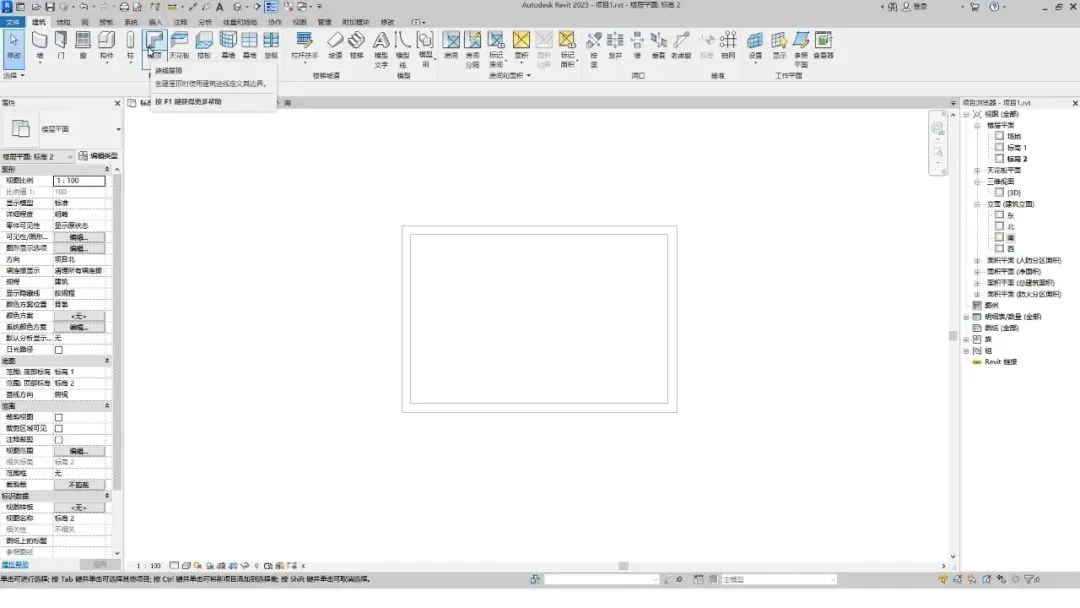
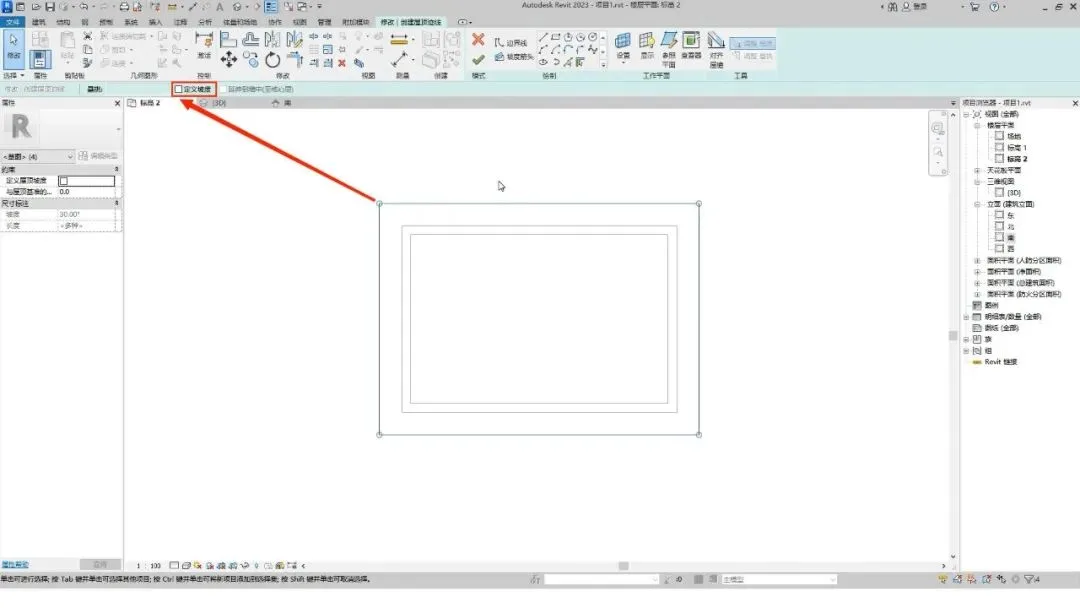
Choose the Rectangle tool.
In the options bar, set the Offset value to 500, then draw the roof footprint.
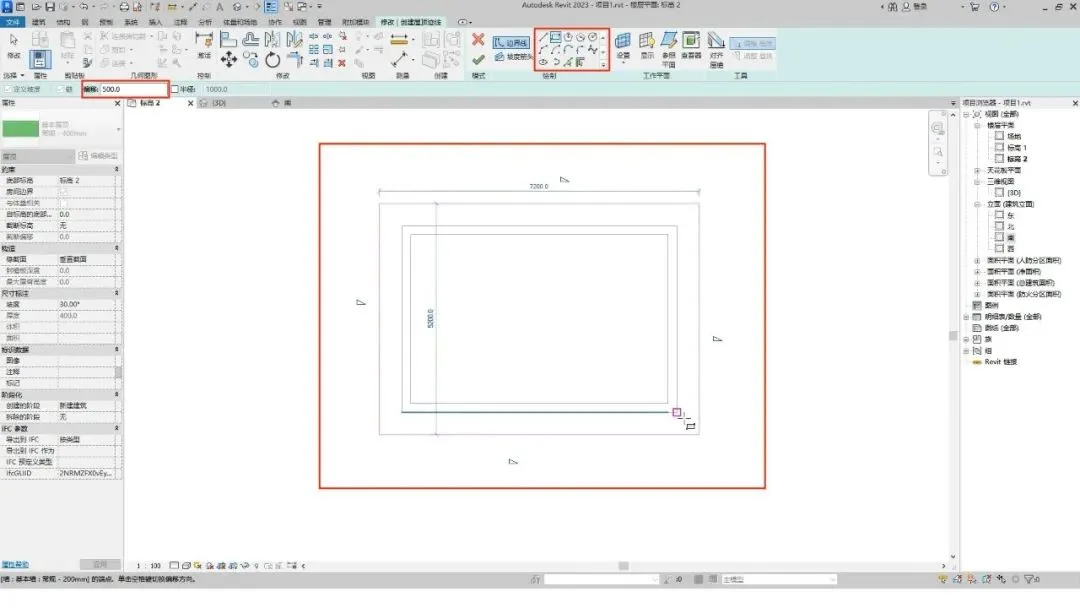
Next, cancel the slope definition on three of the roof edges.
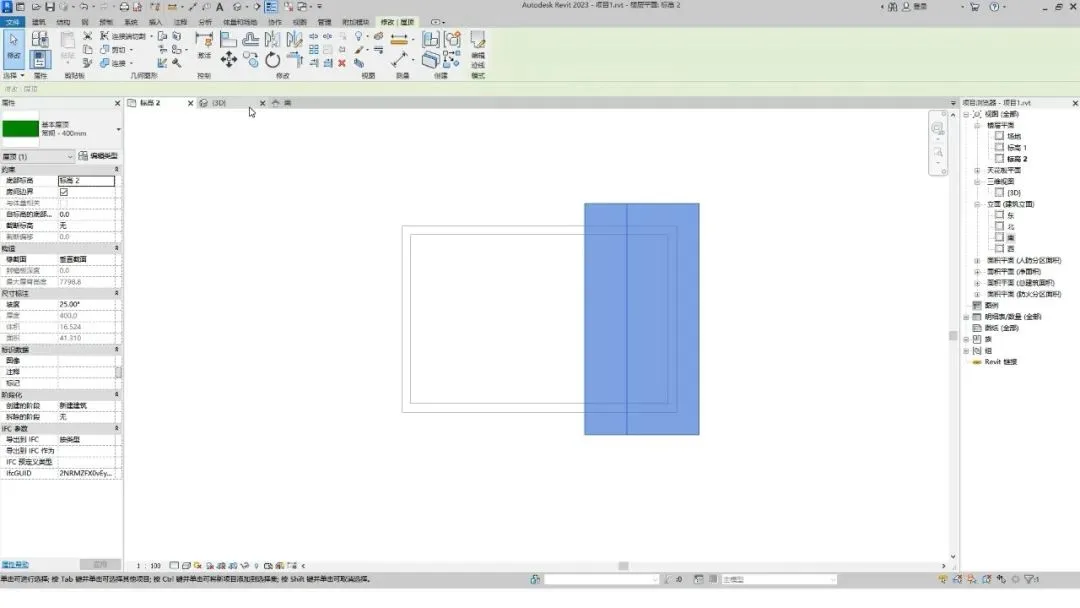
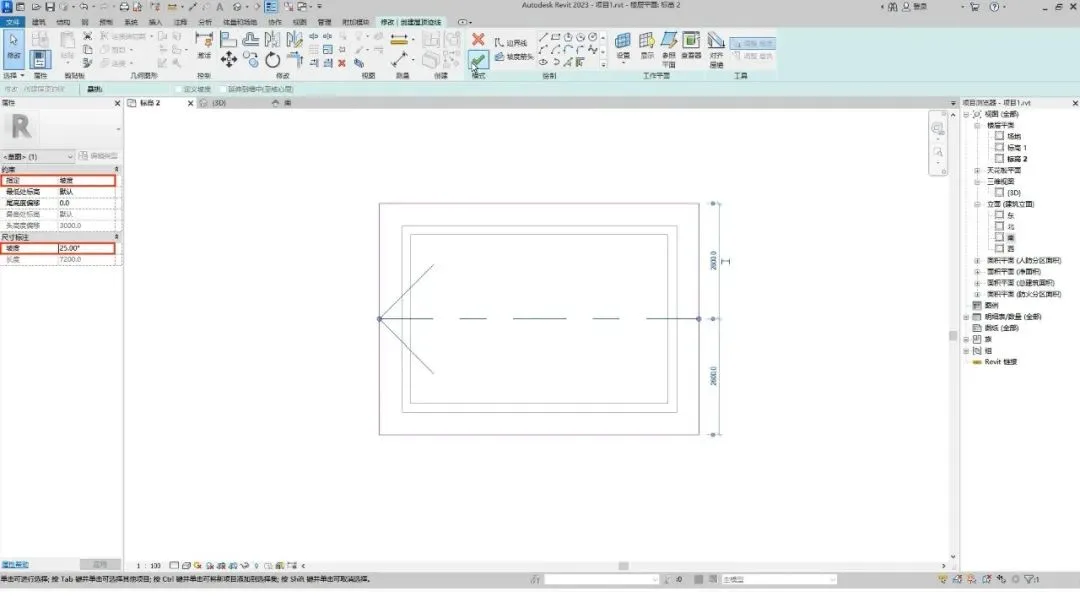
Then, assign a slope of 25 degrees to the line on the right side.
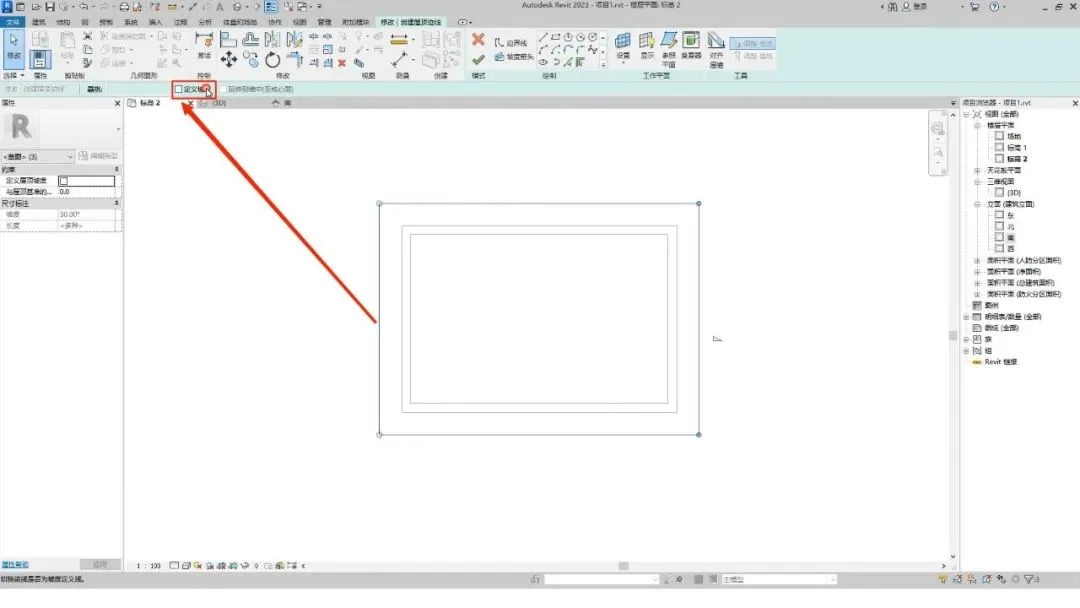
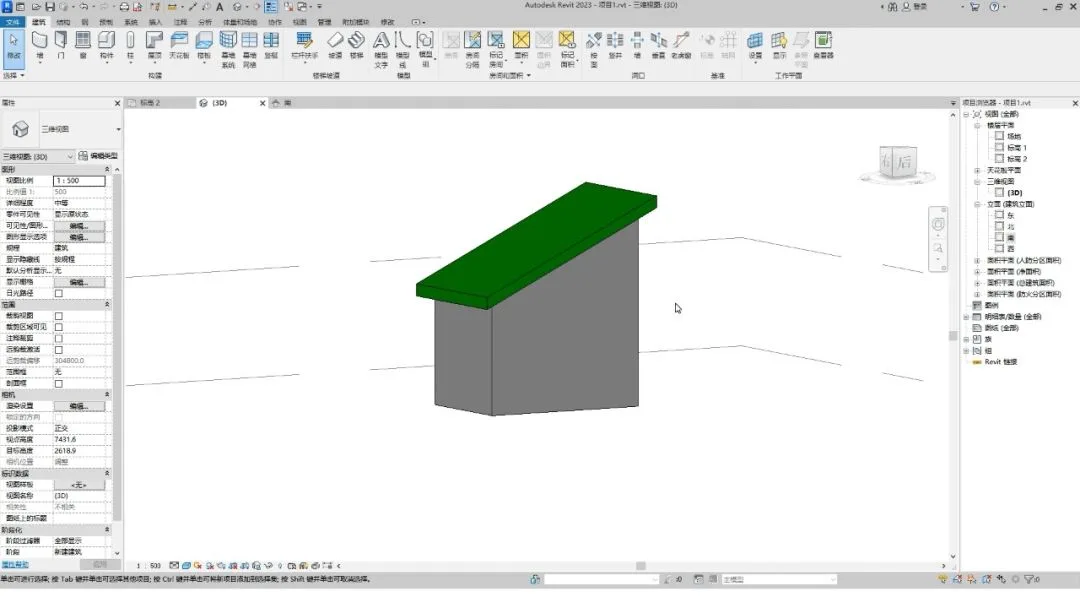
Click the Finish button to switch to the 3D view.
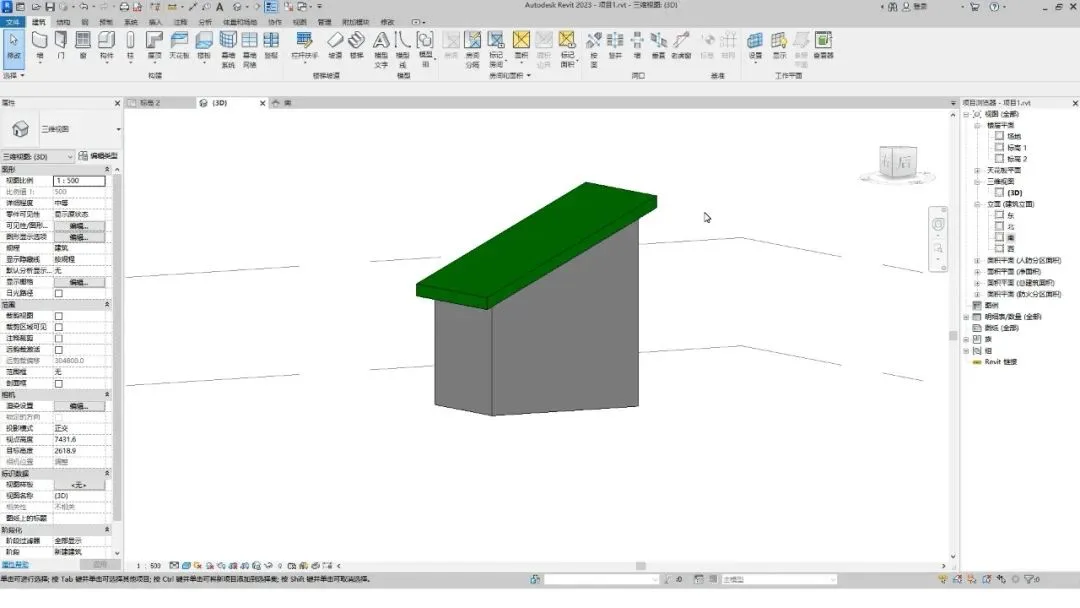
Select all walls and attach them to the roof.
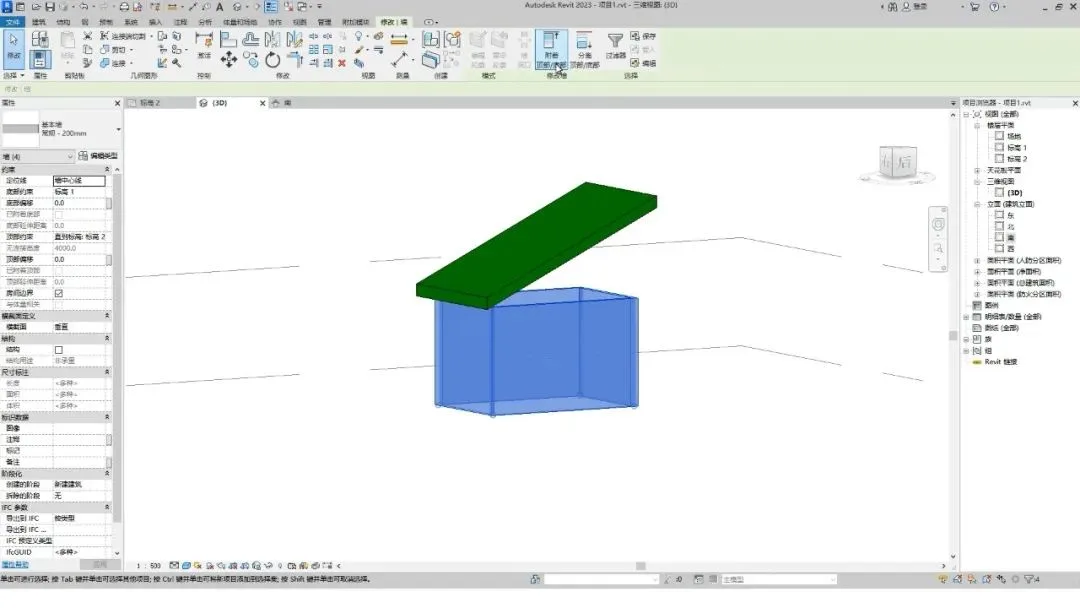
That completes the first method.
Method 2: Using the Slope Arrow
Begin by drawing the roof footprint, then remove all defined slopes.
Click the Slope Arrow button, then draw a slope arrow on the edge where you want to define the slope, following the direction of the slope.
In this example, slope arrows are drawn from right to left.
Set the slope value to 25 in the properties panel, then click Finish.
Switch to the 3D view, attach the walls to the roof, and the process is complete.


Must log in before commenting!
Sign Up