Source: Applied Consultation Society

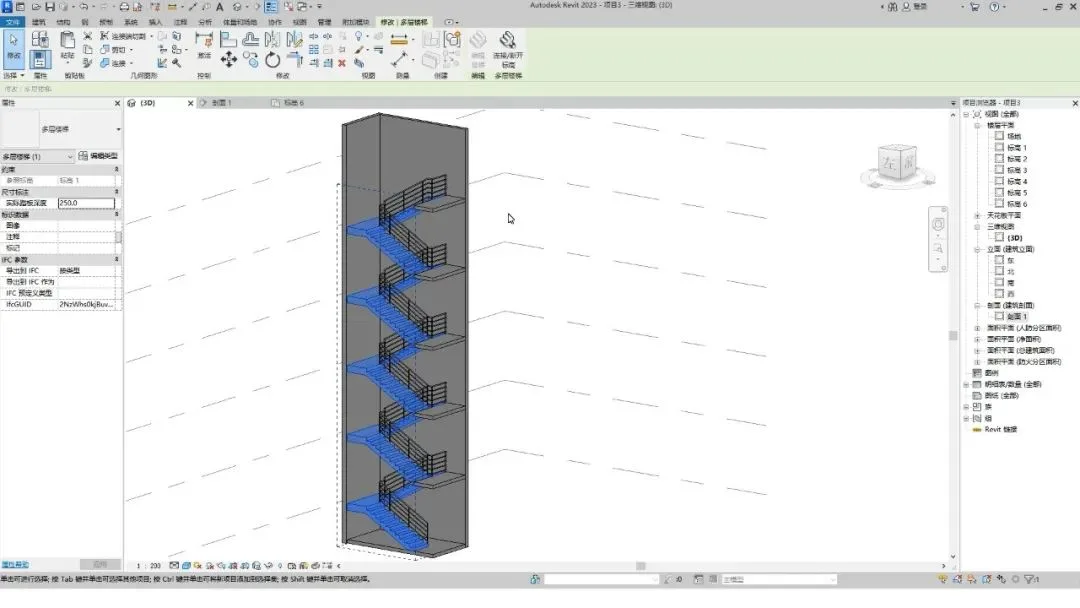
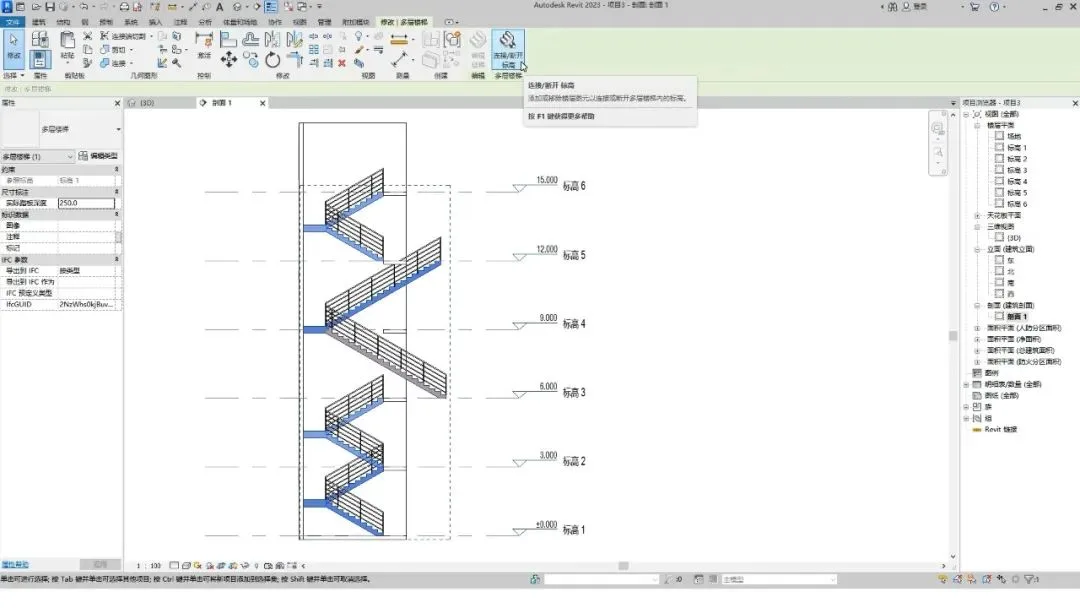
In high-rise buildings, there are many floors. After designing the stairs for the first floor, how can you automatically generate stairs for all the other floors? With Revit, it only takes a single step to accomplish this.
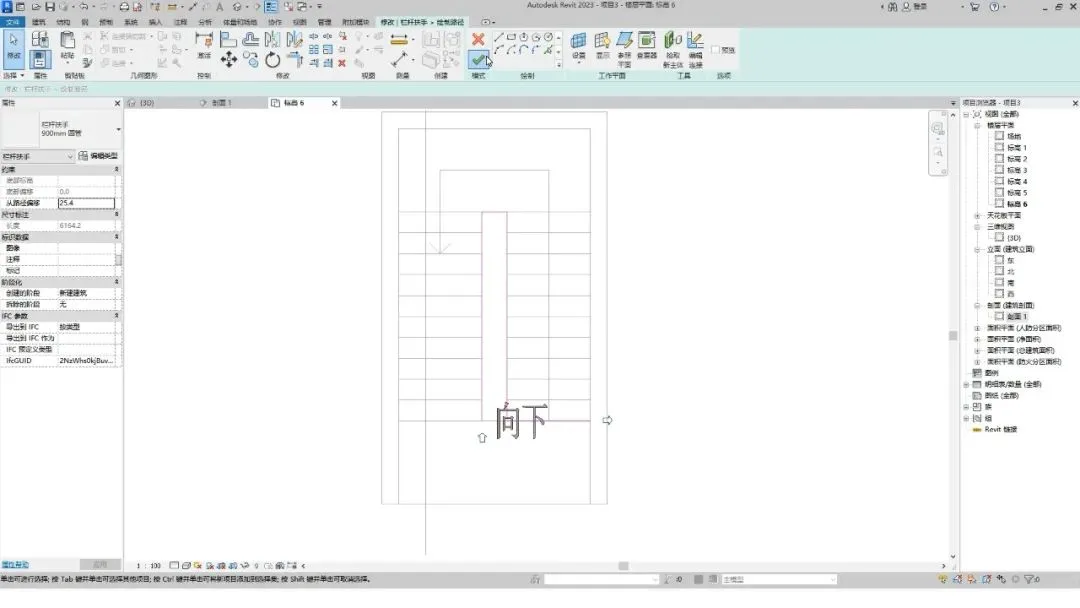
First, select the staircase and click the Select Elevation button located in the Modify panel.
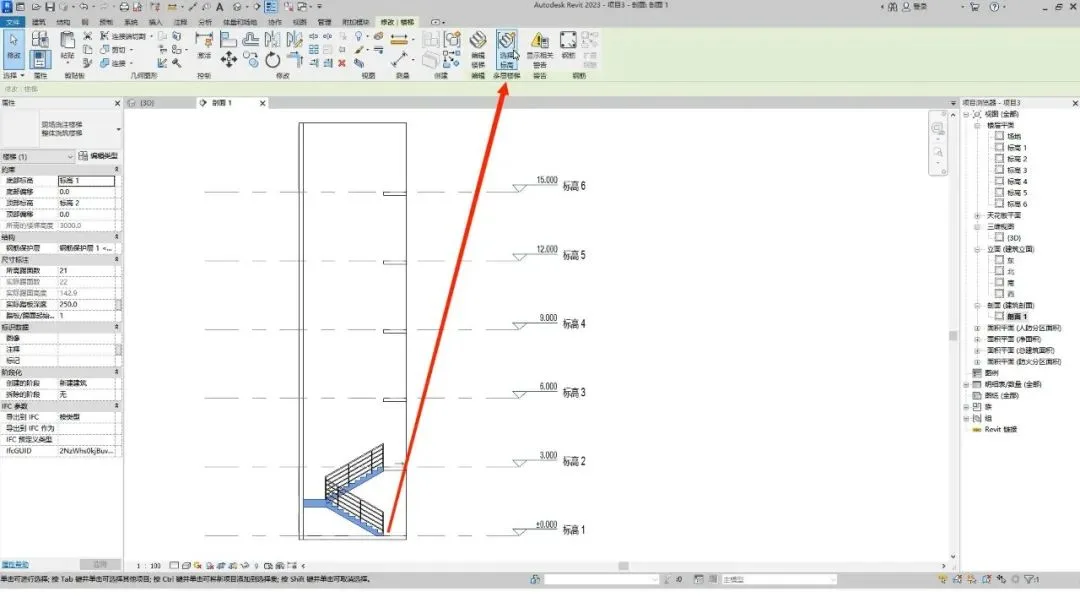
Next, choose the elevation where you want the stairs to be generated.
You can also customize your selection by clicking the Finish button once you’re satisfied.
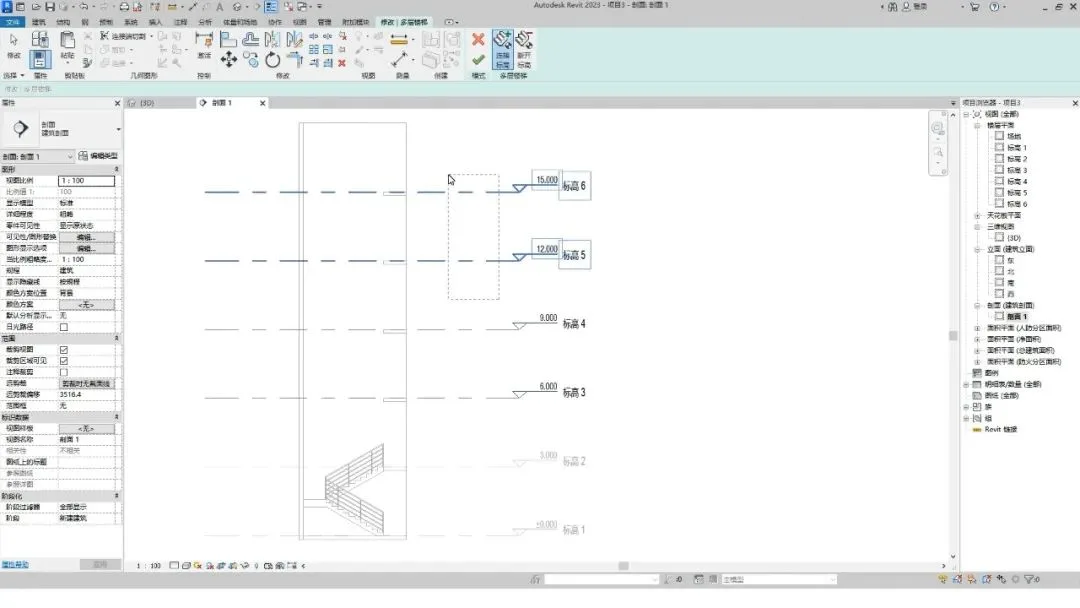
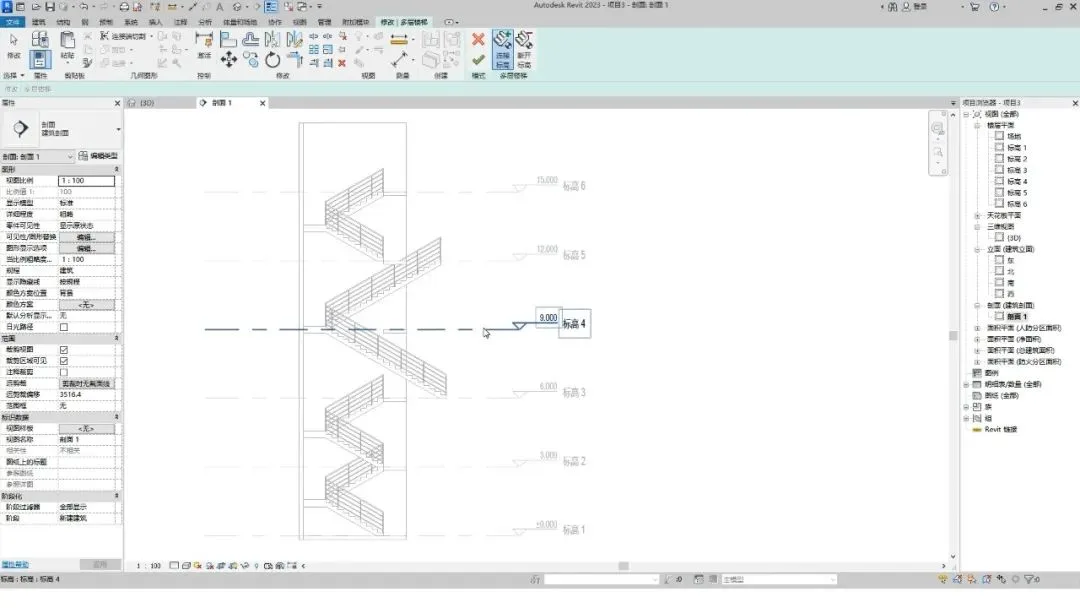
If you accidentally miss an elevation or select multiple elevations after completing the drawing, don’t worry.
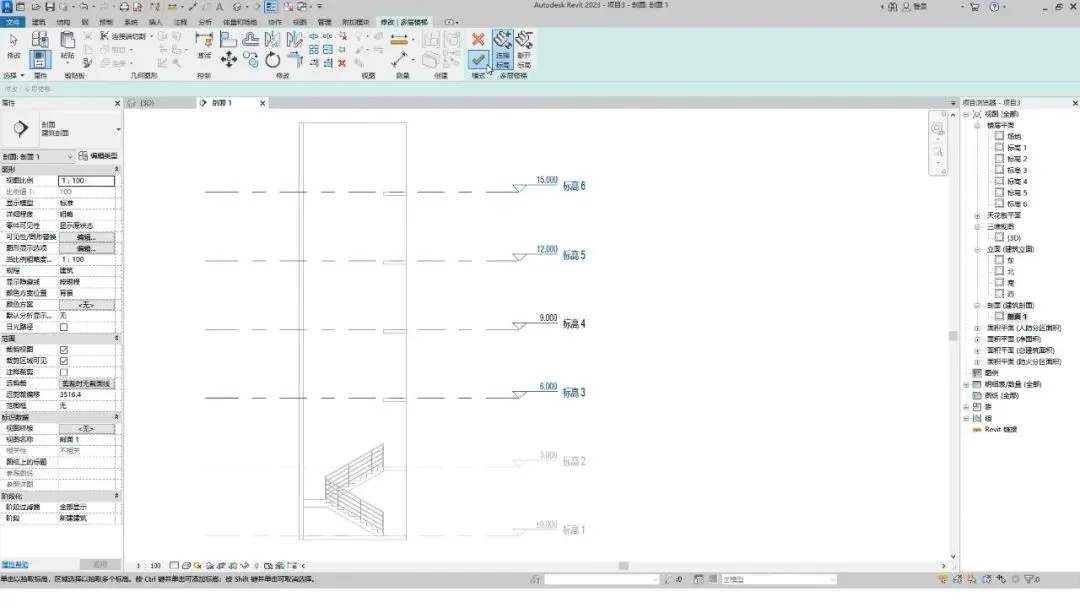
You can simply select the stairs again and click the Connection or Elevation button in the Modify panel to make adjustments.
Here, we use the connection feature: click on the elevation to modify it, then click the Finish button.
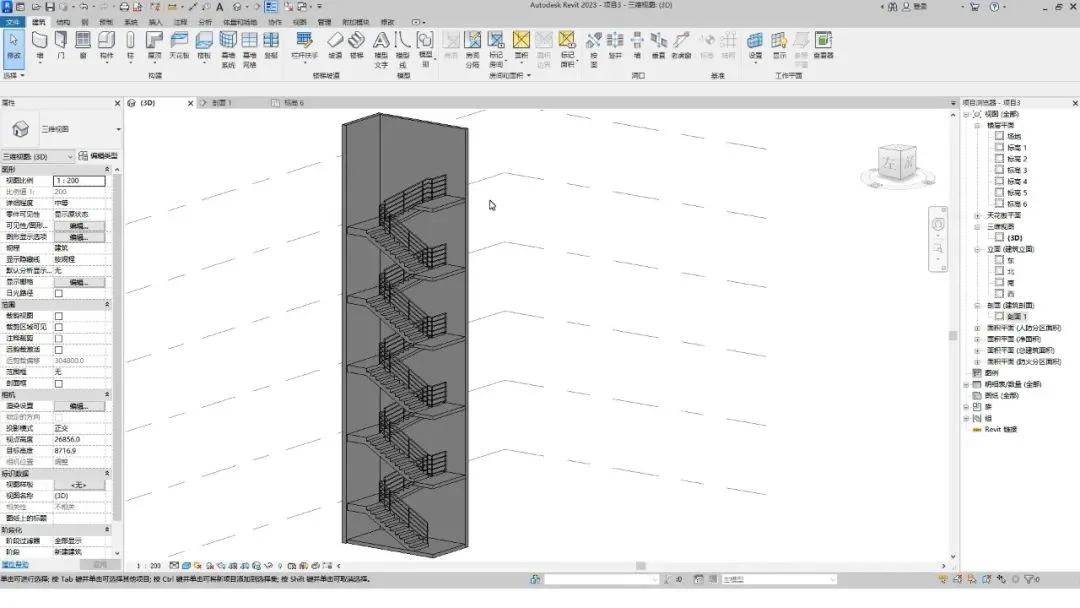
Next, select the railing and click the Edit Path button.
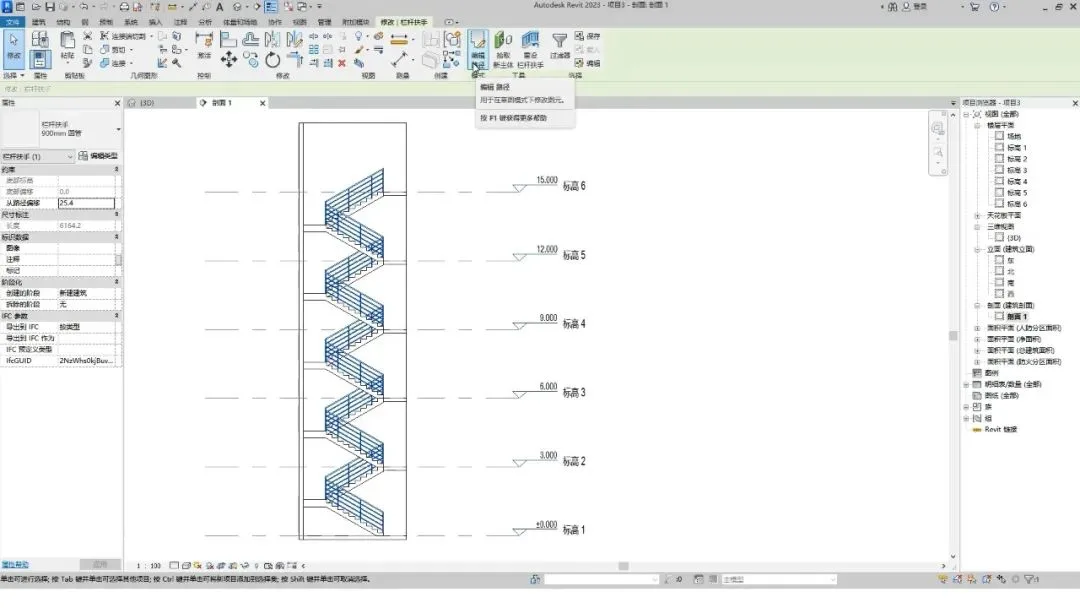
Switch to the highest elevation plan view to continue.
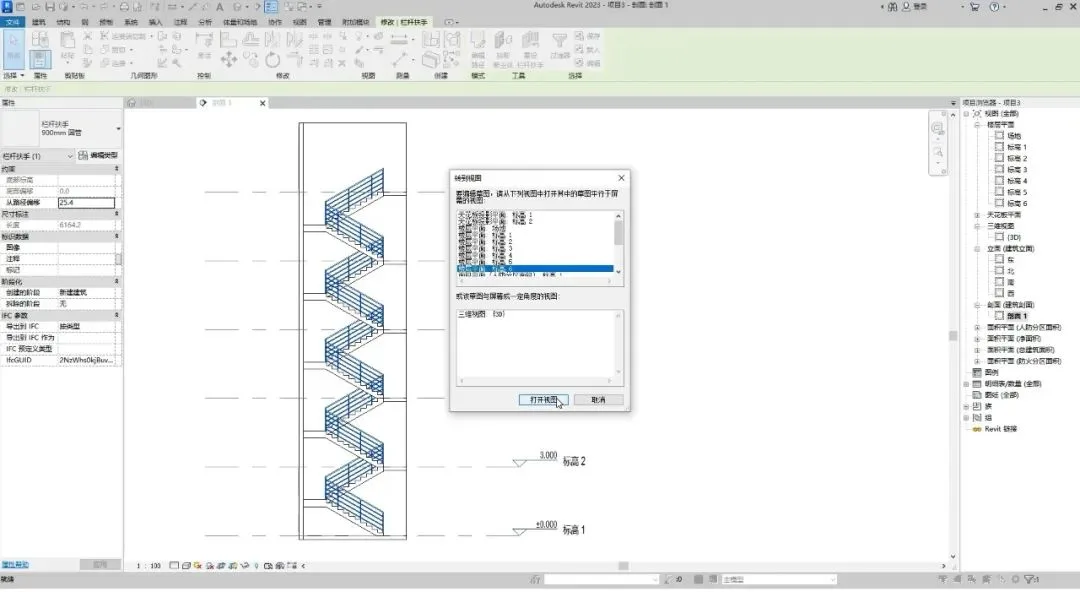
Add a railing to the top staircase, then click the Finish button.
Finally, switch to the 3D view to review the completed multi-story staircase.


Must log in before commenting!
Sign Up