BIM World
A Professional BIM Learning Platform


Mastering BIM: How to Easily Draw and Replace Irregular Curtain Wall Panels in Revit in Two Simple Steps

Article source: Applied Consultation Society

BIM skills | How to draw and replace irregular curtain wall panels in Revit? It can be done in two steps!

In this tutorial, we will show you how to draw and replace irregular curtain wall panels in Revit in just two simple steps.

BIM skills | How to draw and replace irregular curtain wall panels in Revit? It can be done in two steps!

Step 1: Draw the irregular curtain wall panels.

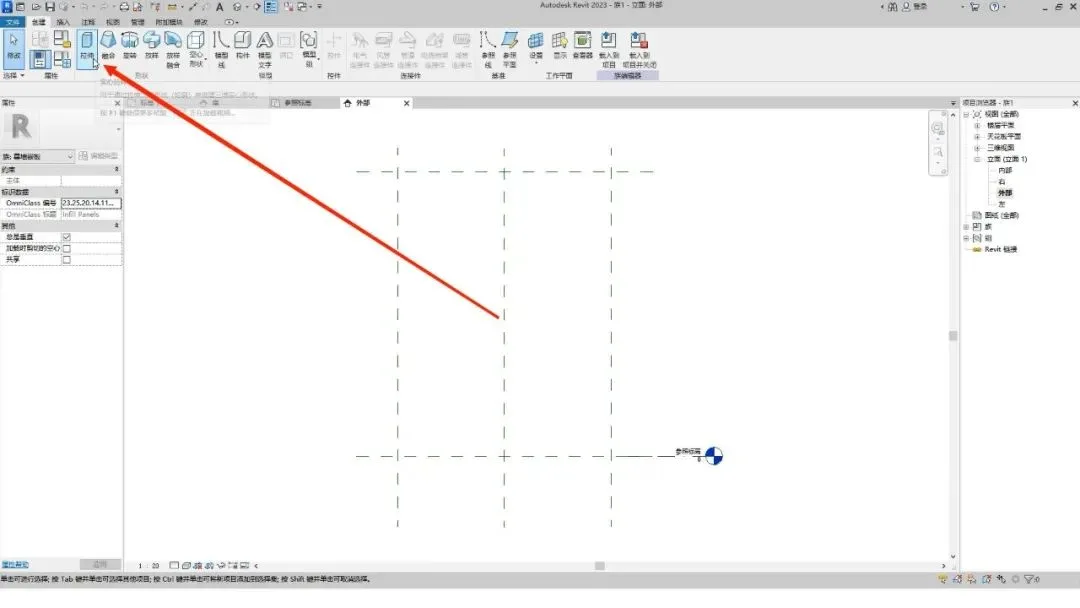
Start by clicking on the File menu and creating a new family.

BIM skills | How to draw and replace irregular curtain wall panels in Revit? It can be done in two steps!

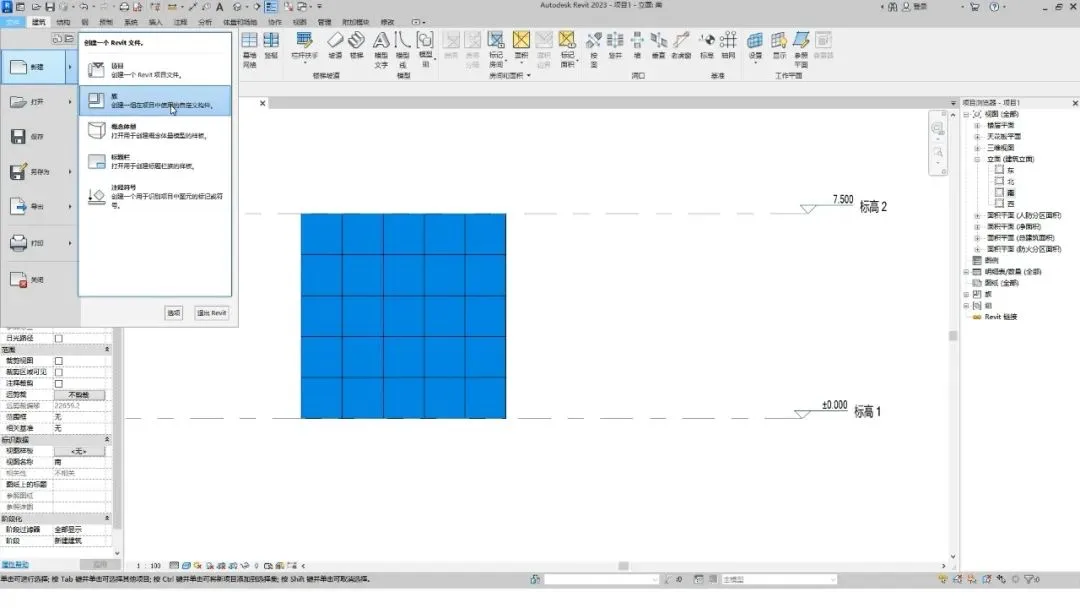
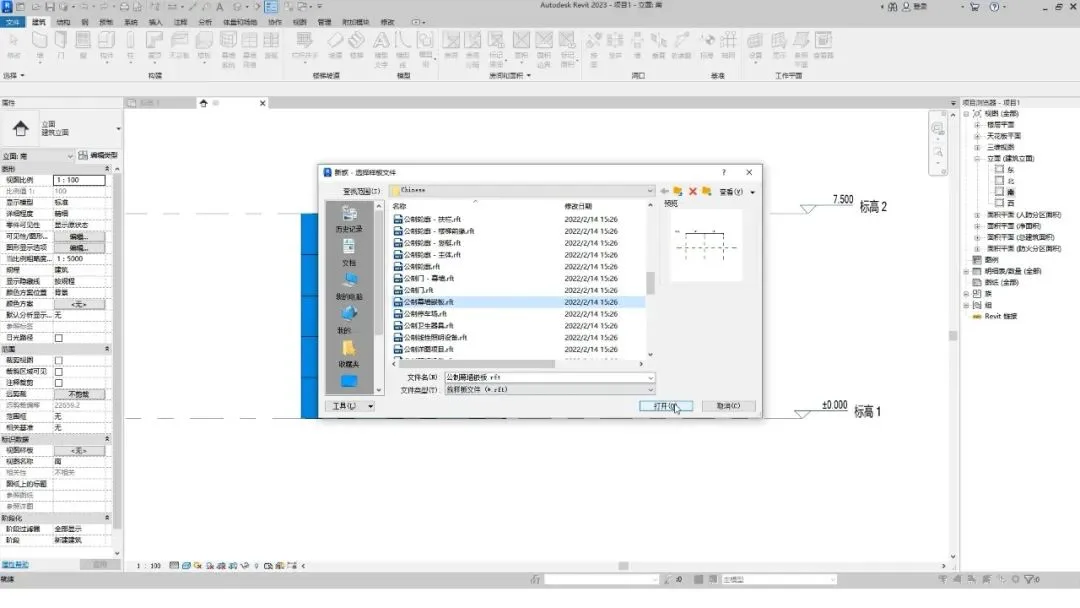
Locate and open the Metric Curtain Wall Panel template.

BIM skills | How to draw and replace irregular curtain wall panels in Revit? It can be done in two steps!

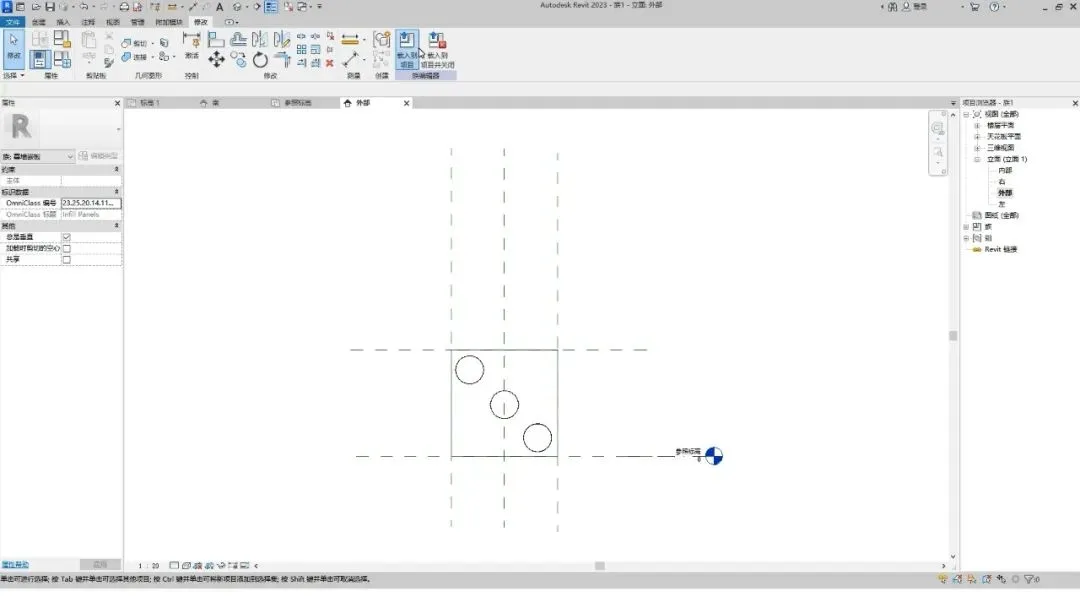
Switch to the elevation view.

BIM skills | How to draw and replace irregular curtain wall panels in Revit? It can be done in two steps!

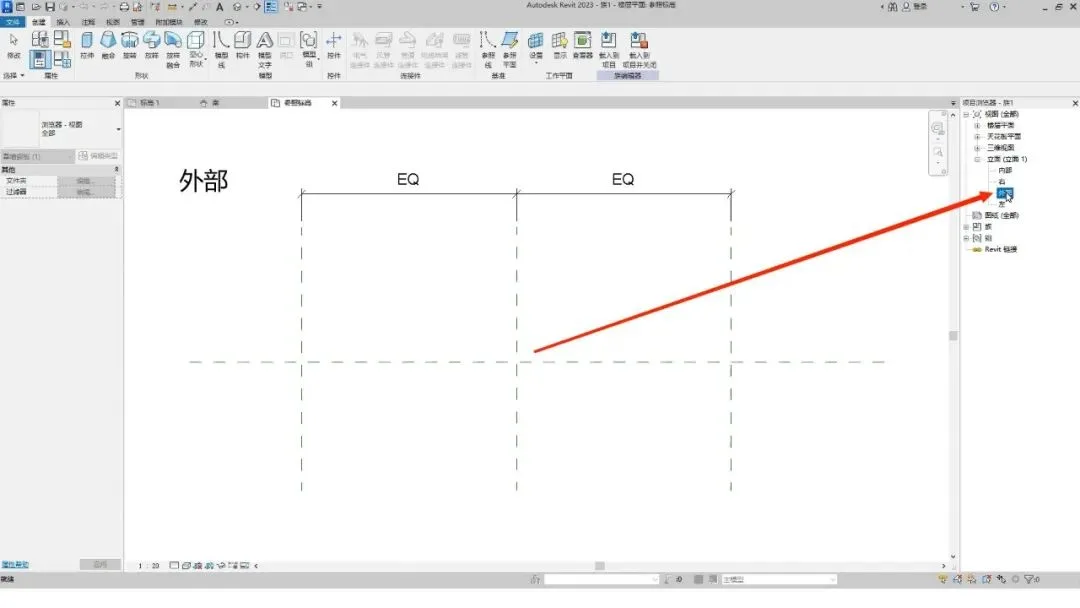
Use the stretch tool to shape the irregular curtain wall panel according to your design.

BIM skills | How to draw and replace irregular curtain wall panels in Revit? It can be done in two steps!

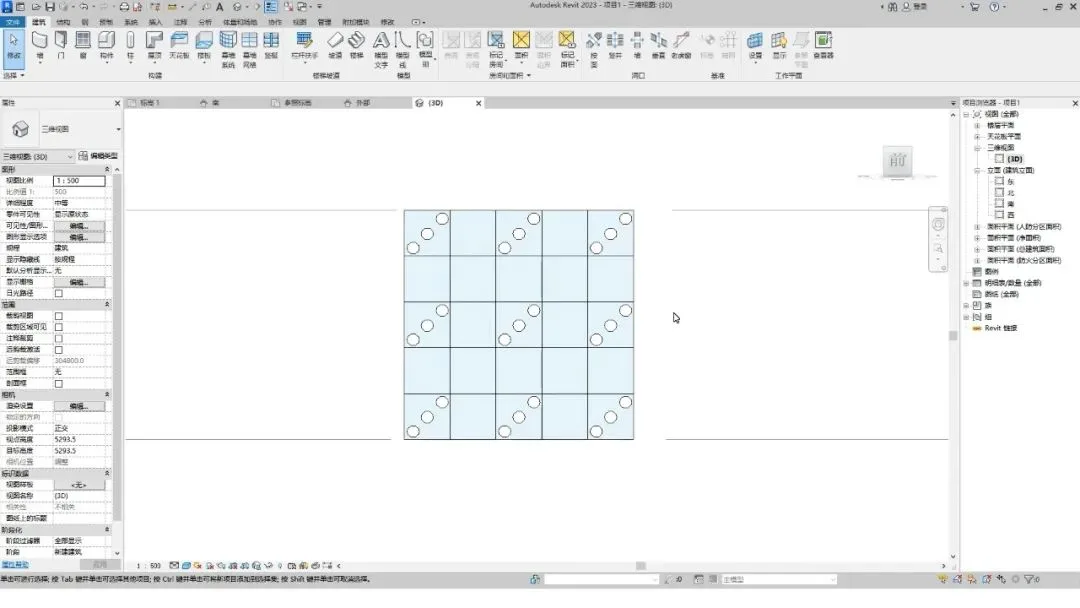
Note that the dimensions of the irregular panel must match the curtain wall grid size to allow proper replacement. In this example, we set it to 1500 mm.

BIM skills | How to draw and replace irregular curtain wall panels in Revit? It can be done in two steps!

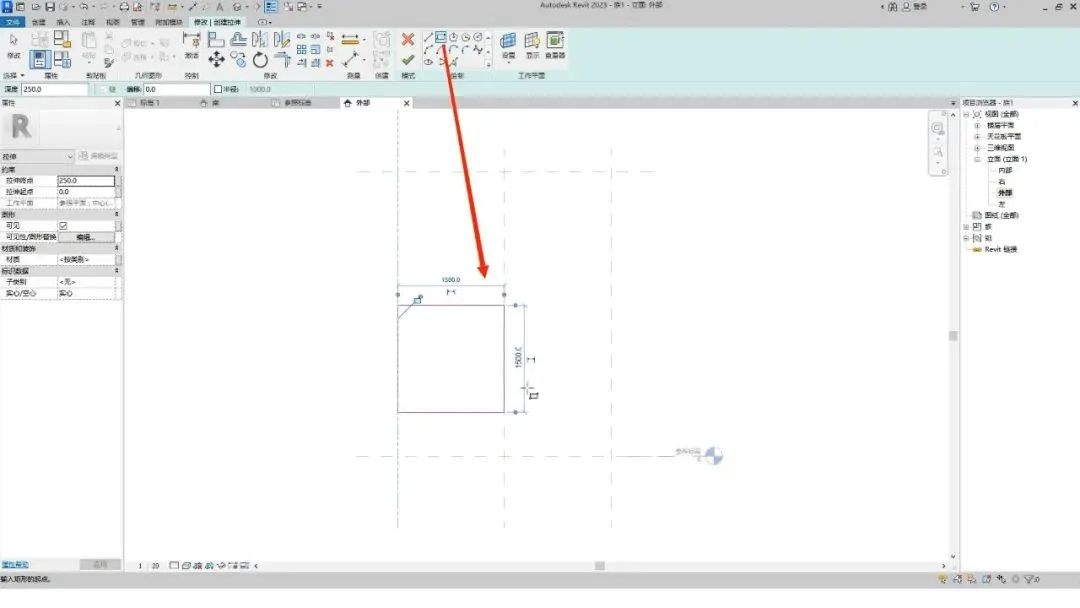
Once done, click the Finish button.

BIM skills | How to draw and replace irregular curtain wall panels in Revit? It can be done in two steps!

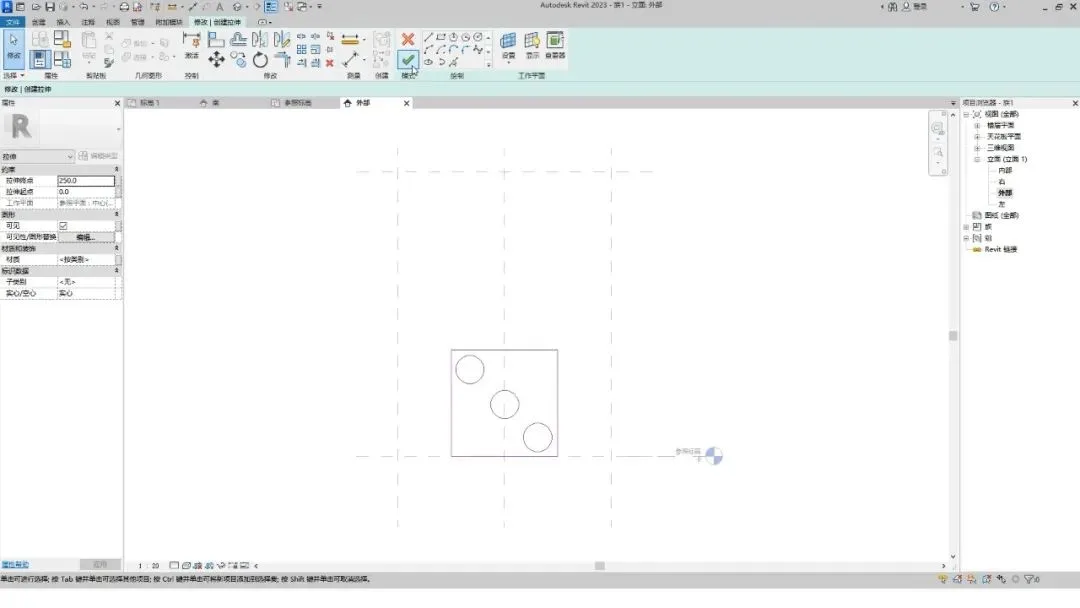
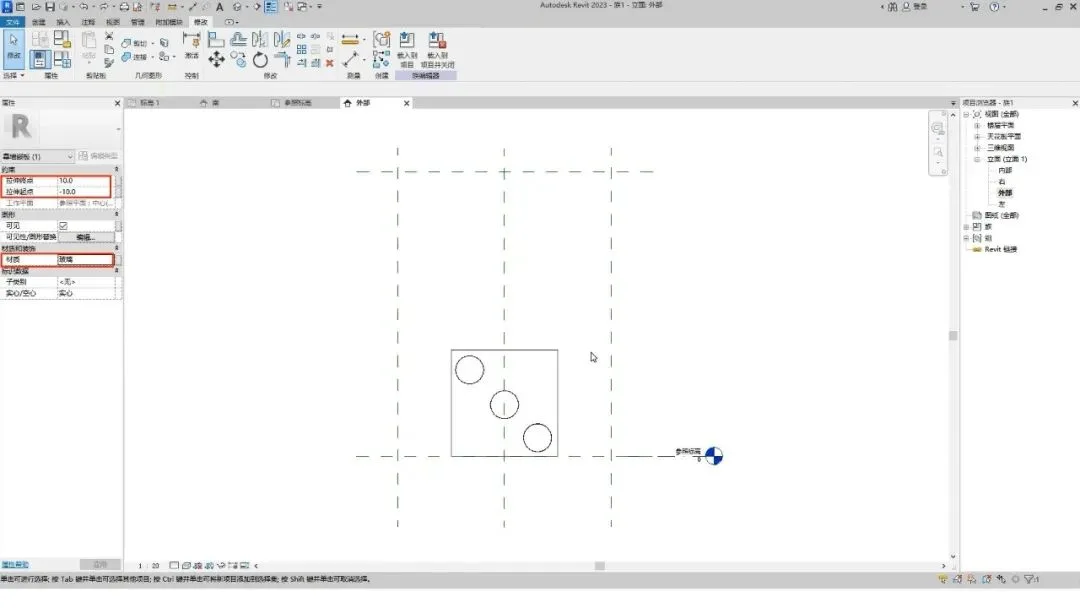
In the properties panel, set the stretch endpoint to 10, the start point to -10, and change the material to glass. Then, click OK.

BIM skills | How to draw and replace irregular curtain wall panels in Revit? It can be done in two steps!

Align the reference line with the stretched shape, then load the family into your project.

BIM skills | How to draw and replace irregular curtain wall panels in Revit? It can be done in two steps!

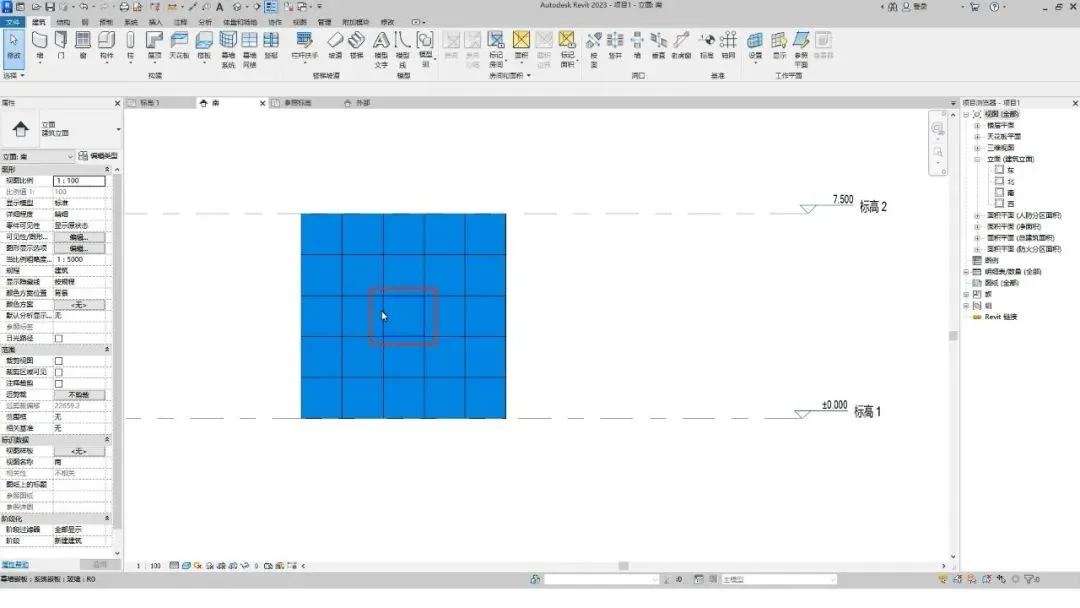
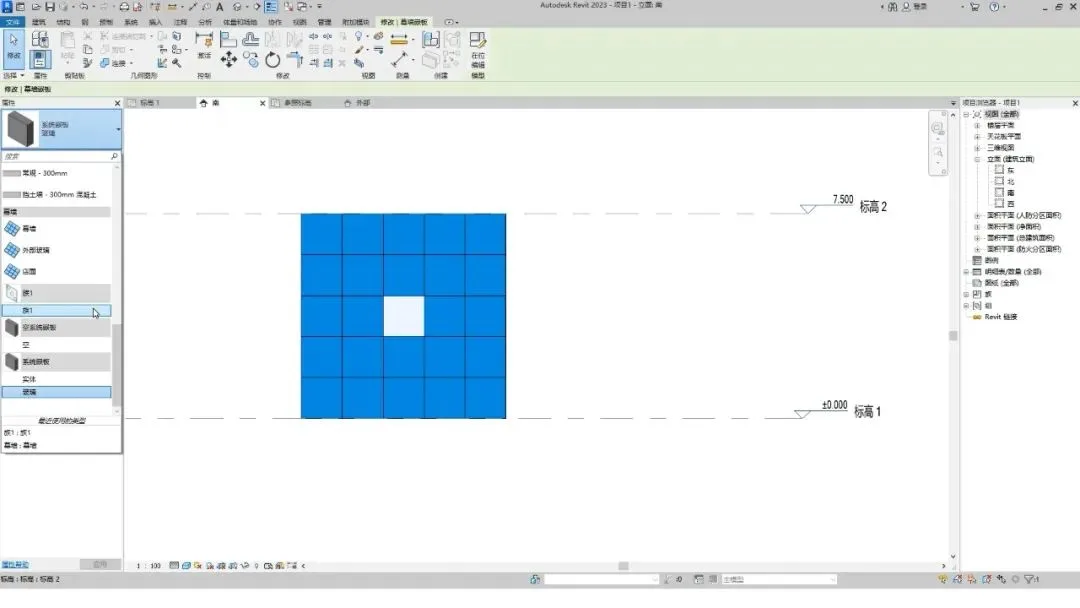
Switch to elevation view in your project, hover over the grid line on the left side of the curtain wall panel you want to replace, and press the Tab key repeatedly until all four edges are highlighted.

BIM skills | How to draw and replace irregular curtain wall panels in Revit? It can be done in two steps!

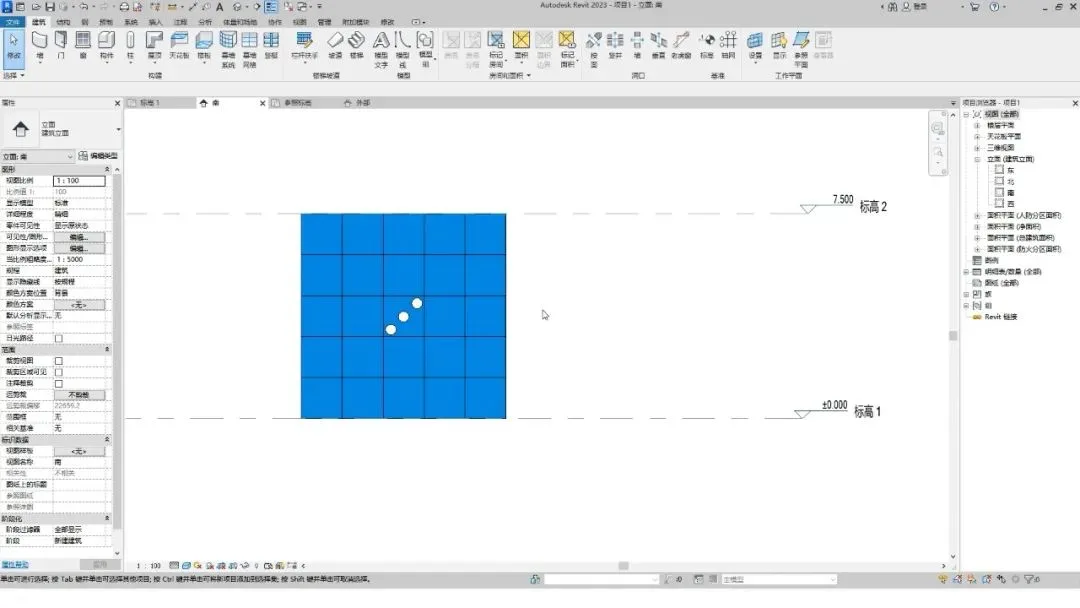
Click to select the curtain wall panel, then change its type to the custom family you just created.

BIM skills | How to draw and replace irregular curtain wall panels in Revit? It can be done in two steps!

And that’s it — you have successfully replaced the irregular curtain wall panel.

BIM skills | How to draw and replace irregular curtain wall panels in Revit? It can be done in two steps!

xuebim
Follow the latest BIM developments in the architecture industry, explore innovative building technologies, and discover cutting-edge industry insights.
← Scan with WeChat
Like(0) 打赏
BIM WORLD » Mastering BIM: How to Easily Draw and Replace Irregular Curtain Wall Panels in Revit in Two Simple Steps

Comment Get first!

Must log in before commenting!


BIM World, A Professional BIM Learning Platform

Stay updated on the latest architecture trends and share new building technologies.

Contact UsAbout Us

觉得文章有用就打赏一下小编吧

非常感谢你的打赏,我们将继续提供更多优质内容,让我们一起创建更加美好的网络世界!

支付宝扫一扫

微信扫一扫

Account Login

By signing in, you agree toUser Agreement

Sign Up