Today, let’s continue exploring Revit techniques with the Chinese website editor! Drawing non-uniform diagonal curtain wall grids in Revit can be accomplished in just two simple steps:

Step 1: Adjust the angle and direction of the curtain wall grid.
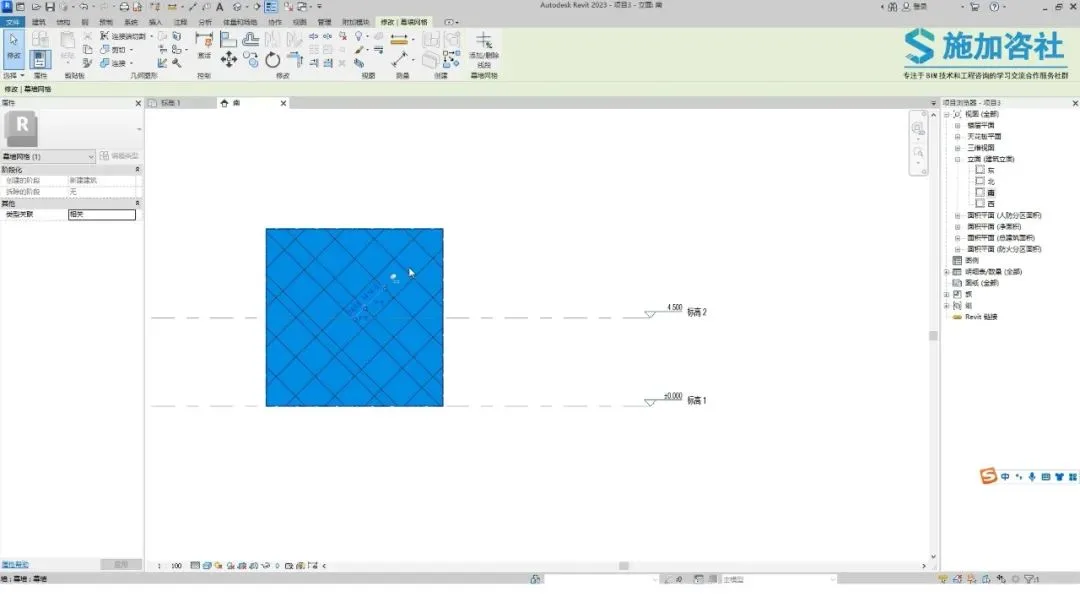
Select the curtain wall, then in the properties panel, set both the vertical and horizontal curtain wall grid inclinations to 45 degrees.
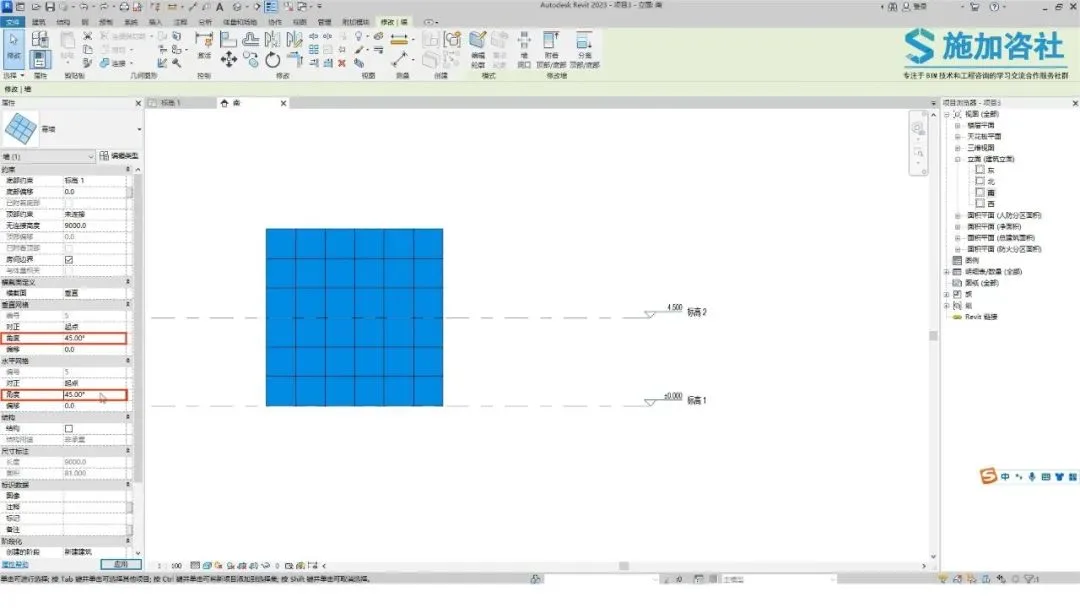
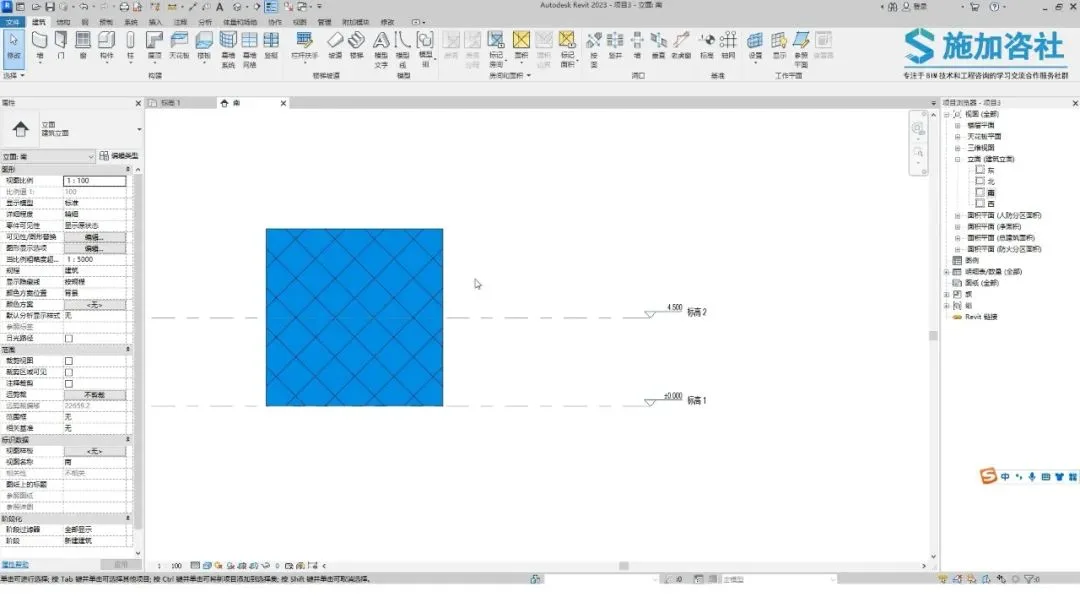
You will notice the curtain wall grid updates accordingly.
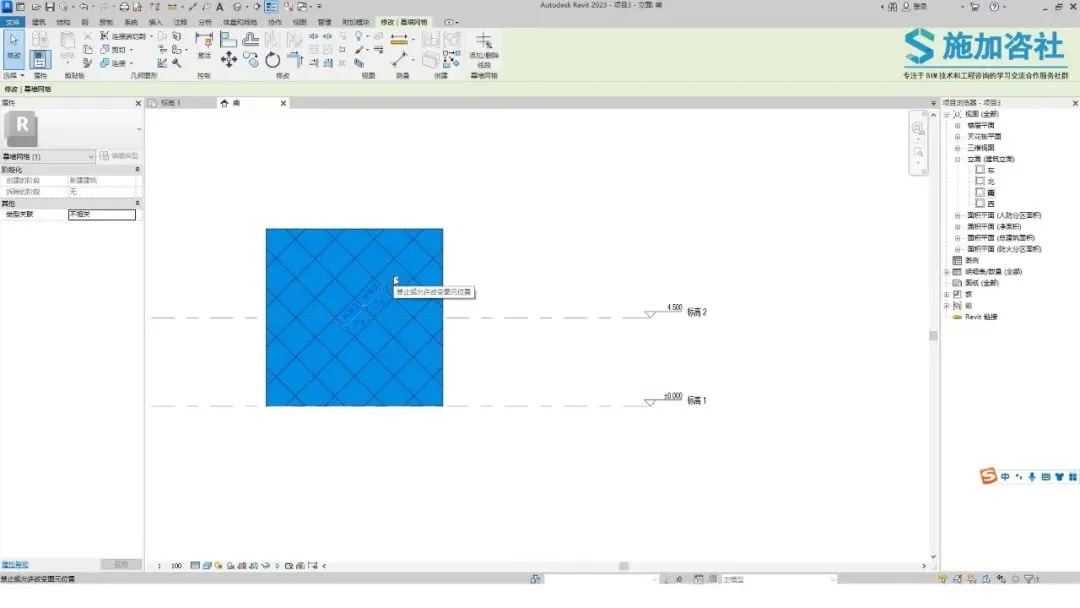
Step 2: Adjust the spacing between the curtain wall grids.
Select a grid line, click the push pin icon to unlock it, allowing the grid line to move freely.
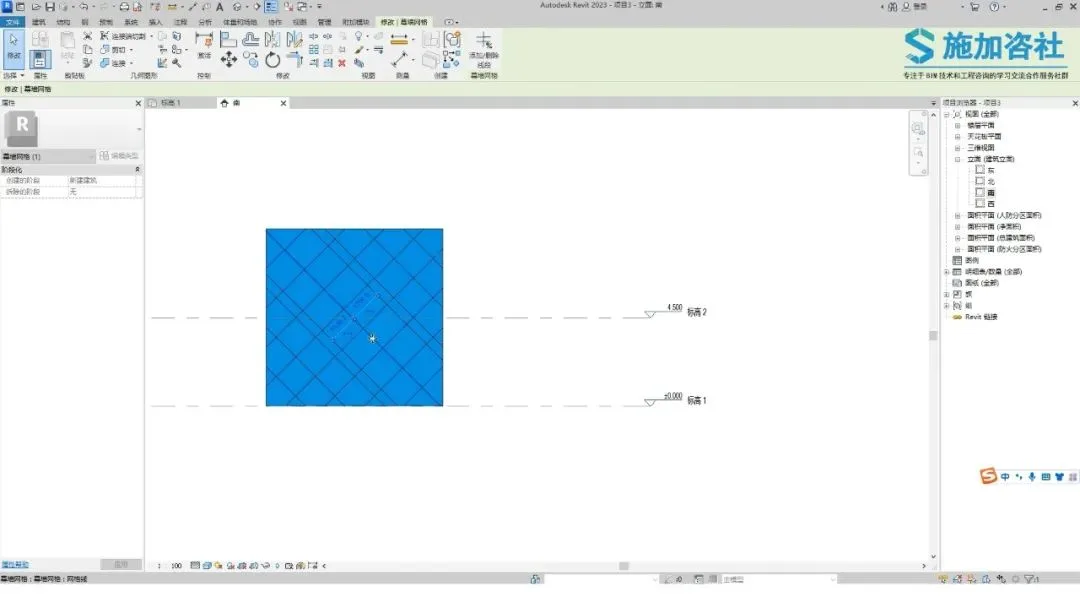
Modify the dimension annotation’s numerical value to change spacing.

Alternatively, you can directly drag the grid lines to adjust their positions.

Press Ctrl + left-click to copy and create new grid lines.
To revert the grid lines to their original positions, click the push pin icon again to lock them, restoring their initial placement.
And that’s it — your non-uniform diagonal curtain wall grids are complete!
Content source: Applied Consultation Society


Must log in before commenting!
Sign Up