This article is brought to you by the WeChat official account: Rhinoceros KeyShot Tribe, authored by Teacher Shi.

Some might say they don’t know how to use V-Ray or feel it’s too complicated. Don’t worry! Have you ever seen a bad render? Probably not. That’s because there’s no such thing as a truly “foolproof” render. So come along with me and discover how simple it can be. Ready? Let’s just do it!
Today, we’ll build a small scene to expand your horizons. The only requirements are: 1. A computer, and 2. Internet access.
Rendering Steps
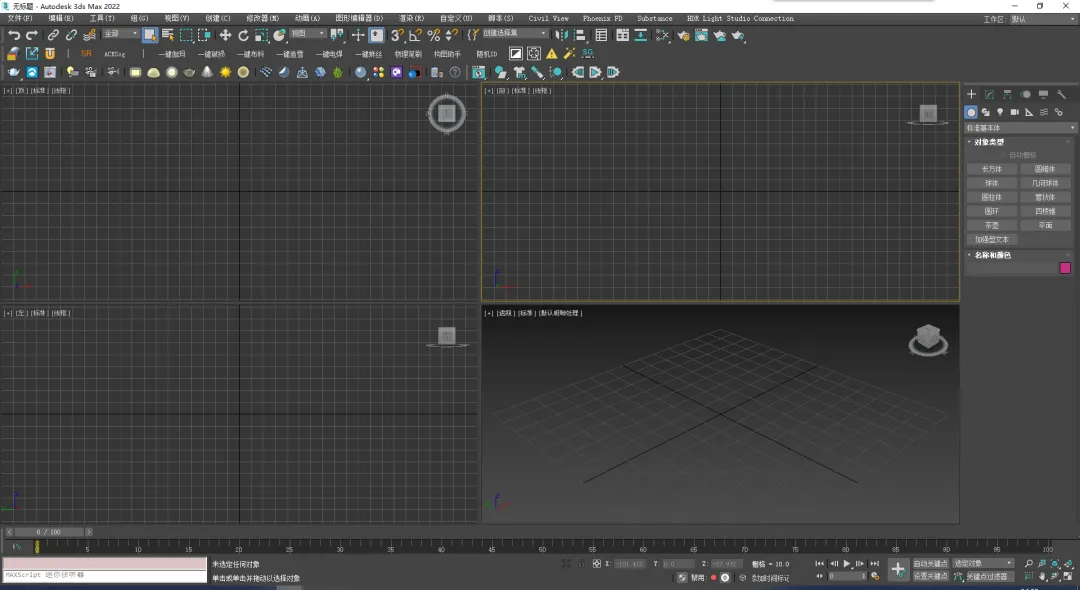
One main reason V-Ray isn’t more widely used by the general public is its close integration with 3ds Max. Although V-Ray supports other platforms like Cinema 4D and Rhino, its features are most extensive on 3ds Max.
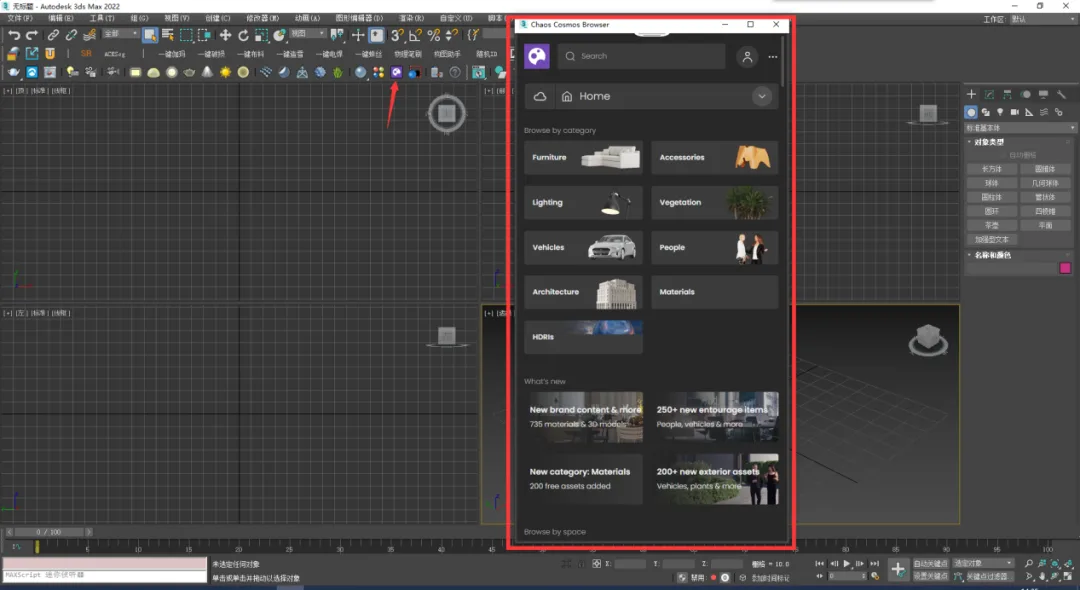
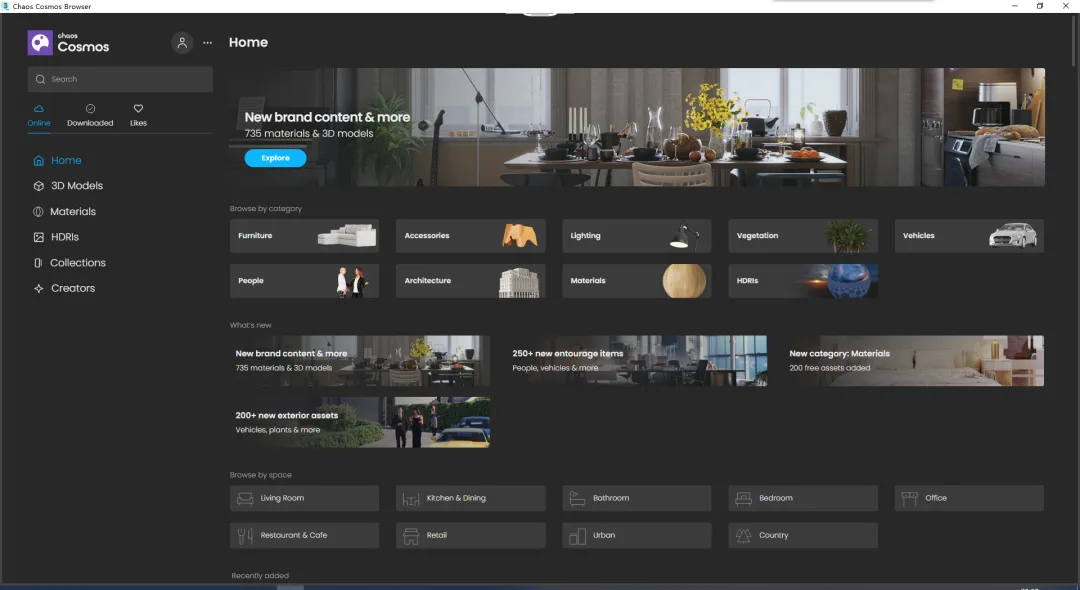
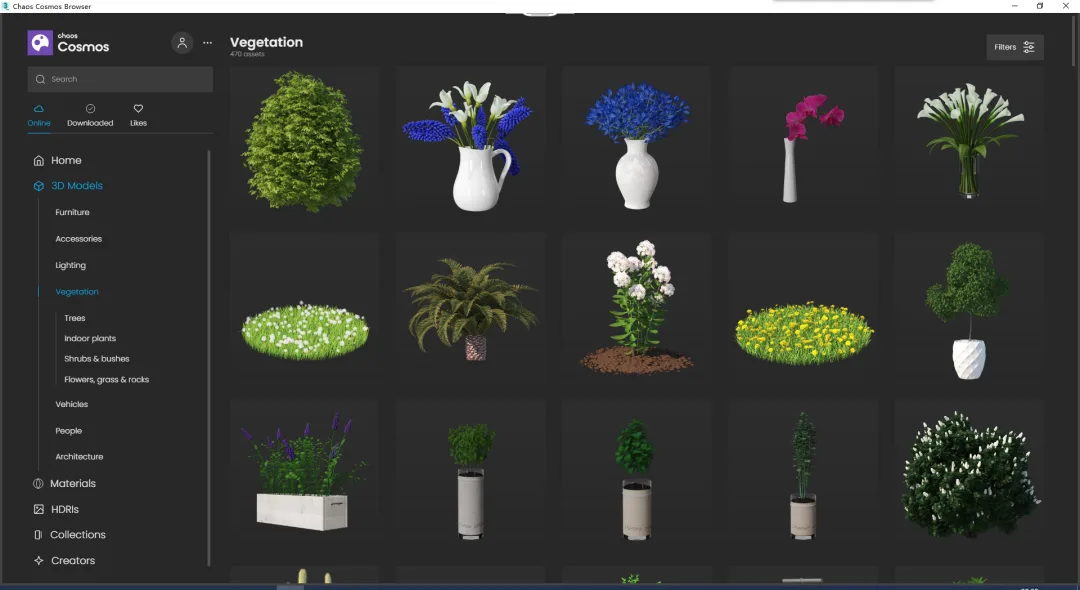
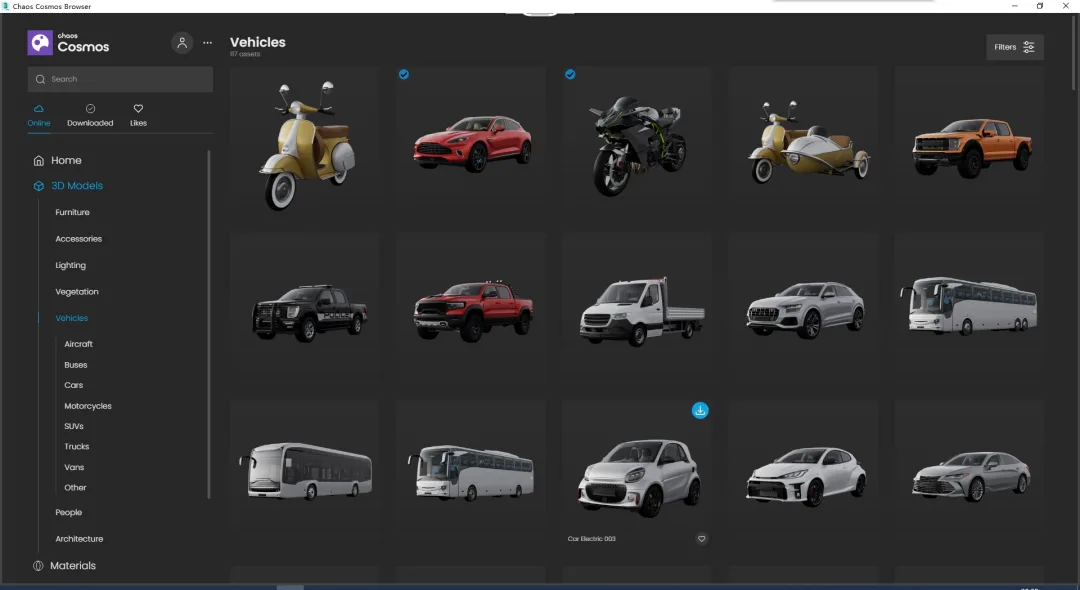
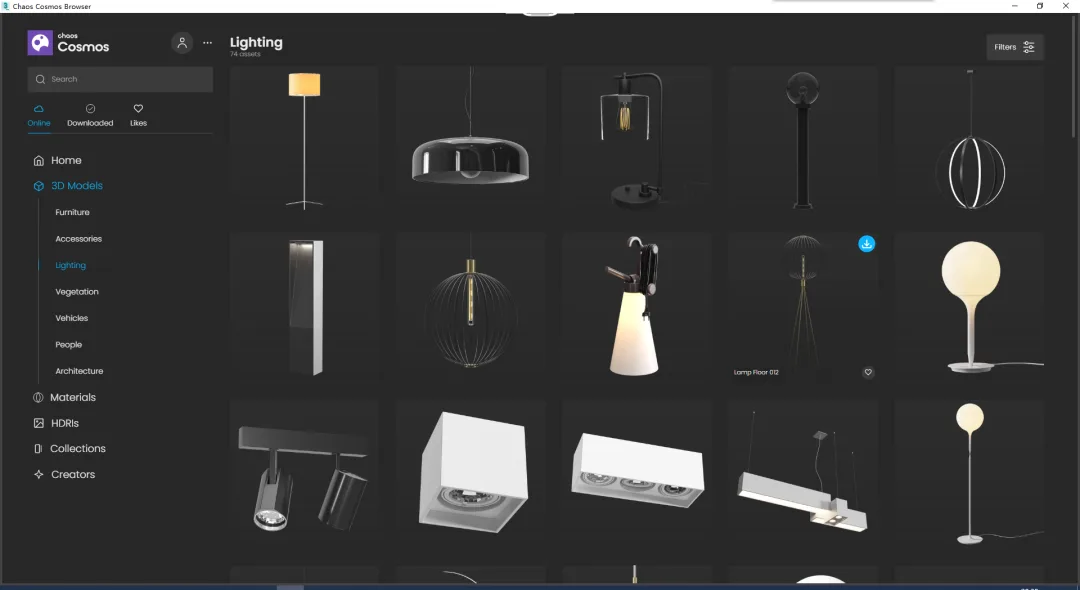
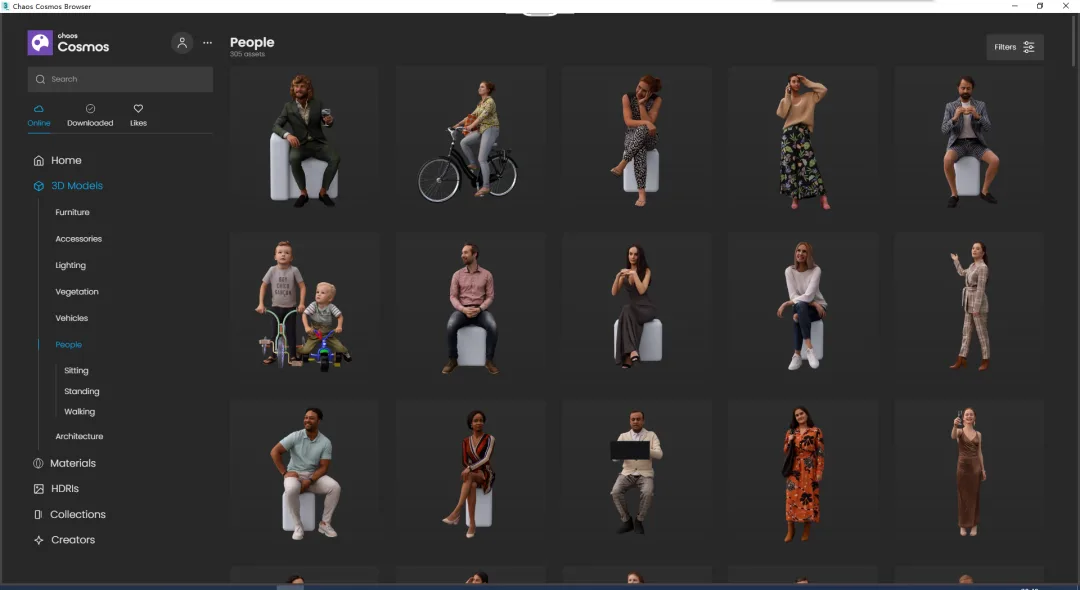
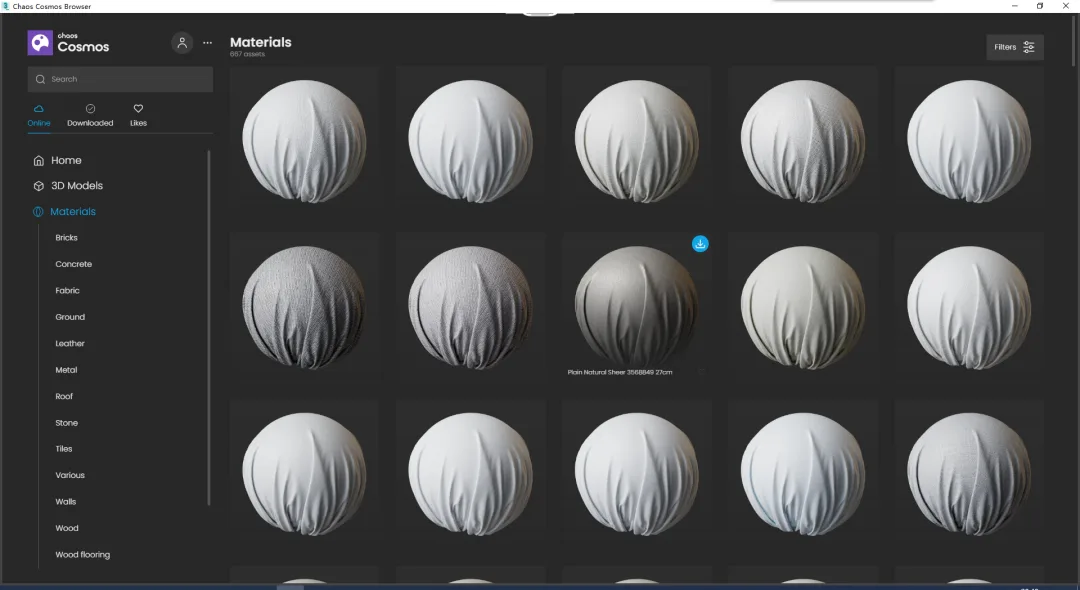
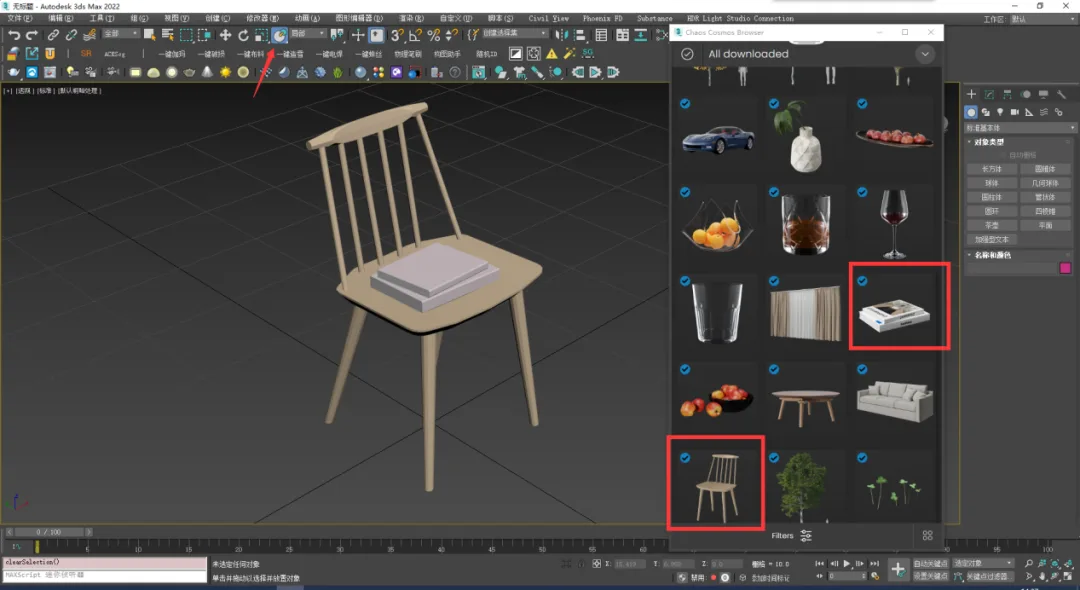
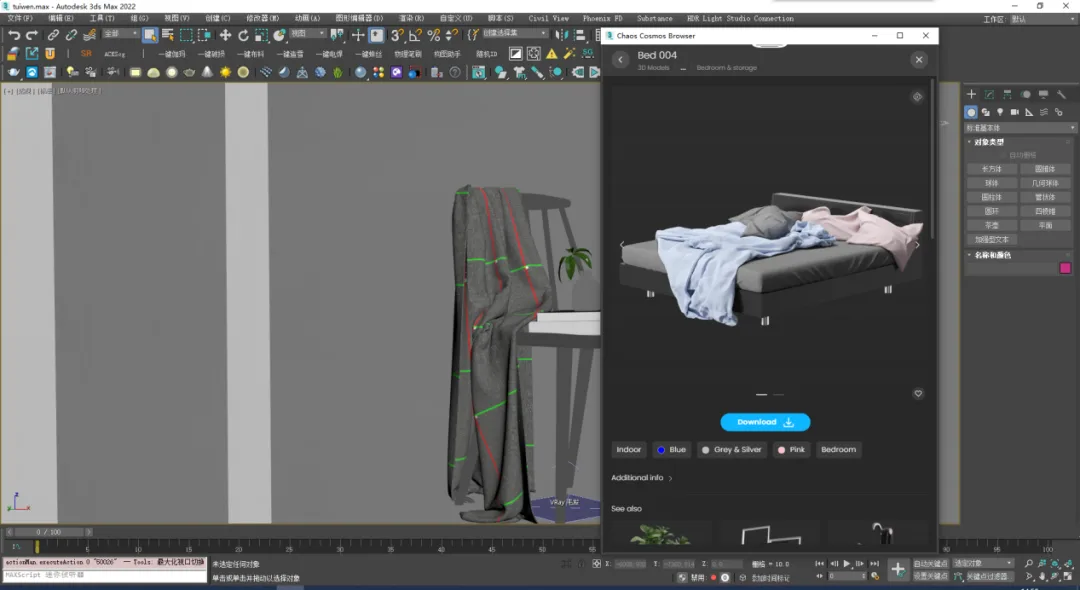
Step 2: Open the COSMOS asset library and select the resources you need. There are countless options available, providing an abundance of materials and models.
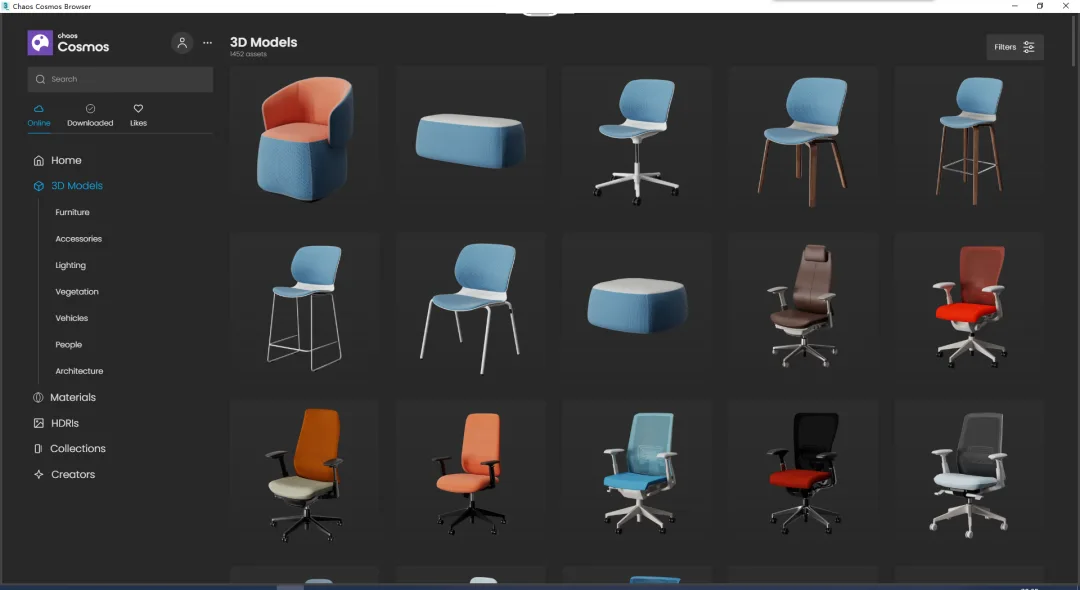
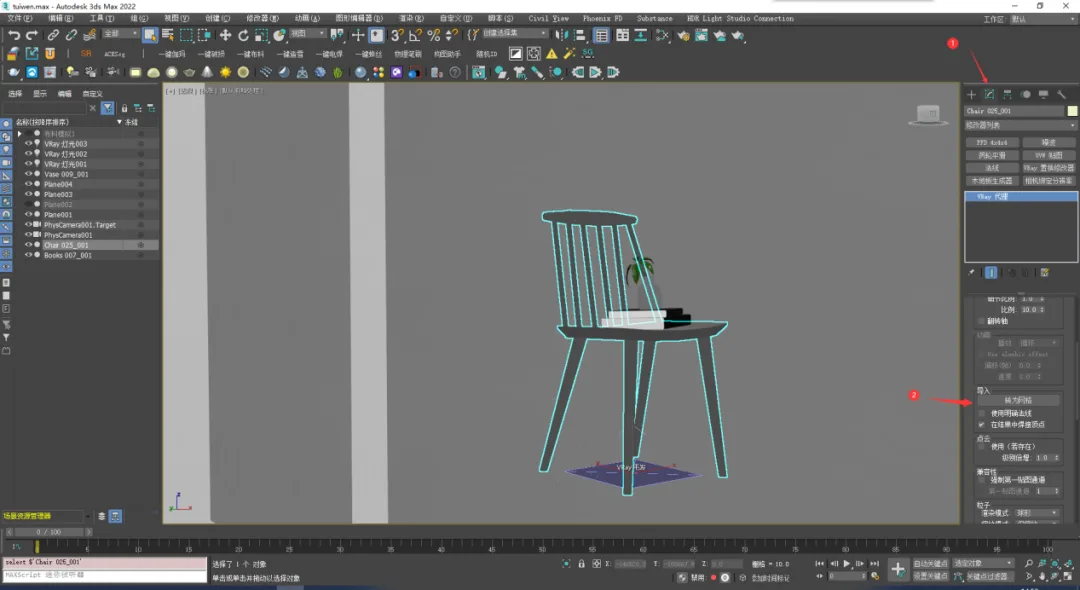
Step 3: For example, I selected a chair and a book. Using the selection and placement tools, place the book on the chair.
Step 4: Simply add some lighting and click to render. That’s it!
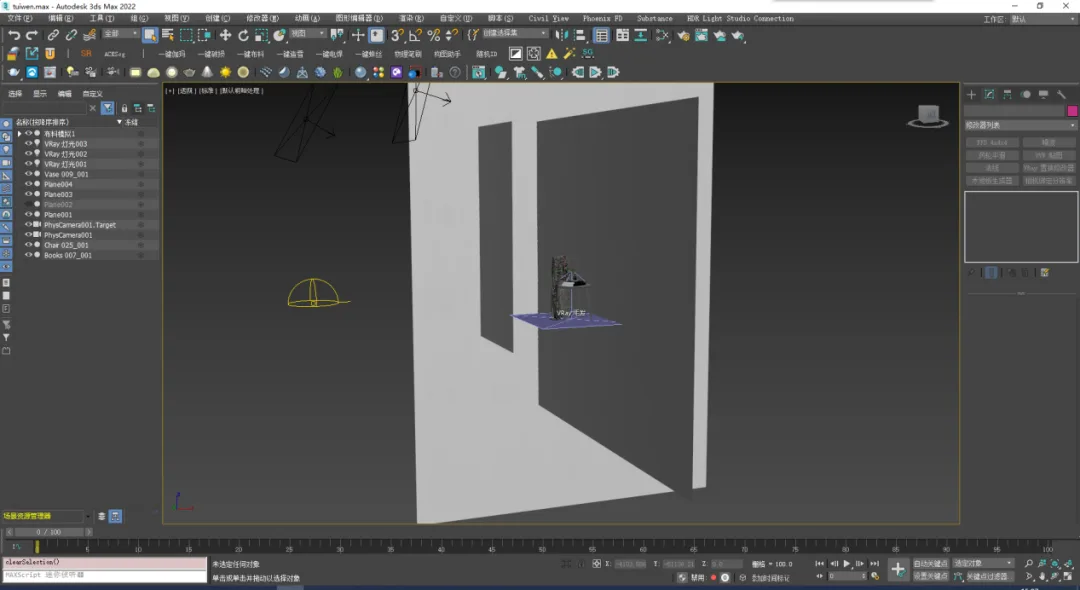
Step 5: Let’s take a closer look. Our main object is ready. I chose a small vase that I happened to find, but you can replace it with any item you want to render. I also added a flat wall as a backdrop for the scene.
Step 6: Our scene is almost complete. To make it more lively and realistic, we can add a piece of fabric. Although there are fabric materials in the Cosmos library, I decided to simulate one myself.
Step 7: We open Marvelous Designer Personal to simulate the fabric. Before simulating, export the model from 3ds Max.
Step 8: Import the exported model into Marvelous Designer Personal.
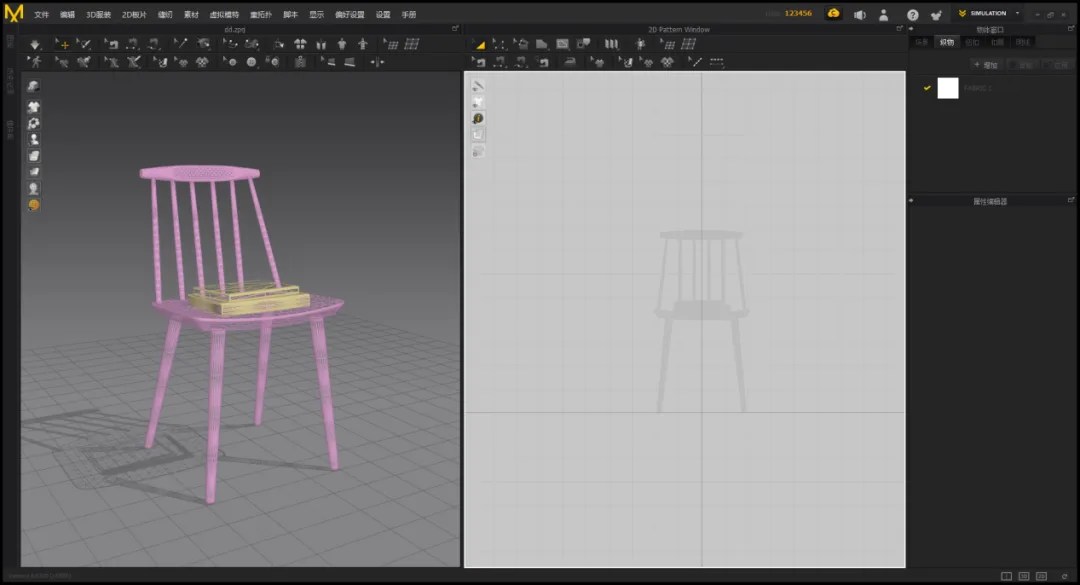
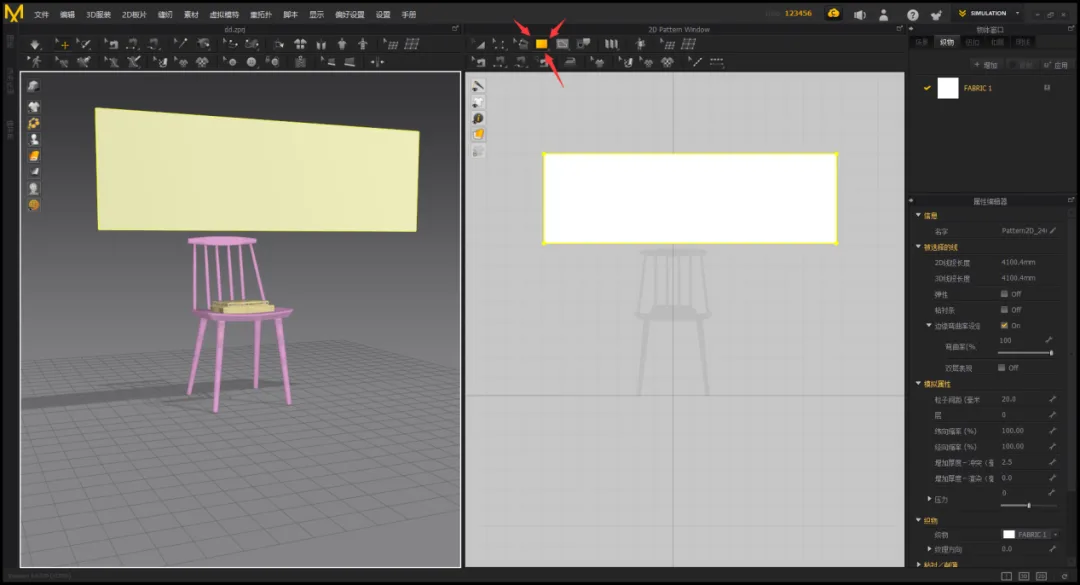
Step 9: Create a flat surface on top to serve as the fabric.
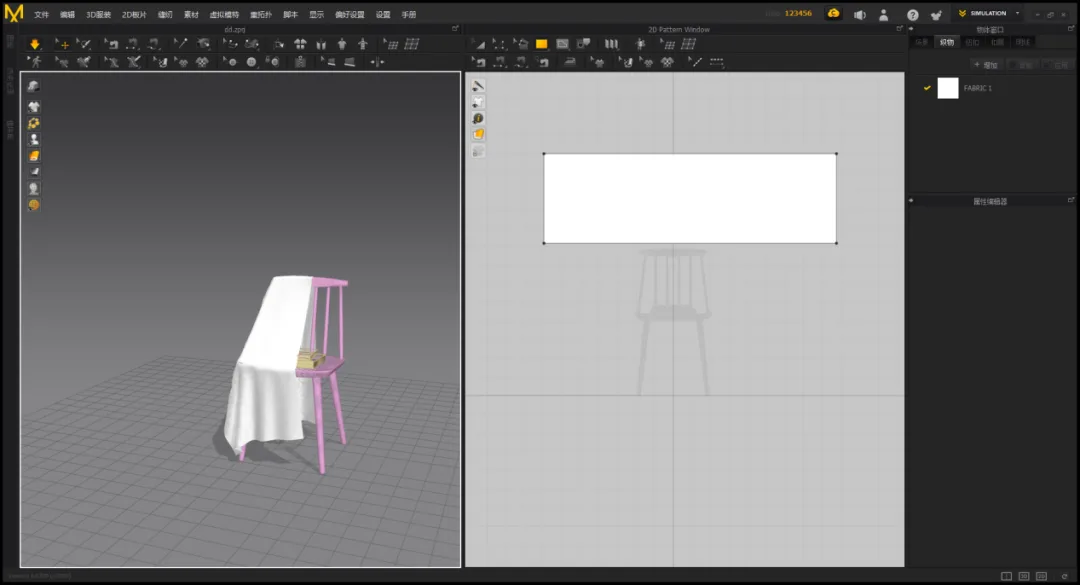
Step 10: Press the spacebar to start simulating the fabric.
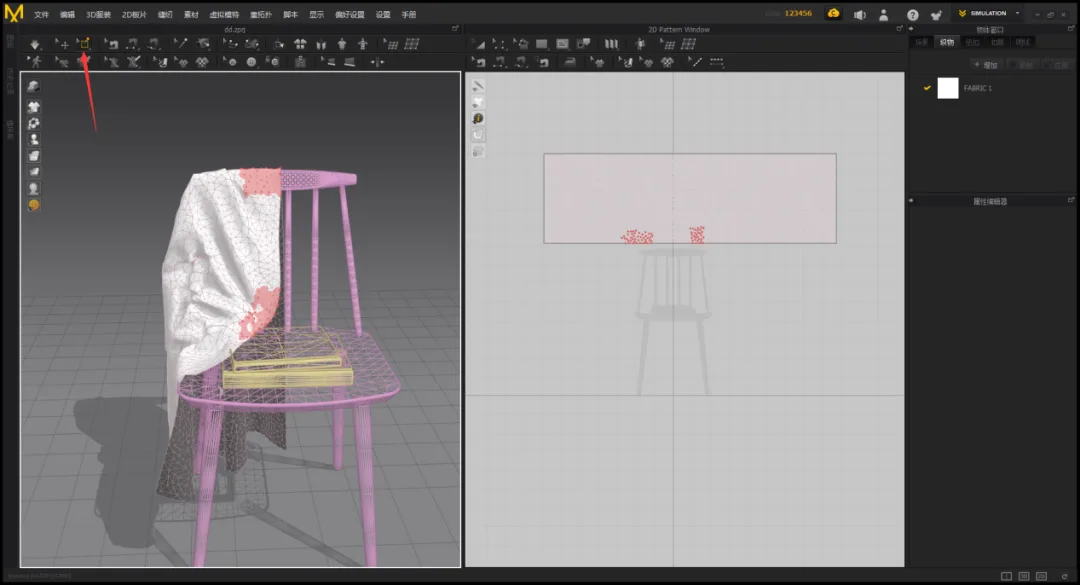
Step 11: Use pins to fix areas you don’t want to move, then adjust the overall shape.
Step 12: Make detailed adjustments to the shape, creating the wrinkles you want. Adding fake seams can enhance the fabric’s appearance.
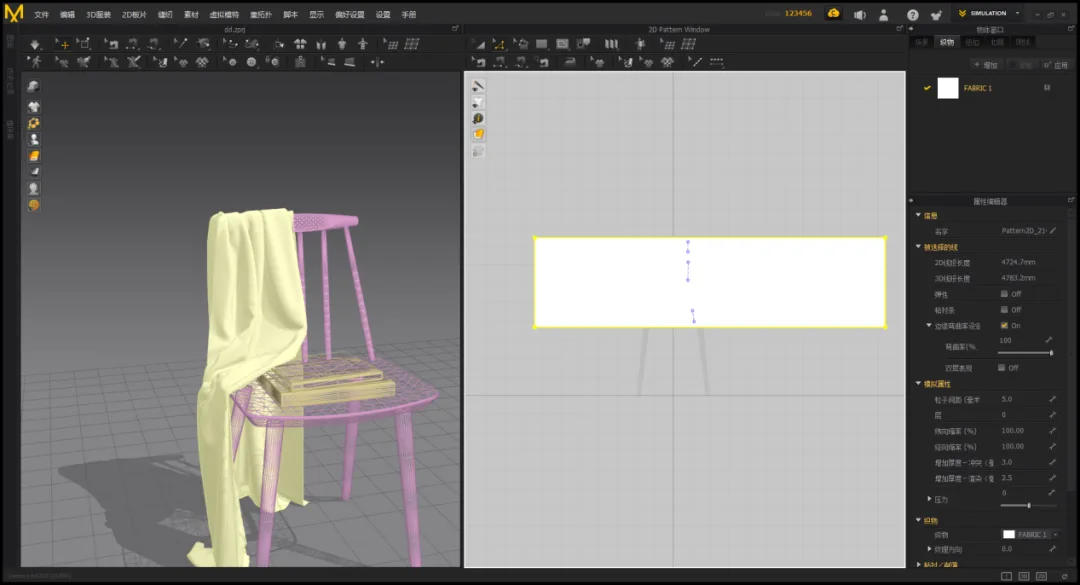
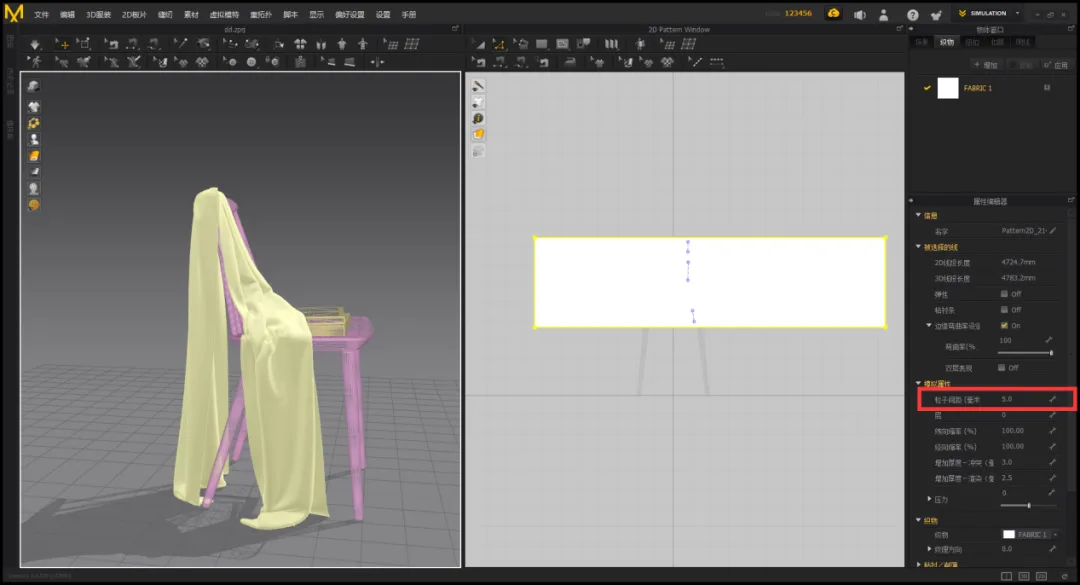
Step 13: Adjust fabric parameters such as particle spacing and change the mesh to four-sided.
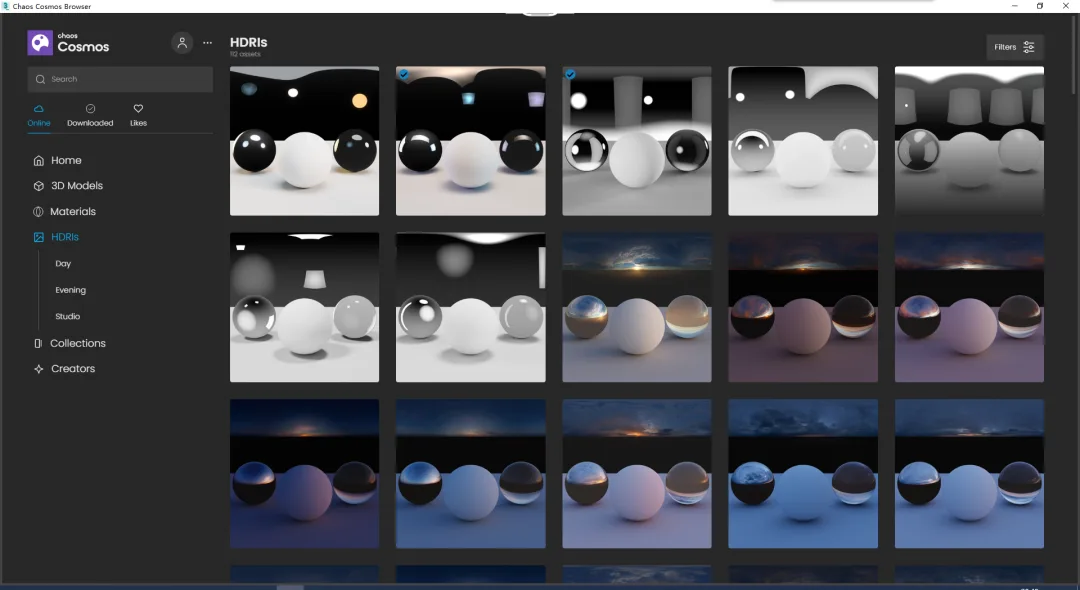
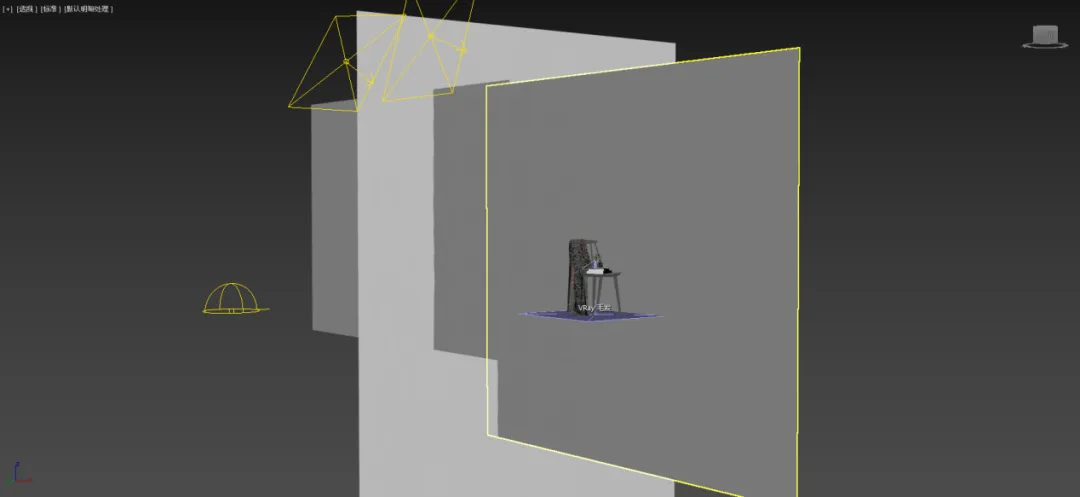
Step 14: Now, import the fabric into 3ds Max for rendering. First, add a dome to the scene, apply an HDRI, and adjust its horizontal rotation.

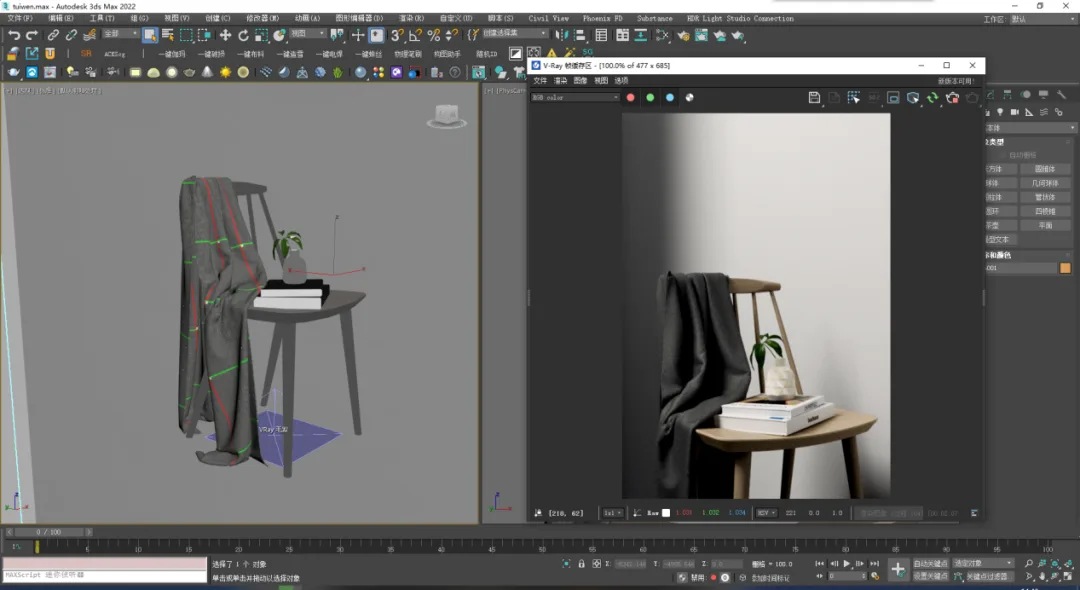
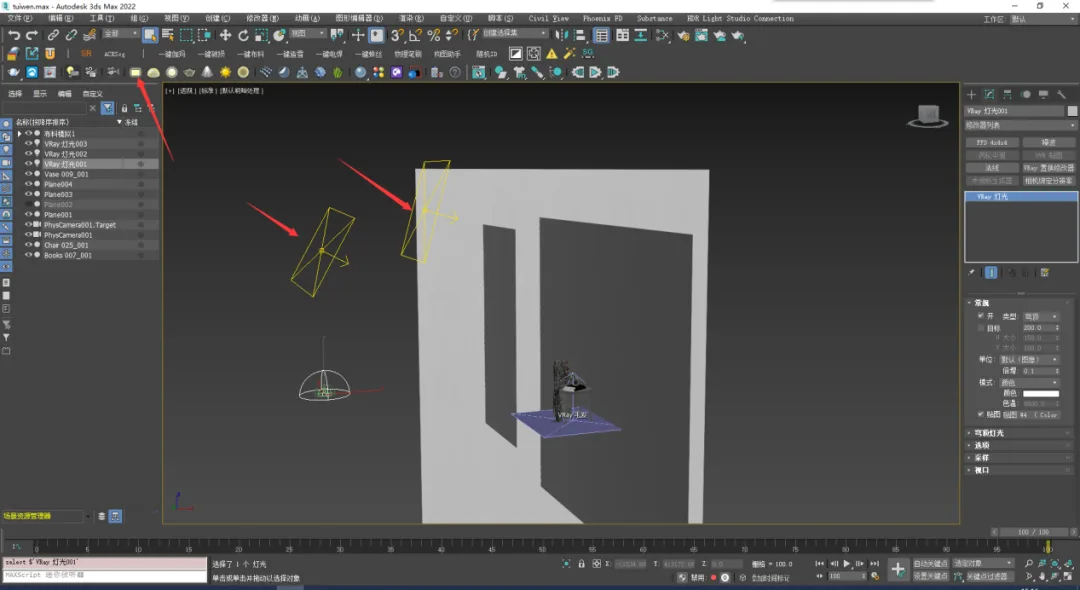
Step 15: Next, add the main light source. Here, I am using a rectangular light.
Step 16: Our scene and lighting are now complete. The assets from Cosmos come with built-in materials, so no additional texturing is necessary. Now, simply render your image.


Must log in before commenting!
Sign Up