This article is from the WeChat official account: wood button Revit secondary development learning sharing. The platform setup is mainly divided into three parts:
- Visual Studio installation: Used primarily for writing code.
- Add Manager configuration: Used to import compiled DLL files into Revit for execution.
- RevitLookup.addin configuration: Used to view component information such as width, height, type, and more.
Make sure you have downloaded the Revit SDK 2019 toolkit in advance.
1. Visual Studio 2019
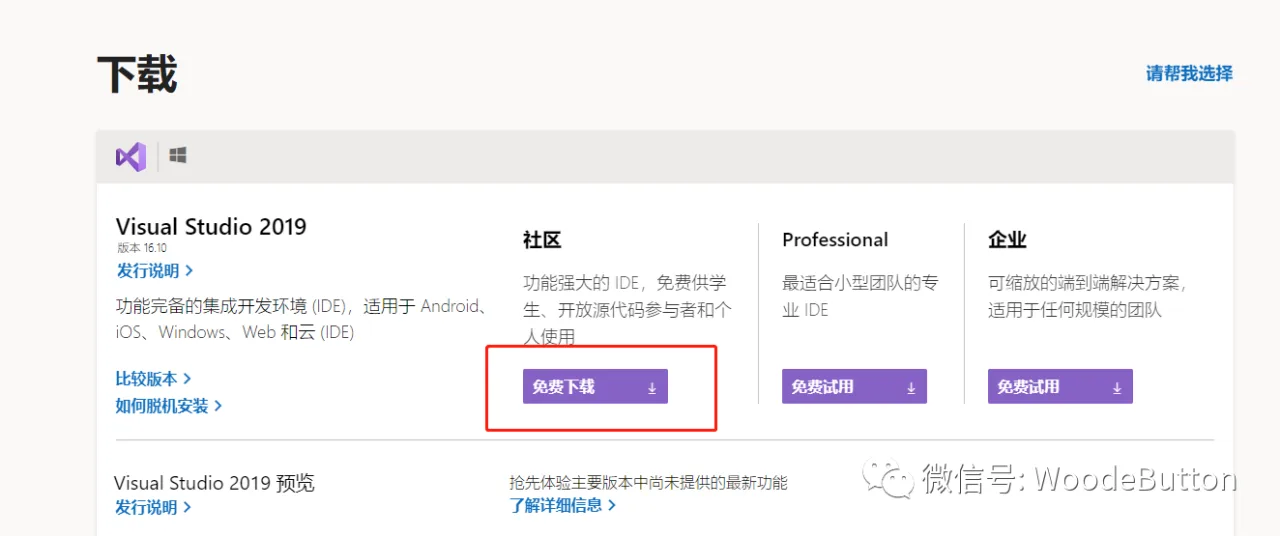
Download and install Visual Studio 2019.
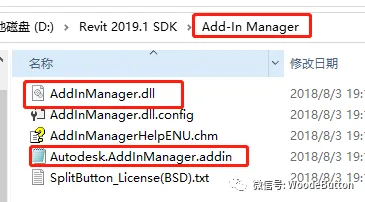
2. Add Manager Configuration
The previously downloaded Revit SDK 2019 toolkit contains the necessary files.
- Open the
Autodesk.DataManager.addinfile and update the path to where yourDataManager.dllfile is located. - Modify the
<assembly>tag content to point to the path of yourDataManager.dllfile. - Finally, copy
Autodesk.ExtendedManager.addinto the designated path as shown below:
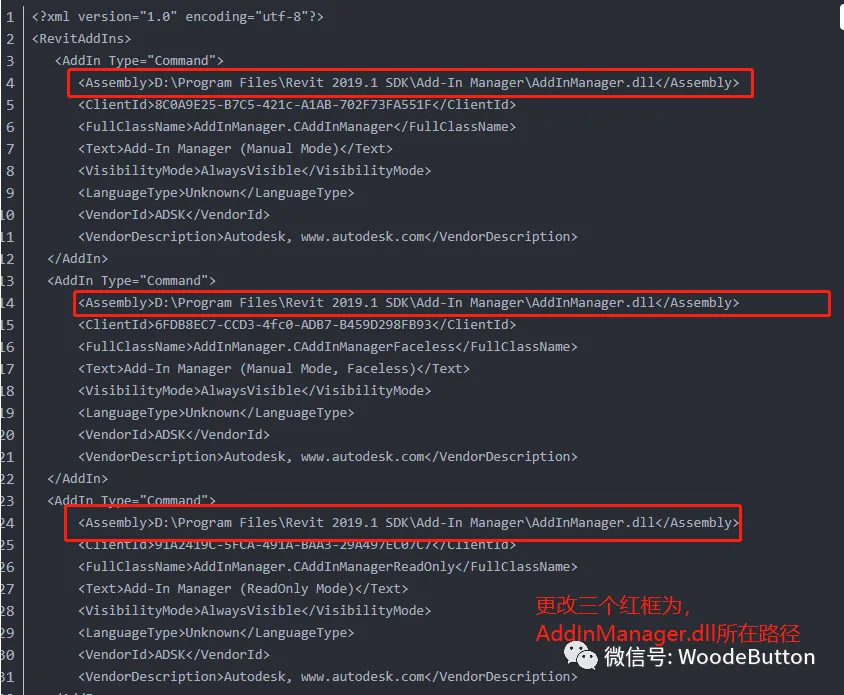
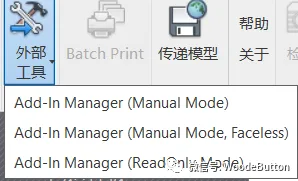
With these steps, the Add Manager configuration is complete.
3. Revit Lookup Configuration
After downloading, open the files as shown in the image below:
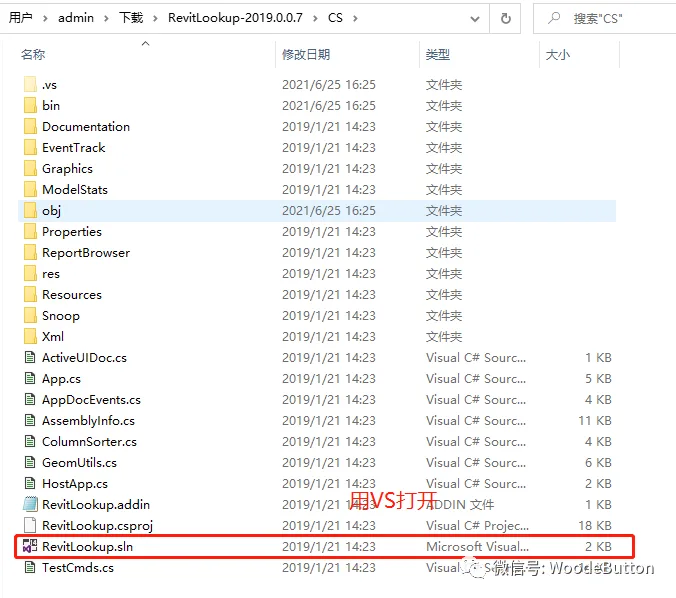
- Open
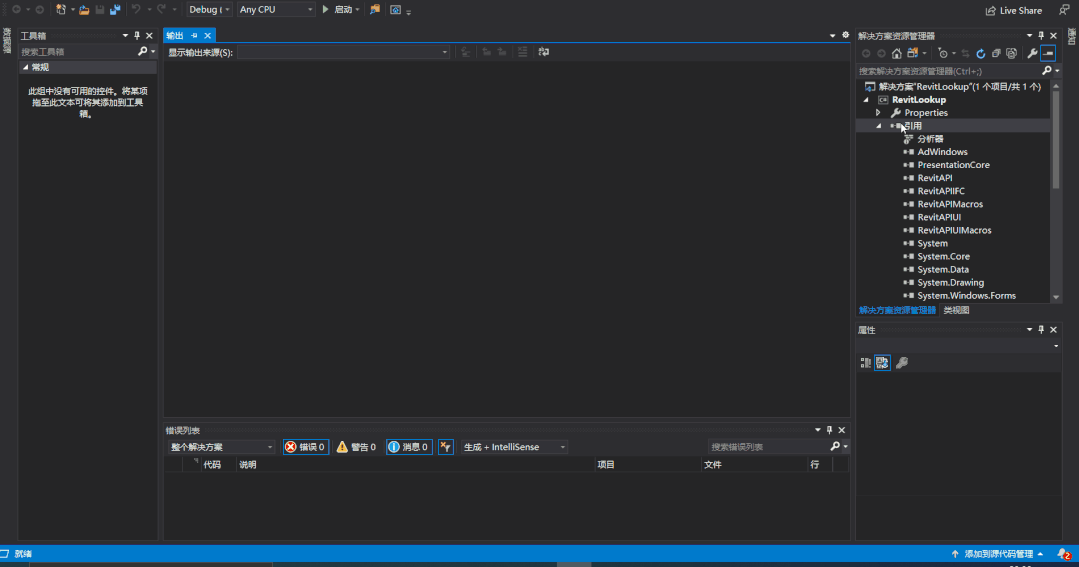
RevitLookup.sln, re-reference the necessary files as needed, then build to generateRevitLookup.exe. Copy the output path. - Edit
RevitLookup.addinand update the 4th line inside the<assembly>tag with the path where the compiledRevitLookup.dllis located: - Finally, copy
RevitLookup.addinto the appropriate directory.

With this, the Revit Lookup configuration is complete.
At this point, the platform setup is finished, and you are ready to start coding!

xuebim
Follow the latest BIM developments in the architecture industry, explore innovative building technologies, and discover cutting-edge industry insights.
← Scan with WeChat


Must log in before commenting!
Sign Up