This article is from the WeChat official account: Revit Decoration.
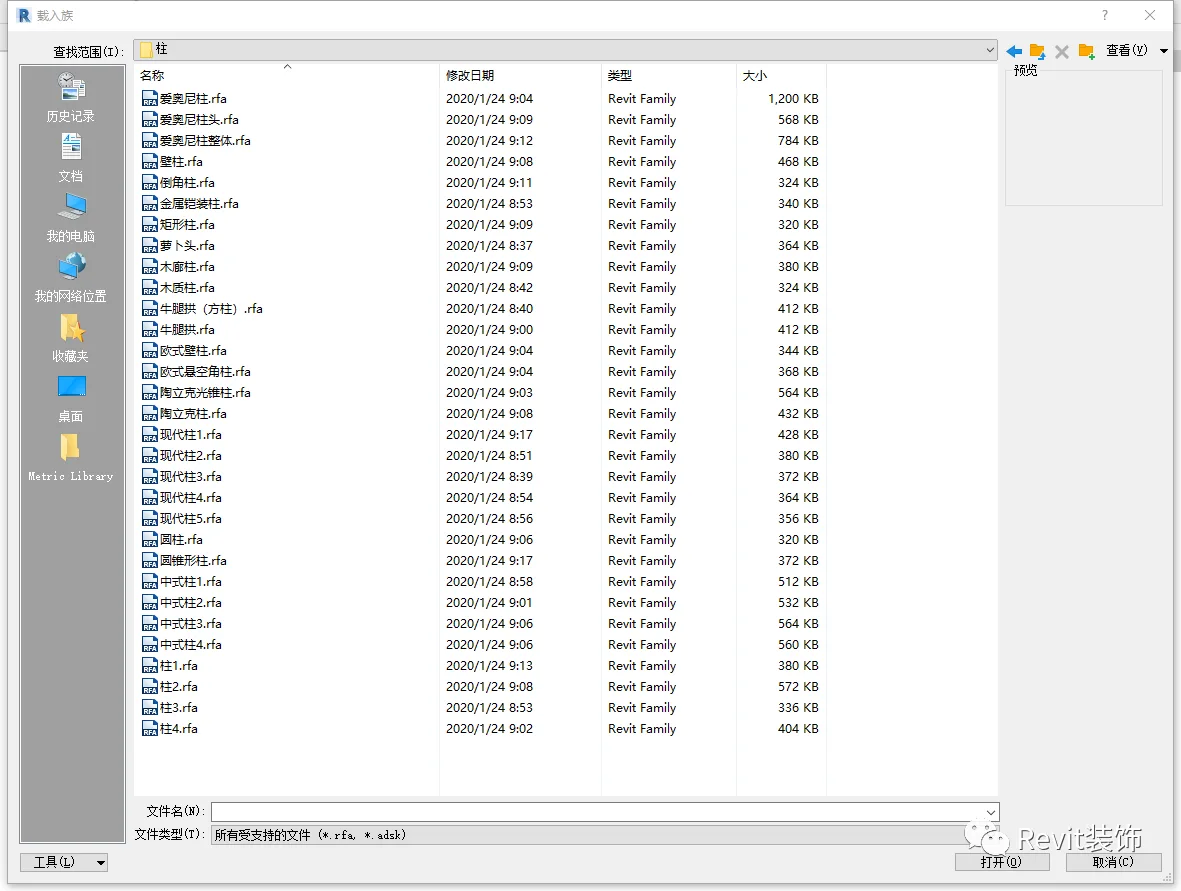
In Revit, there are built-in column families available in the system. However, these default columns often do not meet the specific requirements of our projects, so it becomes necessary to create custom columns ourselves.
The First Method
Let’s start with the first approach: using metric column families to create parametric columns.
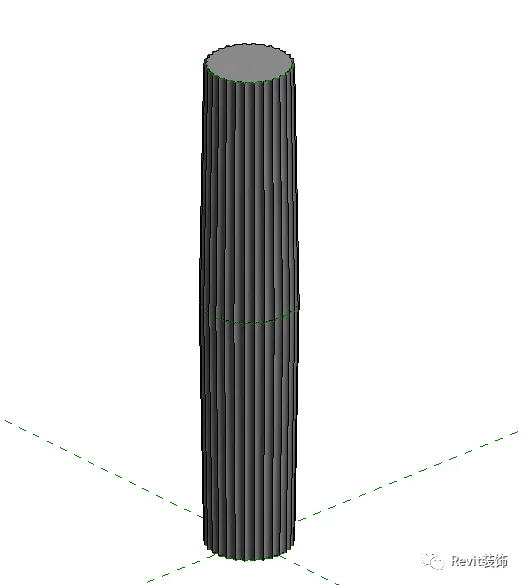
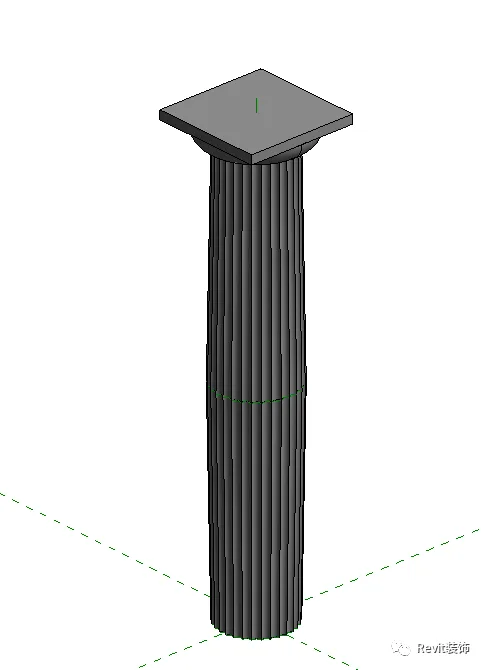
Begin by creating the top part of the column and applying constraints.
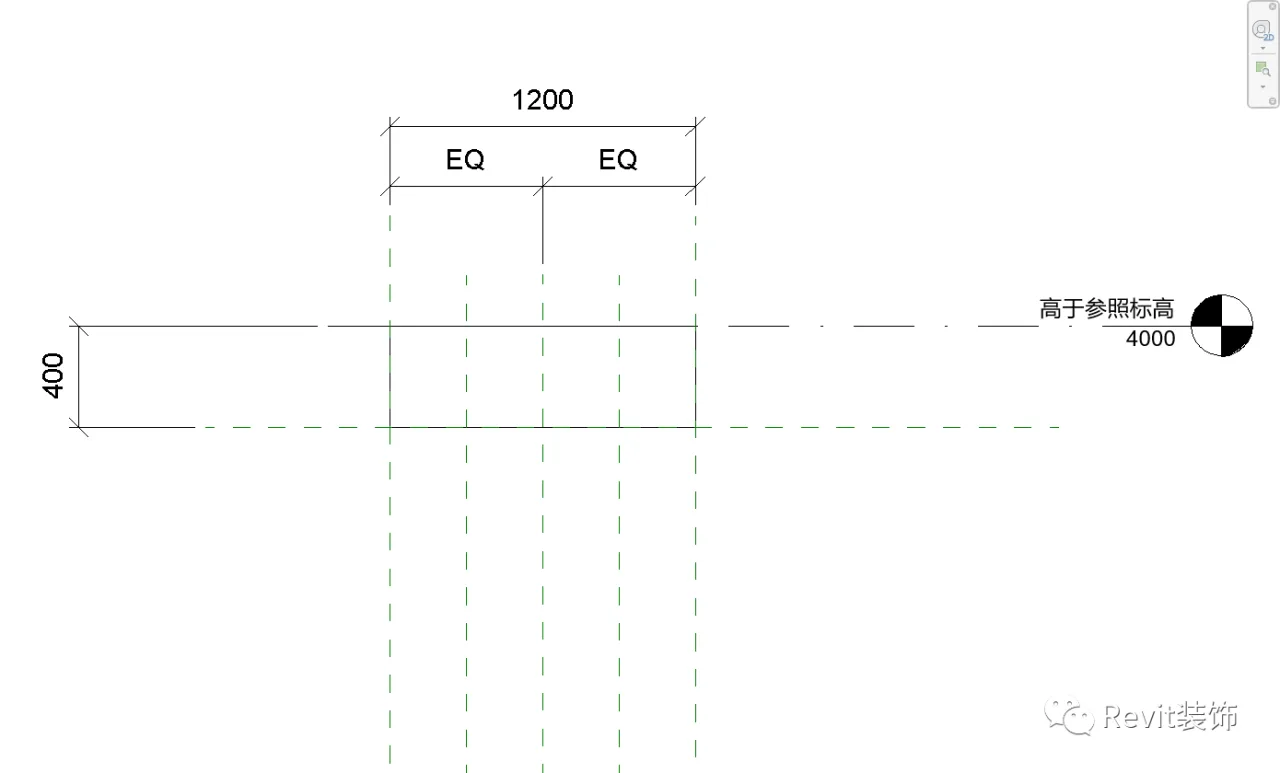
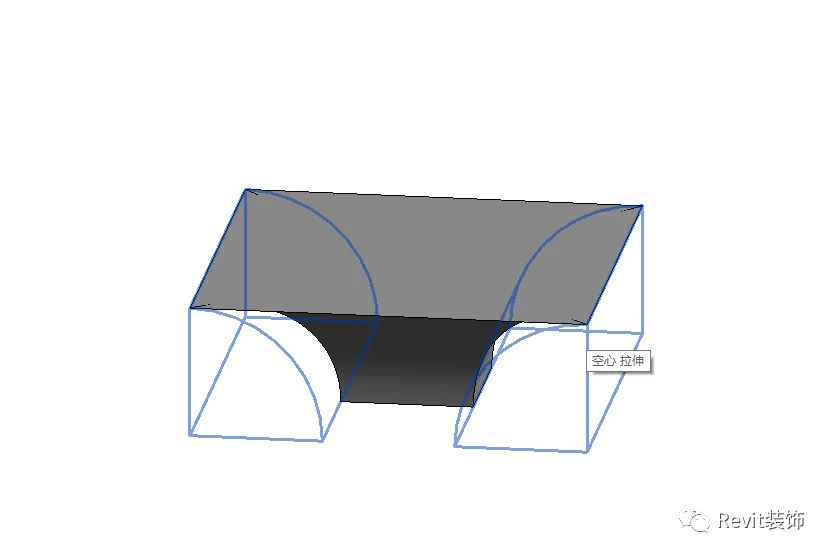
Next, use techniques such as hollow extrusion and shearing.
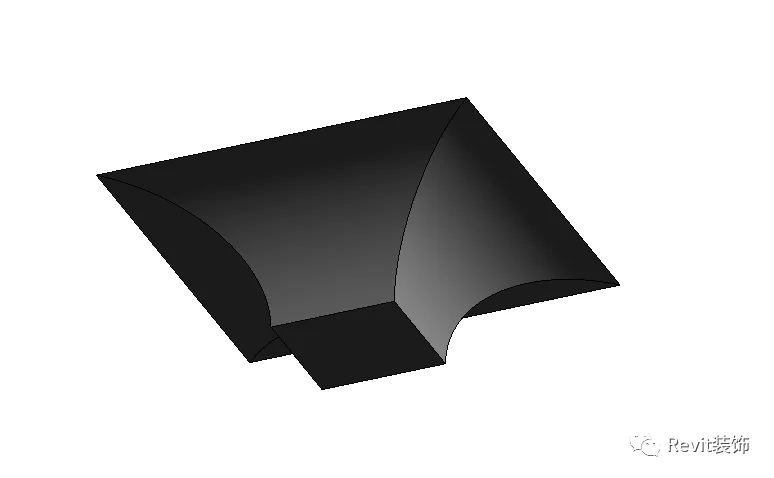
Then, apply constraints to the bottom of the column to finalize its shape and connect the two parts.
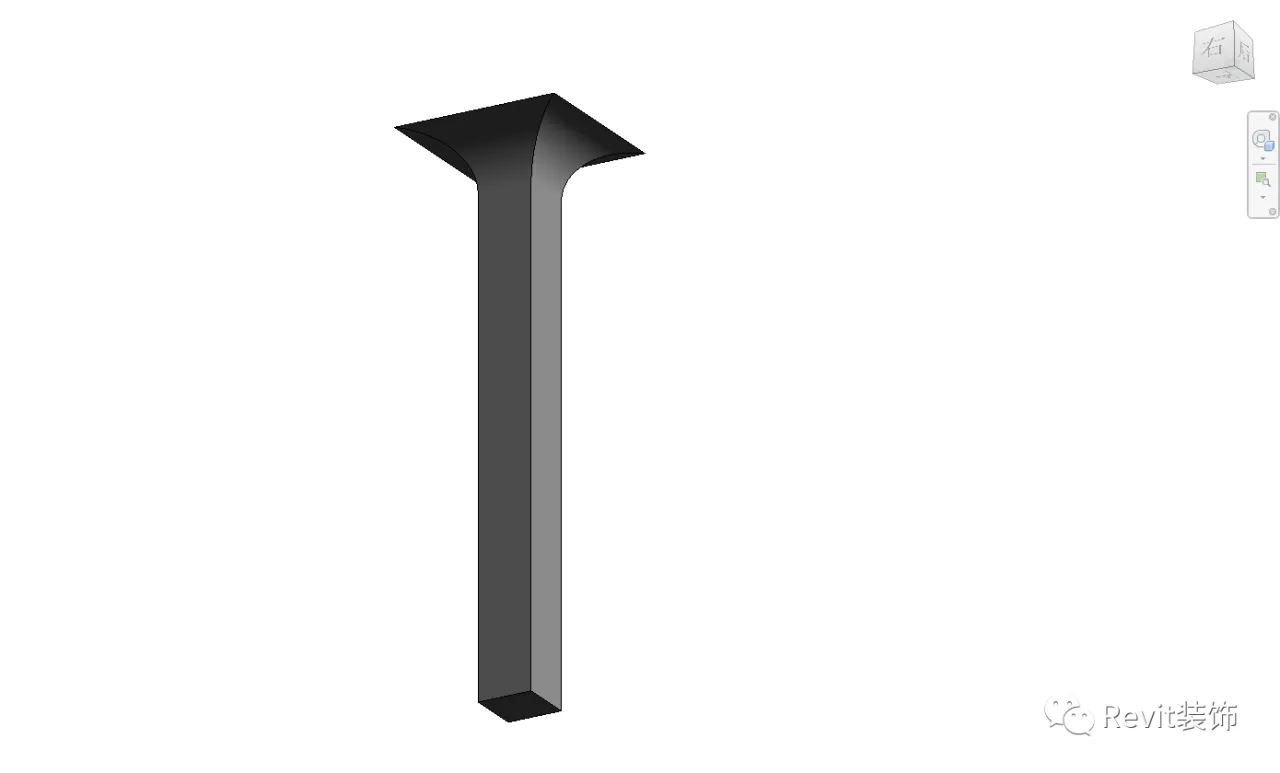
Load the column family into your project, and the column height will adjust dynamically according to the elevation.
The Second Method
Now, let’s explore the second method, which involves using metric masses to create parametric columns.
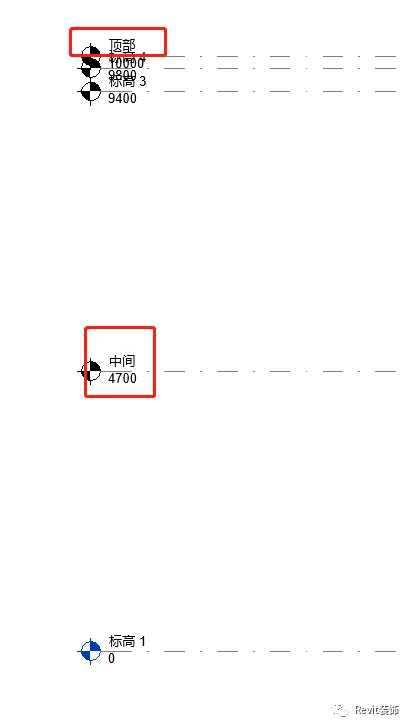
Start by duplicating the elevation and renaming it appropriately.
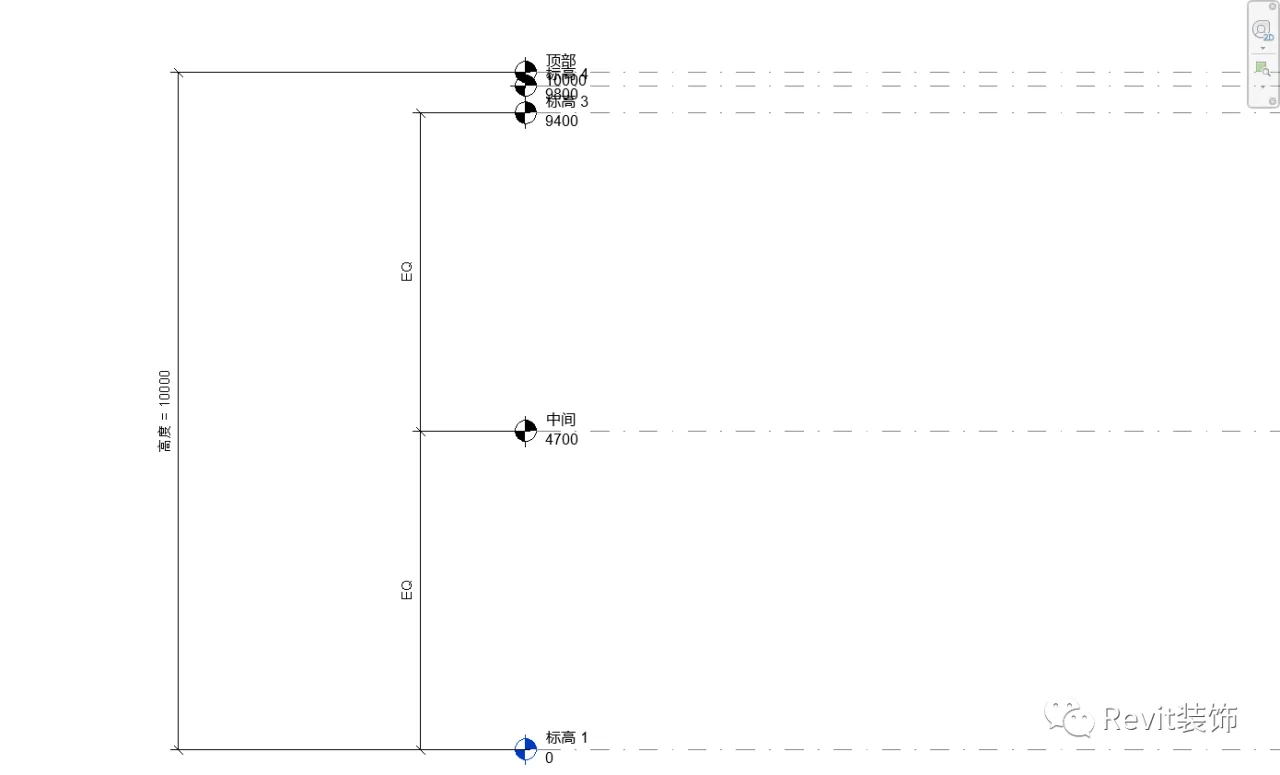
On the plane at the first elevation, draw a serrated circle.
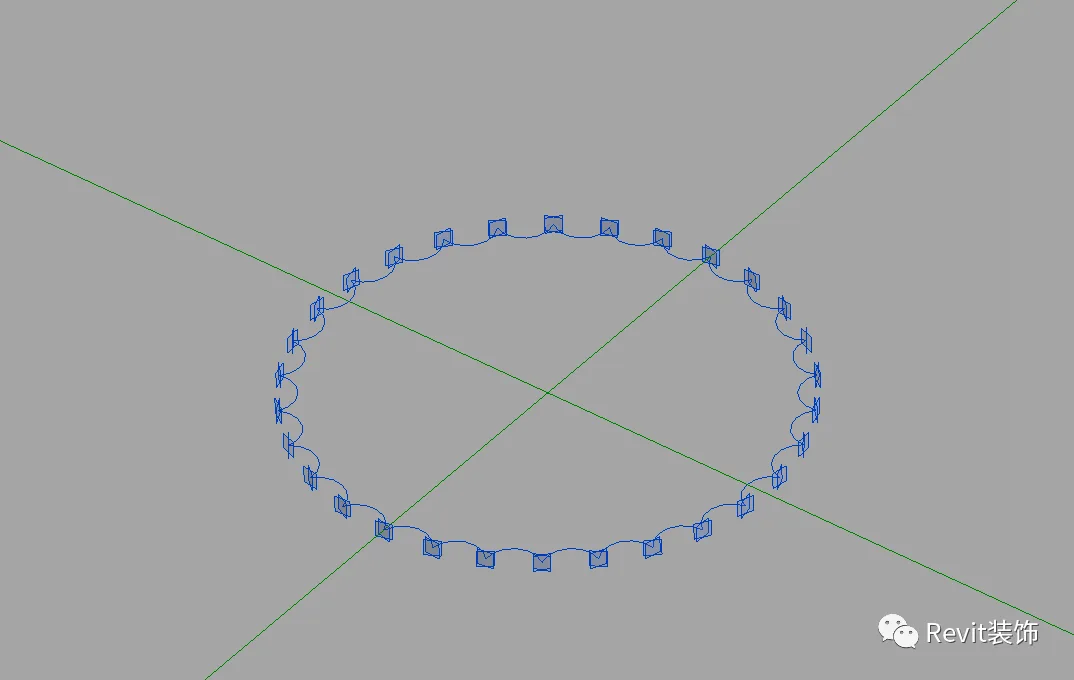
Copy the profile and align it with the desired elevation.
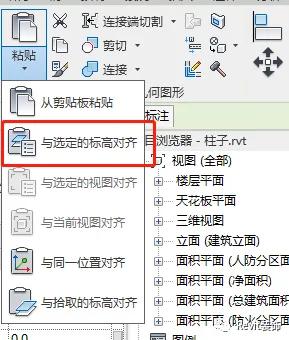
It is important to rename the elevation first to ensure accurate copying to the target height.

Select the geometry and create the shape.
The top section design is similar to the first method; please refer to the video tutorial for detailed guidance.
Finally, rename the family, load it into your project, and enjoy an adjustable column height.
For a full step-by-step guide, please refer to the attached video tutorial.


Must log in before commenting!
Sign Up