Today, we will learn how to draw structural columns in Revit. The process is straightforward—let’s explore it step by step!
How to Draw Structural Columns and Add Text in Revit
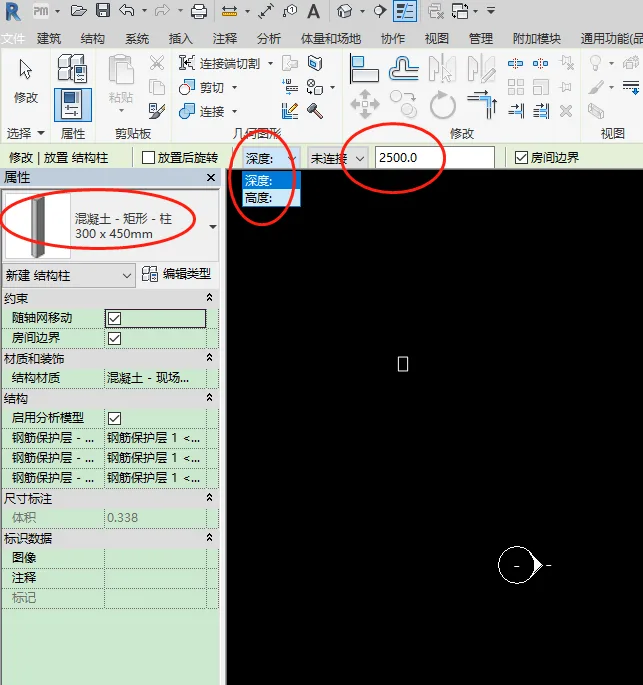
Start by selecting the Column tool from the Structure tab. Choose the desired column size and set the base level to Elevation 1. Then, use the Height option to enter the column’s height and click OK.
Note: Depth refers to the downward offset of the column relative to the floor elevation, while Height indicates the upward offset from the same elevation.
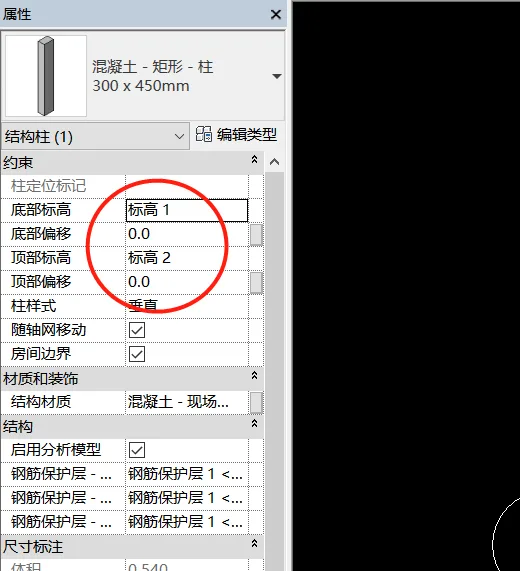
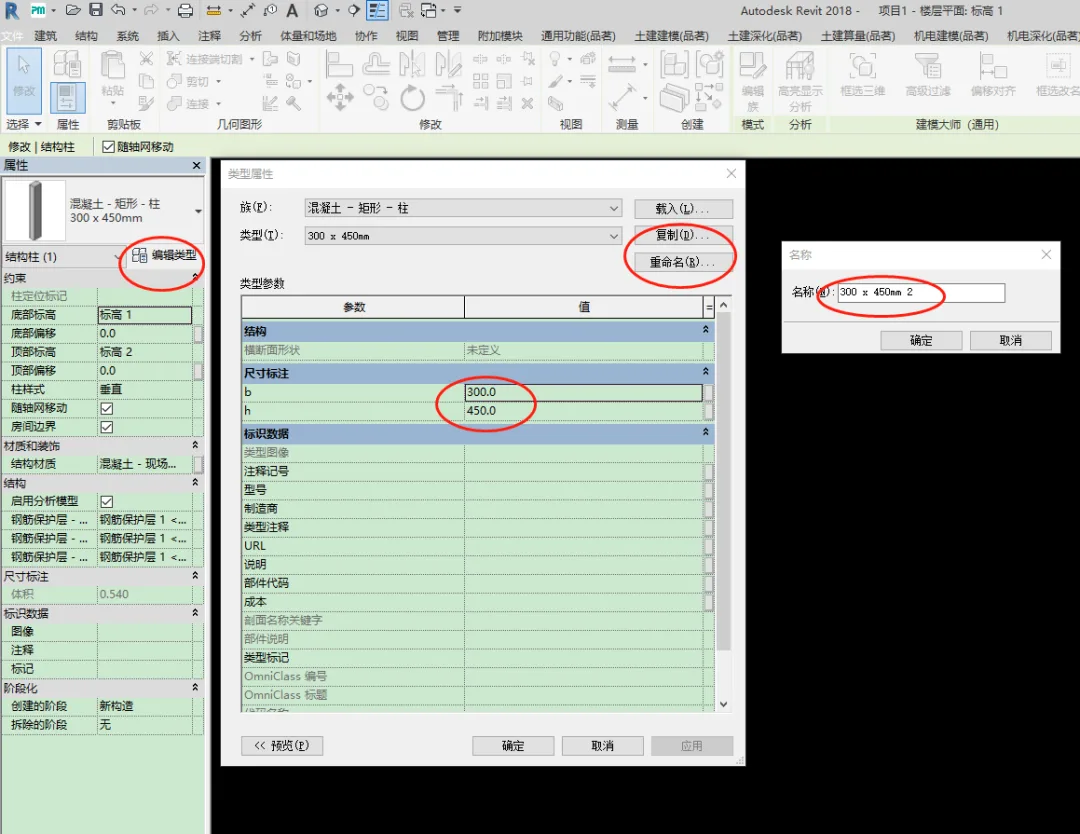
Once the column is placed, if you need to adjust its height, simply select the column and modify the value in the left property panel. You can also click Edit Properties to duplicate the column’s size type, making it easier to place similar columns elsewhere in your model.
Additionally, when a column is selected, you can customize its material and color from the Material and Finish section within the property panel.


Must log in before commenting!
Sign Up