Add Model
There are several ways to add models to your D5 project.
Direct Import
The D5 renderer supports direct import of model files in the following formats: .skp, .fbx, .d5a, .3dm, and .abc.
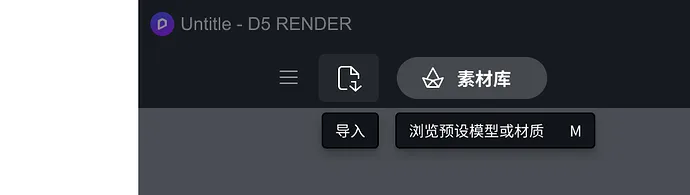
Create a new project from the welcome page or click the “Import” button in the navigation bar to select model files from your folder. You can select multiple files to import simultaneously.
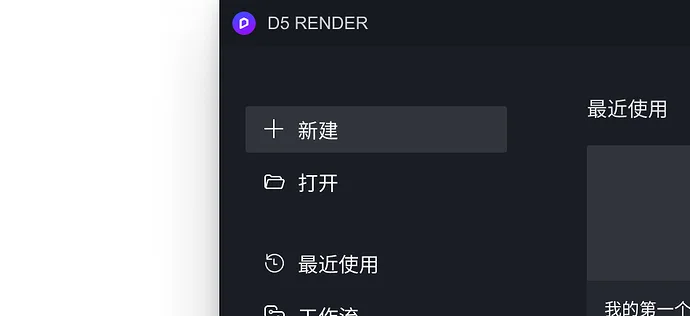
Alternatively, select ‘Open’ from the welcome page to directly read a model and create a project. If the model contains cameras or scene lenses, they will be imported and added to the D5 scene list.
Once imported, the model will automatically appear in the list of imported models. Click to load it into the scene.
Note: The .abc dynamic format supports importing only within a project and cannot be opened directly from the welcome page.
Material Library Models
Click to open the official D5 Material Library, which includes materials, indoor and outdoor models, and particle materials. After downloading, you can add them directly to your scene. View Material Library
Synchronize from Plugins
After downloading and installing the plugin, you can synchronize models directly from your modeling software to the D5 renderer. View workflow plugin
Adjusting Models
Scene Tools
The scene tools are located in the upper left corner of the viewport and include two categories: model tools and material tools.
Model Tool: When selecting a light source or model, use the “three-axis” widget to adjust position and rotation. The “zoom” tool allows resizing.
Material Tool: The “Select Material” tool lets you pick materials on the model, while “Apply Material” copies the selected material and applies it to other models.
Import models into the scene and select them with the mouse when unlocked. Use the “Move and Rotate Tool” to adjust the model’s coordinates and rotation. The coordinate axis center defaults to the bottom center of the model.
Drag the arrows on the coordinate axis to move the model along a single X, Y, or Z direction. Dragging between two arrows moves the model within the XY, YZ, or ZX plane.
Click the semicircle on the coordinate axis to rotate the model. Drag the square at the axis center to freely move the model anywhere in the scene.
Hold the Shift key while dragging an axis to copy the model or light source along the drag direction.
Select the “Zoom” tool (shortcut key V) and drag any axis to resize the model. You can lock the “Size” parameter in the right sidebar to adjust all directions simultaneously or just one axis.
To edit a model’s material, use the “Select Material” tool and click the desired material in the scene. You can also lock the model first, then click on its material to open the material editing panel.
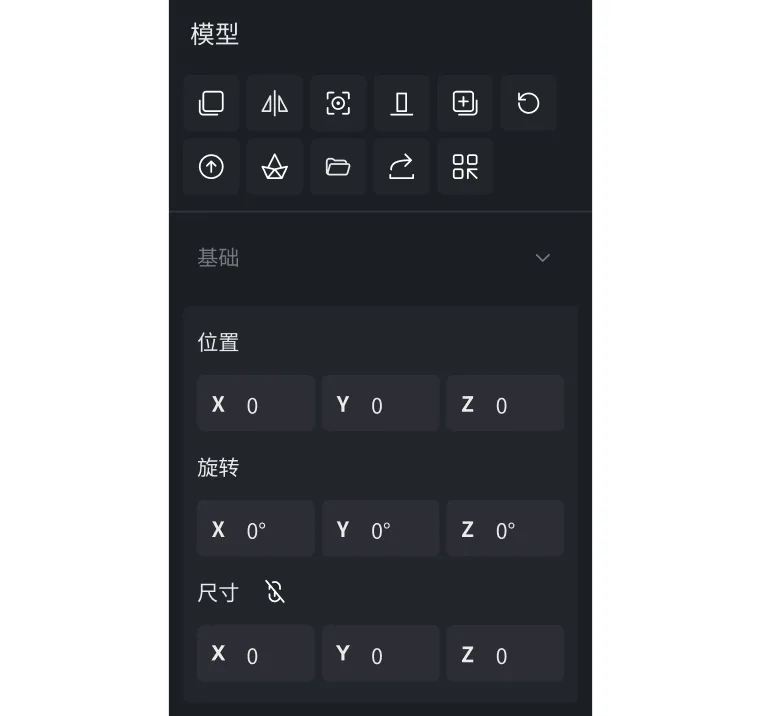
Parameter Adjustment
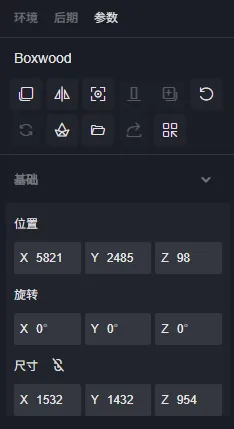
After selecting a model, the “Parameters” panel on the right displays options to adjust position, rotation, and size.
Model Operations
When an unlocked model is selected, relevant parameters appear on the right for adjustment.
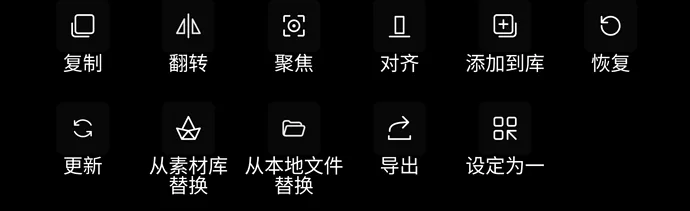
Copy
Click ‘Copy’ to create an identical model at the mouse position that moves with your cursor.
Using the Ctrl+D shortcut copies the model with linked materials, so changes to one model’s material will update the other’s as well. To copy without linking materials, use Alt+D.
Set Unique
If a copied model’s material is linked, you can unlink it by clicking “Set Unique.”
Flip
The ‘Flip’ function mirrors the model along the X-axis (red axis).
Focus
Select an object and move the camera to center it fully in the main view.
Align
For imported block models, select multiple models (hold Ctrl to select) and use the “Align” function. The models will align according to their original modeling coordinates, preserving their relative positions.
The first selected model acts as the reference and remains in place, while the others align to it.
For example, if you select models B, C, then A, model B stays fixed, and C and A align to B based on the original coordinates.
Replace with Material Library Model
Click the “Replace from Material Library” button to select a model from the library to replace the selected model in your scene.
Replace with Local Model File
Click the “Replace from Local File” button to select a model file from your computer to replace the current scene model.
Update Model
After modifying and saving the source model file, click “Update Model.” D5 will synchronize the model to the latest version, matching the source file.
You can continue working in the scene while the update progresses, which is displayed in the resource list. A completion flag appears once done.
If the model’s file name or location changes, updates may fail. In that case, try importing or replacing the model again.
Note: Updated and replaced models do not support undo or restore. Please confirm before proceeding.
Export and Add to Library
Import a model into D5, then click “Add to Library” to save the adjusted model to “Material Library” → “My Library” for reuse in other projects. You can also export it as a .d5a file and save it locally.
Grouped models also support exporting and adding to the library.


Must log in before commenting!
Sign Up