When exchanging data between infrastructure BIM software Civil 3D and building BIM software Revit, the initial step involves coordinating their coordinate systems. By sharing the same coordinate system, building models divided by location can determine their relative distances and positions during project integration, ensuring accurate spatial relationships across the entire project.
Revit is widely used for building modeling, while Civil 3D offers powerful site processing capabilities. Since these platforms operate differently, their data formats vary accordingly. Typically, terrain surfaces processed in Civil 3D are imported into Revit to establish the correct spatial relationships. Once positioned, detailed building designs can be completed in Revit. Because Revit models tend to be large and irreversible, lightweight processing is often necessary to improve software performance. This article presents two methods for importing Civil 3D surfaces into Revit.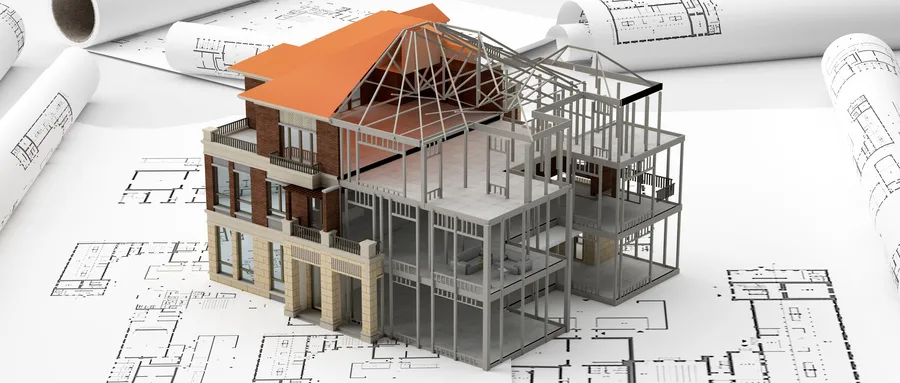
(1) Option 1: Point Data Interaction
This method involves exporting points to facilitate data exchange. First, create a surface in Civil 3D and open the point style settings. Extract points from the surface by selecting it and using the extraction command. Convert AutoCAD points to Civil 3D points, then export these points as a .csv file.
Next, open Revit and navigate to the Terrain Surface tool under the Massing & Site tab. Create a new surface by importing the specified point file. This process successfully imports the Civil 3D terrain into Revit.
To summarize, the steps are: open the point style on the surface, extract points, convert them to Civil 3D points, export the point file, and finally import this file into Revit.
(2) Option 2: Surface Data Interaction
The second approach involves direct surface data import and linking. After creating a surface in Civil 3D, open its triangular mesh and export the terrain as a DWG file.
In Revit, open the exported DWG file as a link (similar to an external reference), or import the DWG directly. Then, access the Terrain Surface tools within the Massing & Site tab and select “Import Instance.” Choose the surfaces to import, completing the process of bringing Civil 3D terrain into Revit.
Once imported, additional elements such as road guardrails, streetlights, simulated vehicles, vegetation belts, and material assignments can be added to the Revit model.
Revit excels at visualizing building structures but is less effective for site design visualization. Civil 3D, however, offers outstanding visualization for infrastructure projects, accurately approximating real terrain and enabling detailed site surface creation. Processing site data and road surfaces in Civil 3D before importing into Revit allows for collaborative workflows.
During this process, models built in both Civil 3D and Revit maintain high fidelity, closely reflecting actual ground contours and real-world scenes. The clear and accurate display enhances the reliability and persuasiveness of BIM documentation.


Must log in before commenting!
Sign Up