This article is based on learning notes from the official account: Dream.
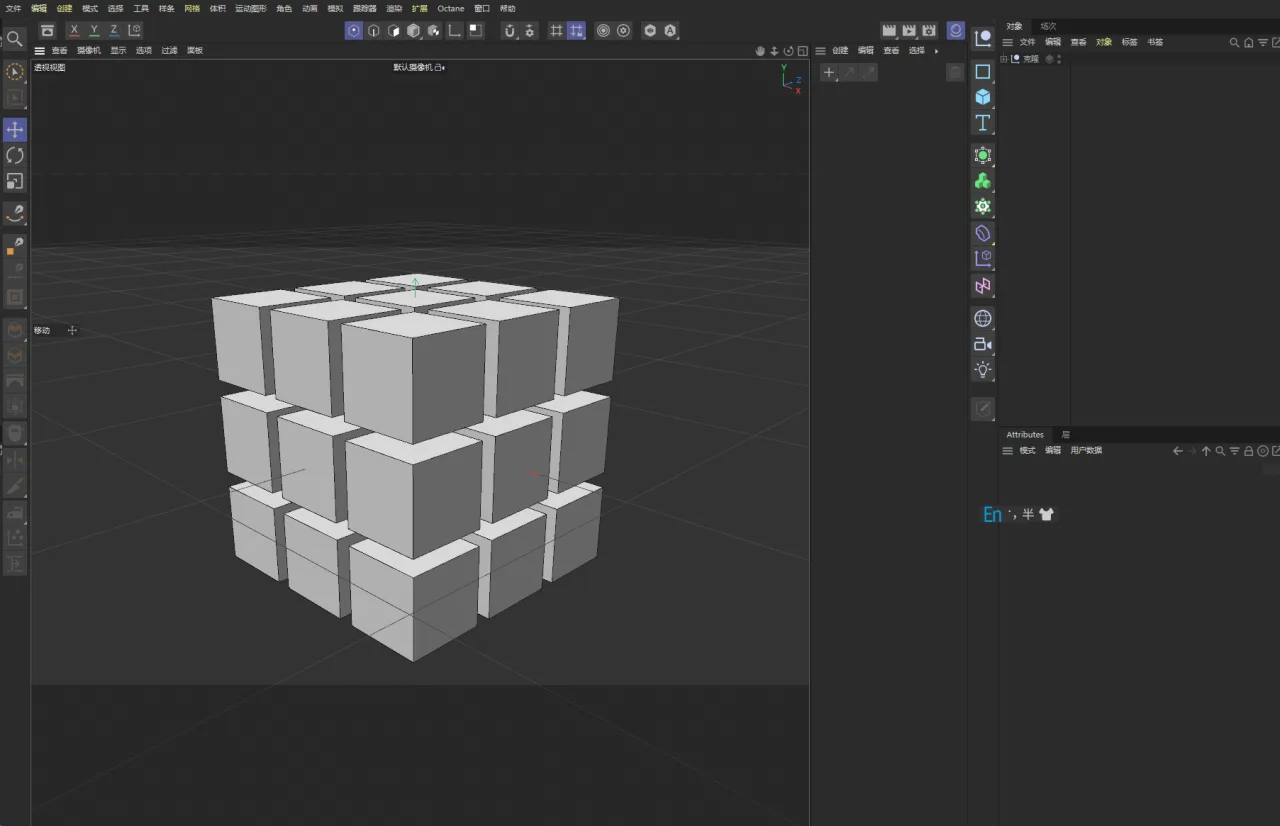
First, create a 3×3×3 cube array.
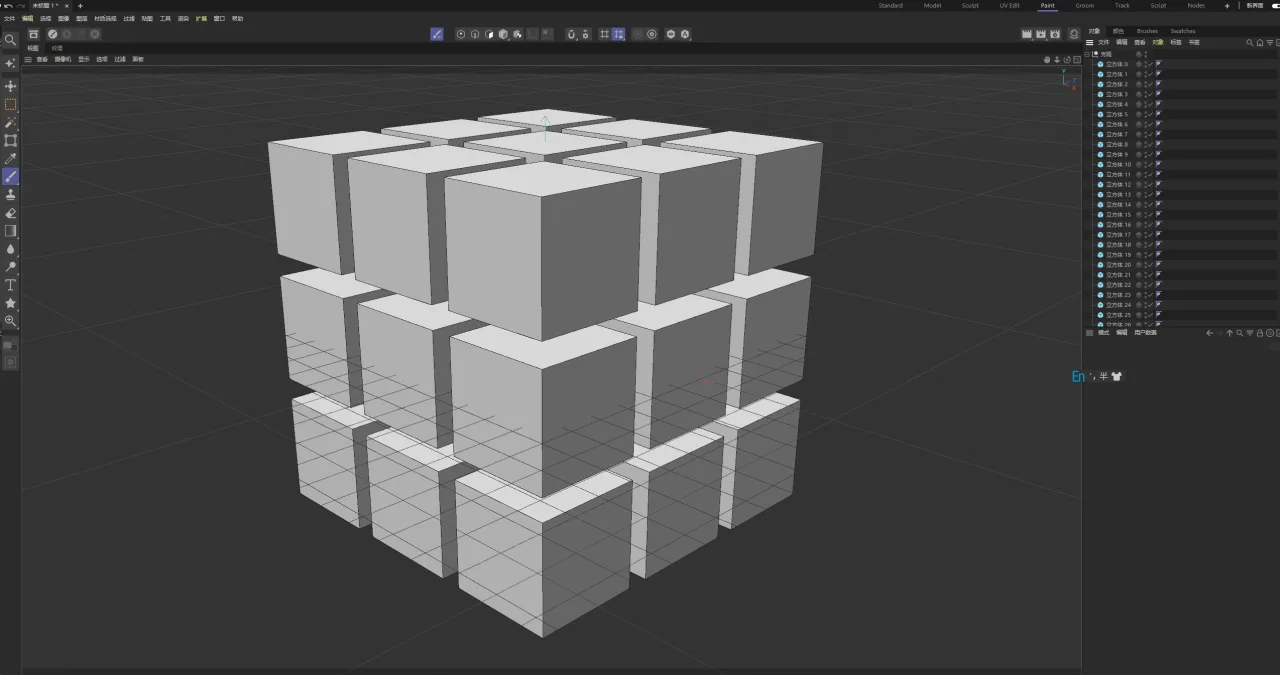
Next, switch to the Paint interface.
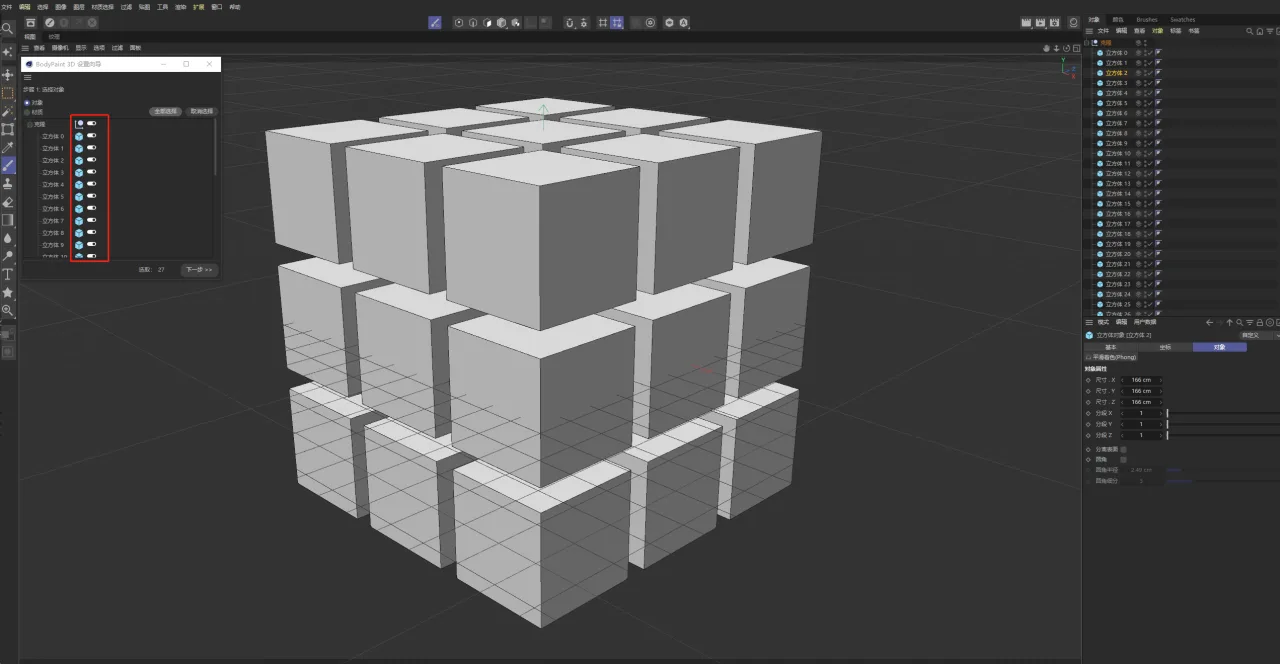
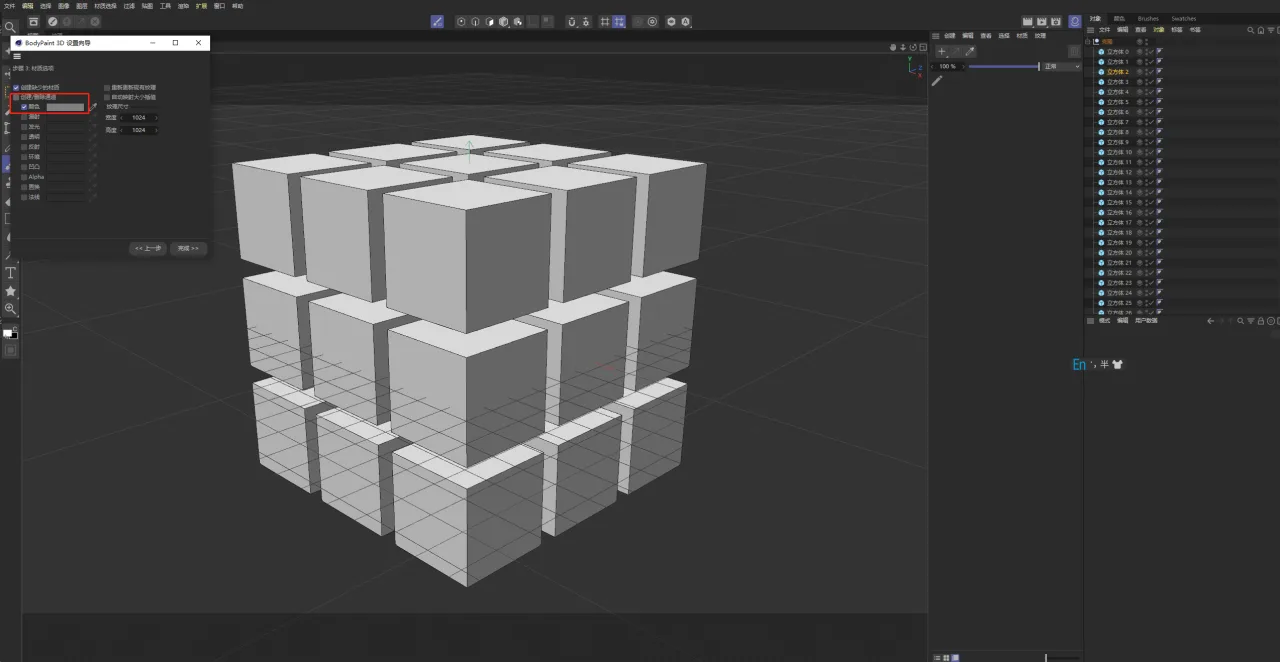
Now, open the BodyPaint interface settings. Here, select all materials for every cube.
The white button indicates a selected status, while the red button means it is not selected.
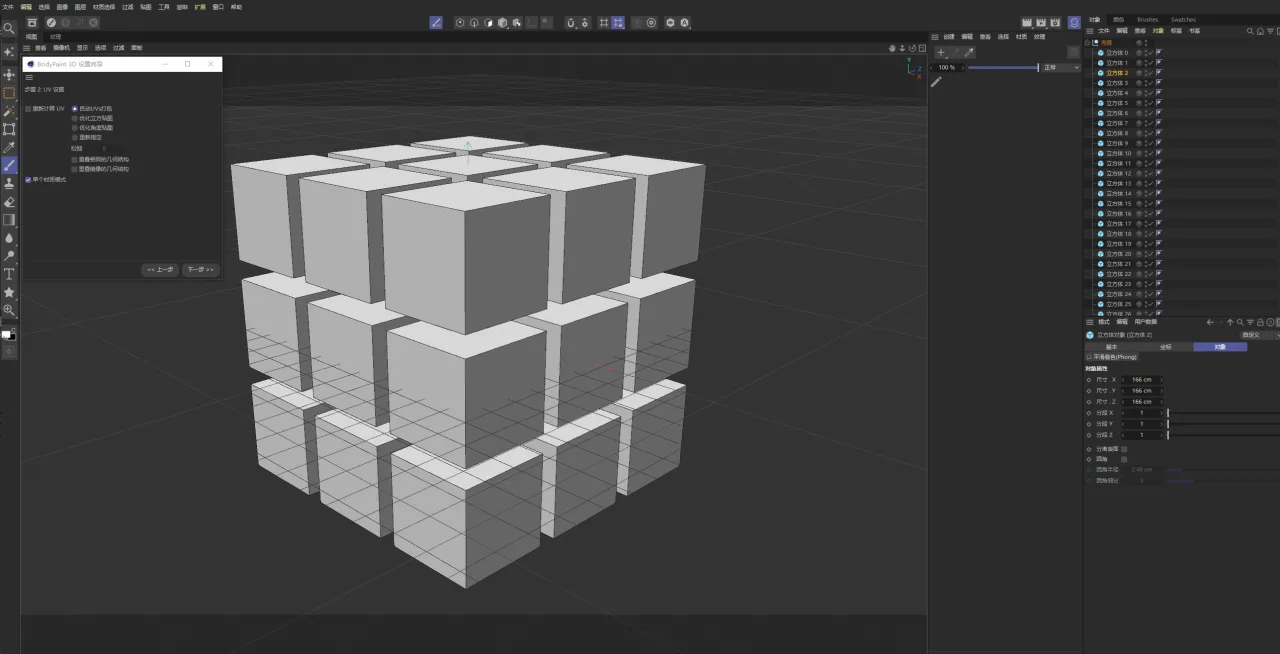
Proceed to the next step. At this stage, you can disable the recalculation of UVs. Turning off UV recalculation is a good practice depending on your needs: if you want to separate material IDs, keep it enabled; but if you plan to paint textures directly, it’s best to disable it.
Click “Next” again. If you check the red box, a 1024-sized texture will be created for each material ball. Since we only need the materials without mapping, leave this unchecked.
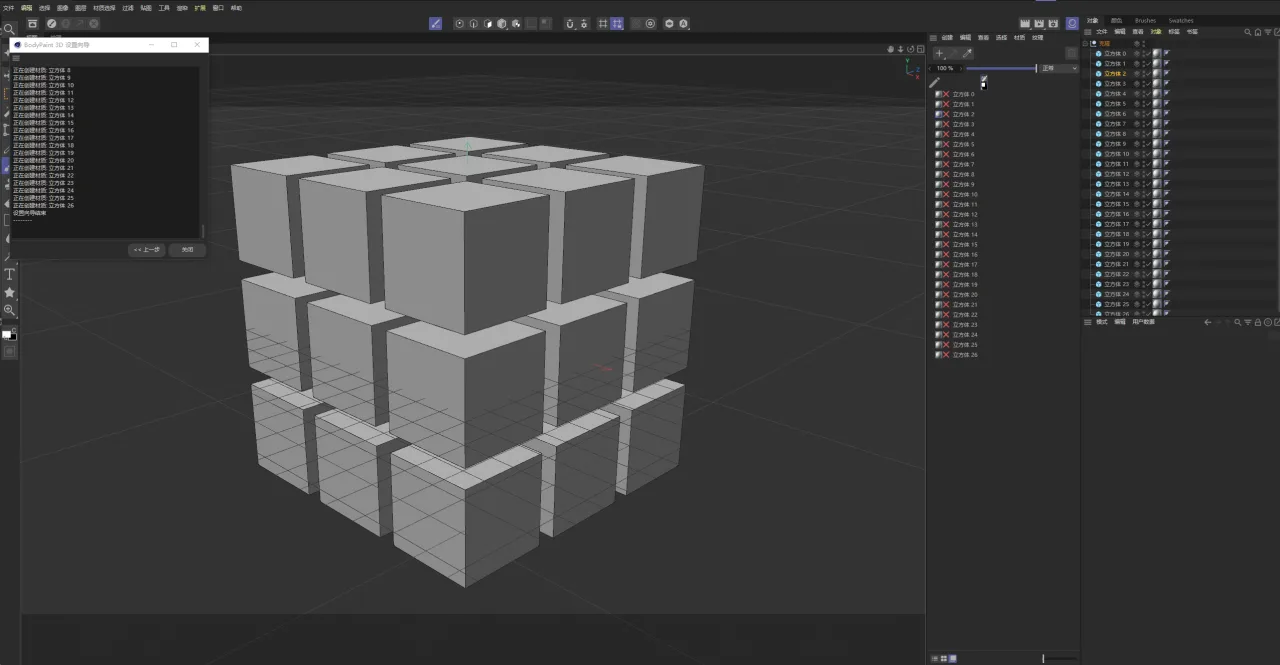
Simply proceed to the next step to complete the creation. The material balls marked with a red “x” on the right are the ones we have set; if a material ball contains a texture, it will show a green checkmark.
Expanding on the workflow:
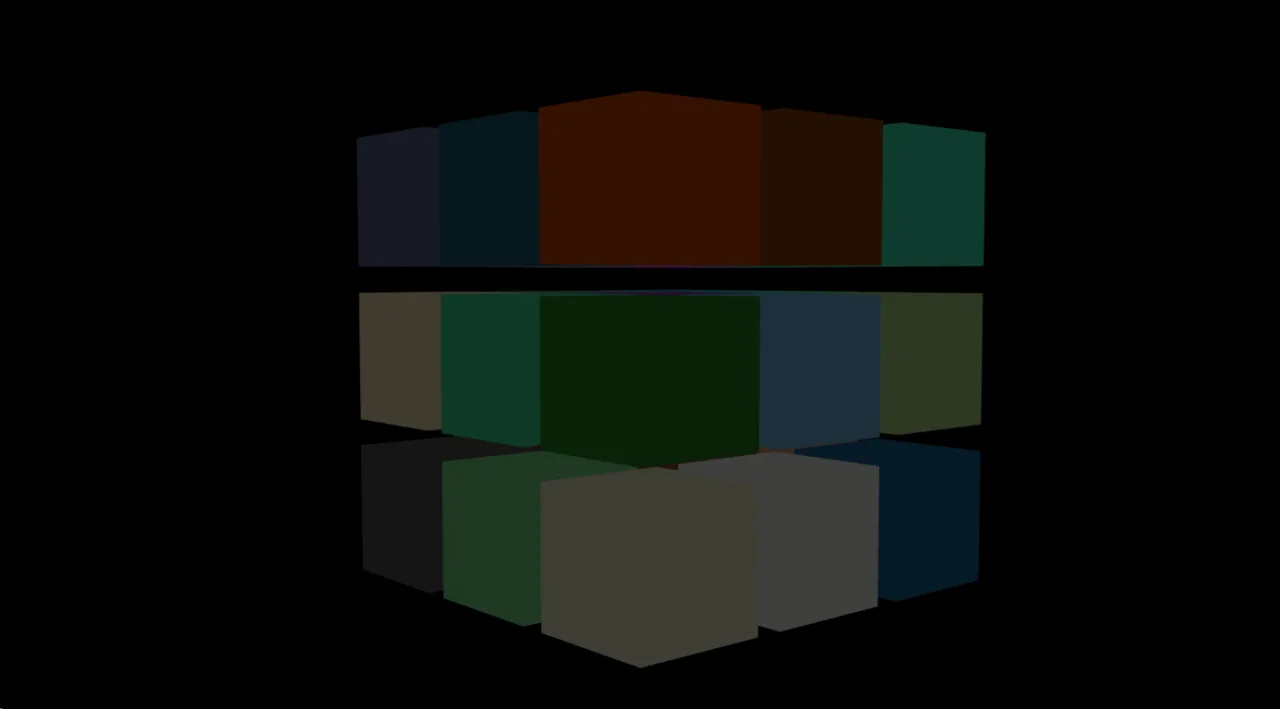
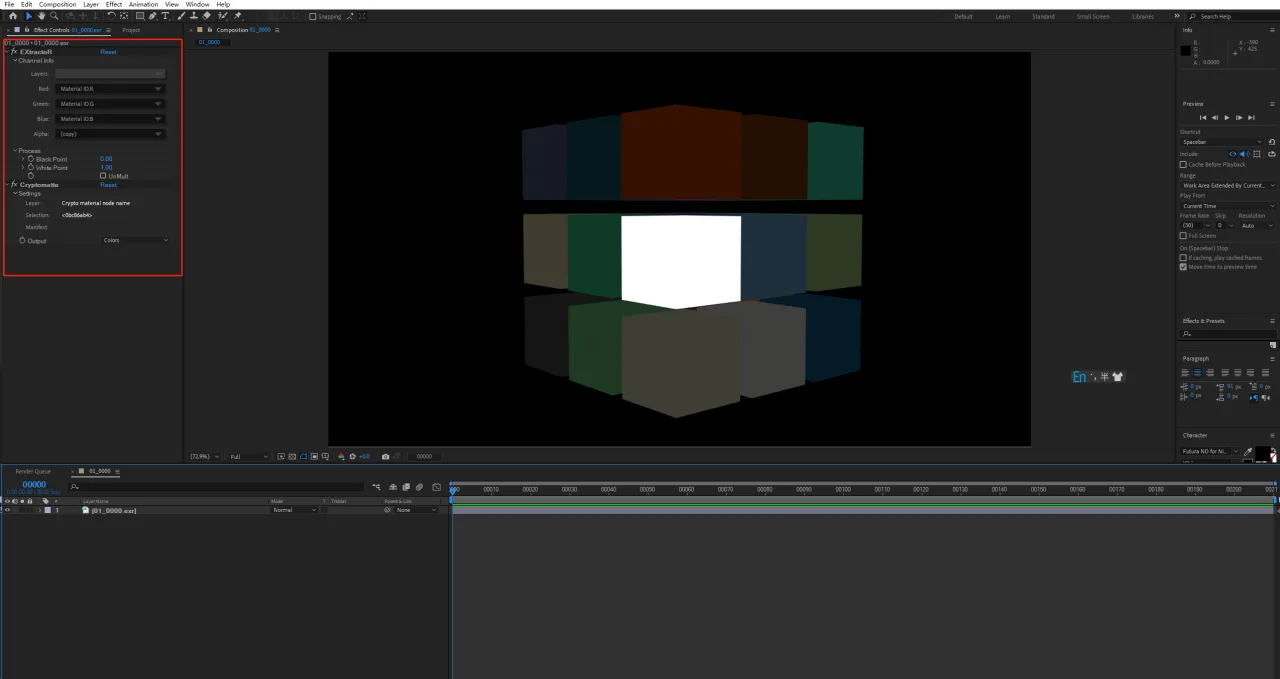
- Select the Octane renderer and choose the material ID (cryptomatte) channel.
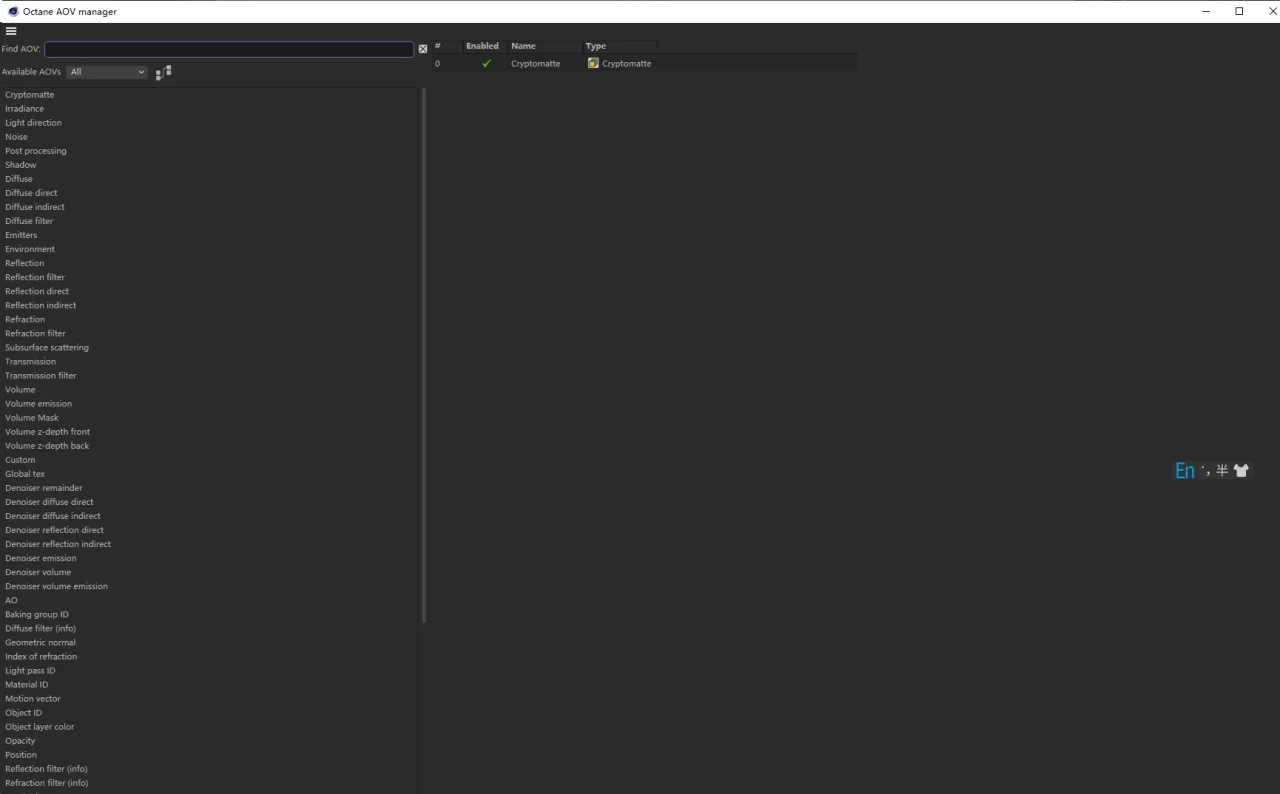
- Choose the “oc exr” format for output settings.
- Import the file into After Effects and select the model you need.


Must log in before commenting!
Sign Up