In our daily work, shortcut keys play a crucial role in boosting productivity. These keys come with both default settings and customizable options. If you ever forget the default shortcuts, simply hover your mouse over the menu icons to see the available shortcuts, as shown below:

Customizing shortcut keys according to your memory and workflow habits can further enhance convenience. Let’s explore how to set up your own shortcuts in Revit for easier use.
How to Set Shortcut Keys
Typically, Revit software assigns shortcut keys automatically. However, you can customize them to fit your preferences by following these steps:
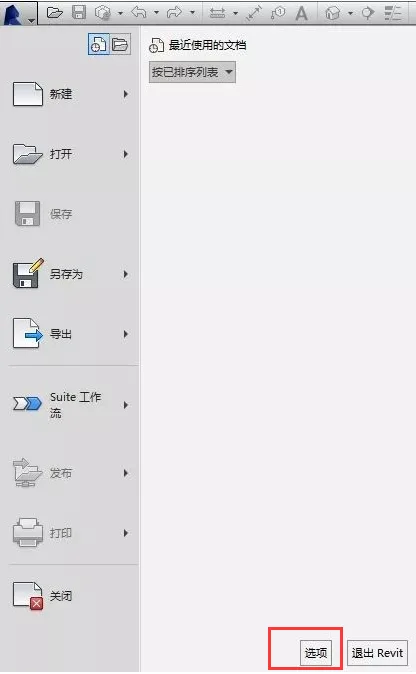
1. Open Revit and click on the application icon, then select Options from the dropdown menu.
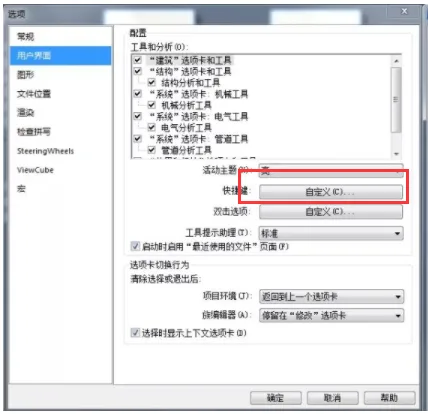
2. In the Options window, click on User Interface.
3. Within the User Interface section, locate the Customize button next to Shortcut Keys and click it.
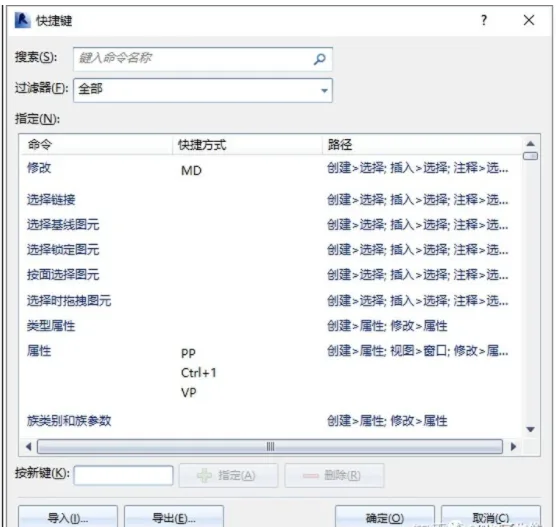
4. This will open the Shortcut Keys window.
5. In the Shortcut Keys window, you can view and modify existing shortcuts. To change a shortcut, select the desired command and enter your new key combination.
Keep in mind not to overdo it by assigning too many shortcuts, as it may become difficult to remember them all. Focus on setting shortcuts for around a dozen of your most frequently used commands.
After customizing your shortcuts, it’s a good idea to write them down or save a reference list. This will save you time instead of having to look them up in the system every time.


Must log in before commenting!
Sign Up