Background
After completing a project in Revit, it’s important to provide feedback to clients or supervisors. Simply submitting the Revit model can be inconvenient, especially if they don’t have Revit installed or aren’t familiar with the software. Most of the time, they just want to see a rough overview of the results. So, how can we address this issue? One effective solution is to save the project as an HTML file (a web page format), which makes it easy to open and view without specialized software.
Method
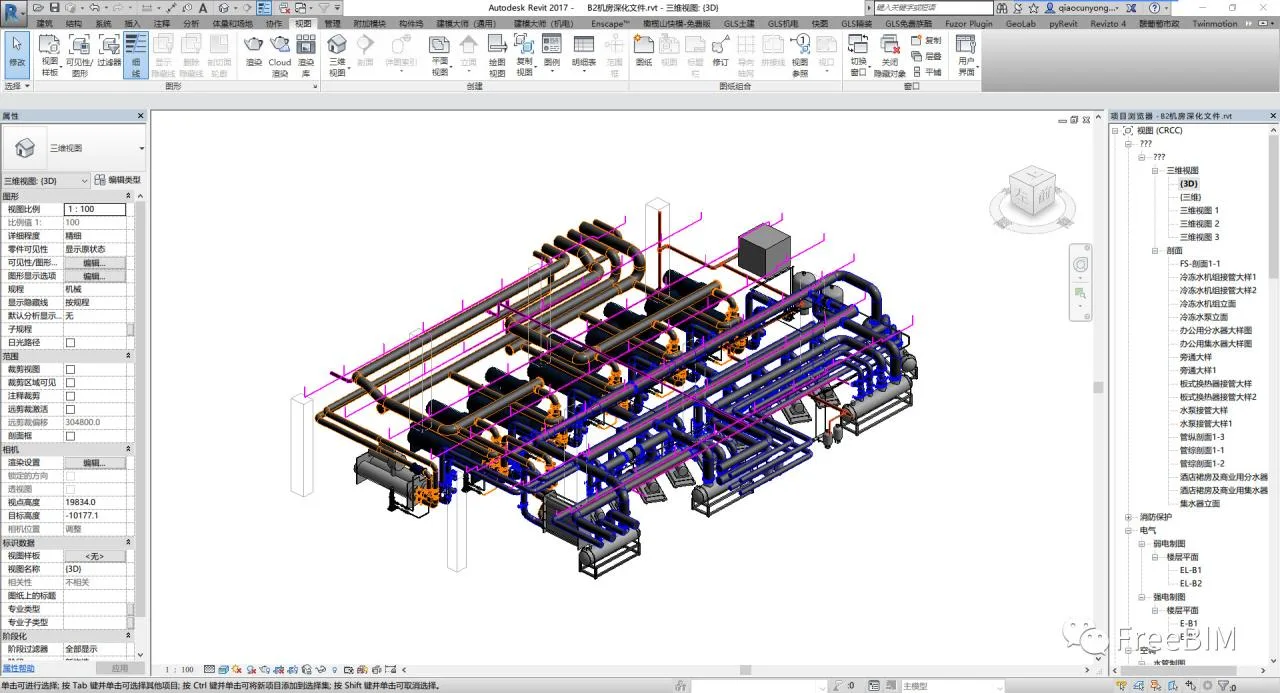
1. First, open the Revit file you want to export.
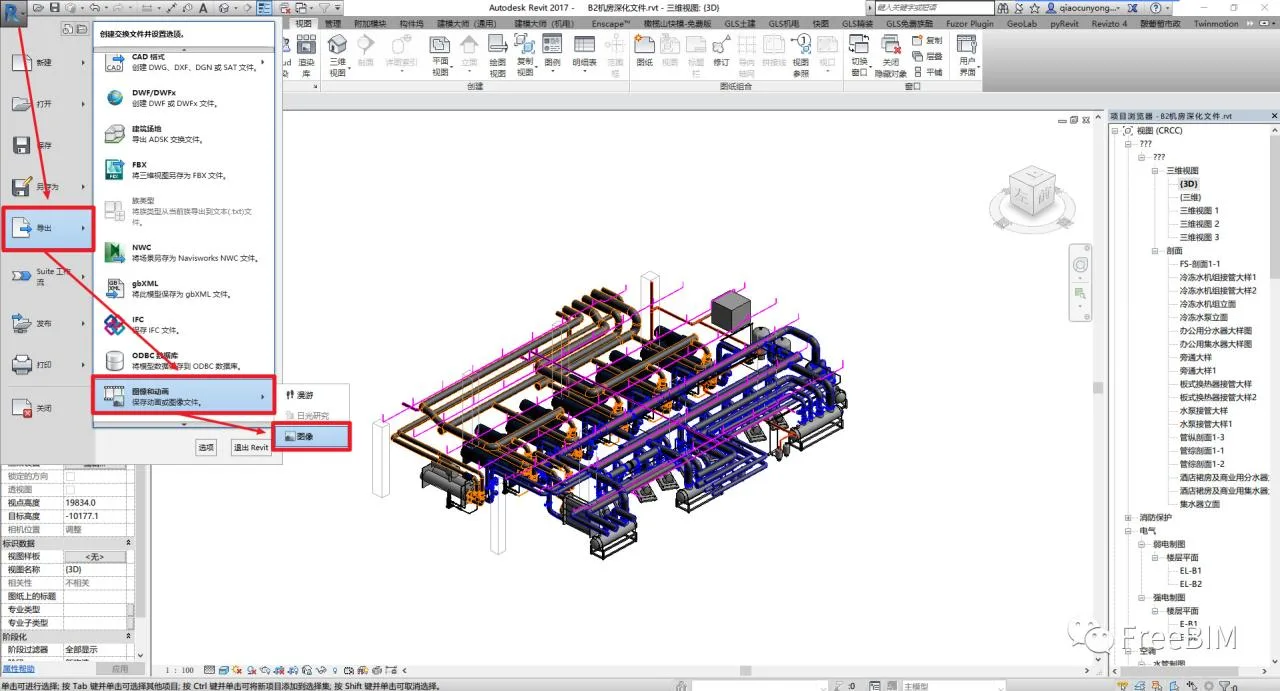
2. Click the “R” button in the upper left corner, then navigate to Export > Images and Animation > Images.
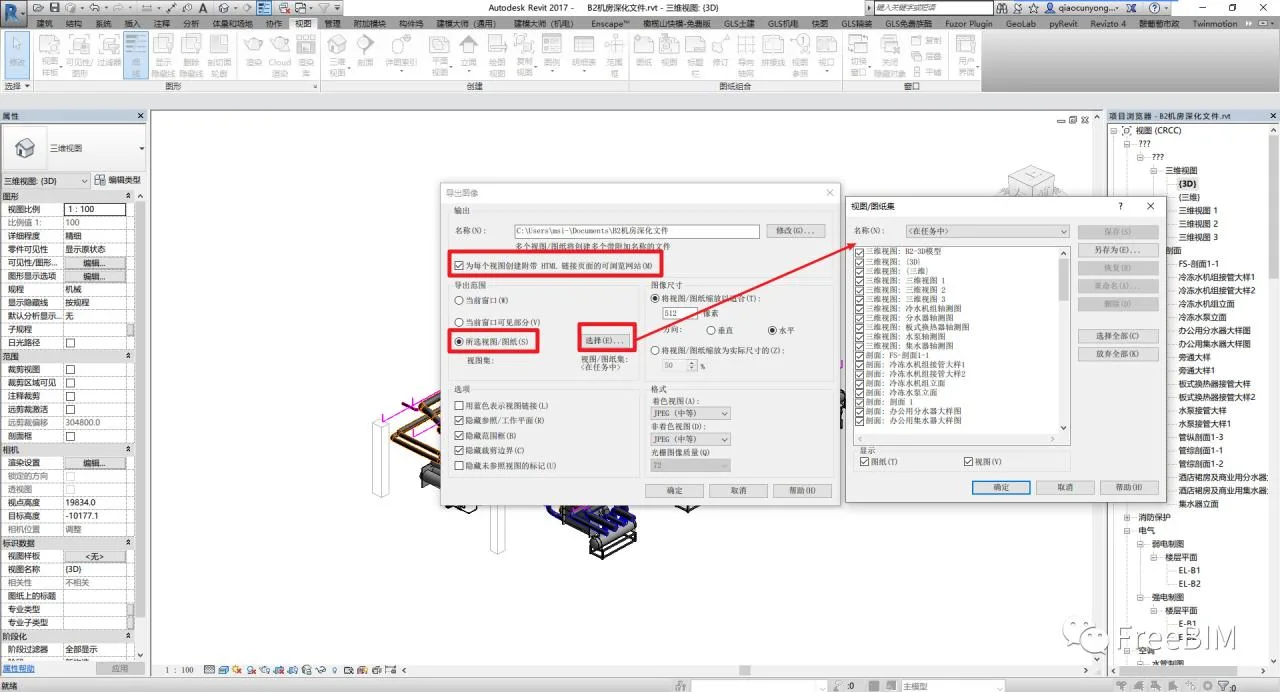
3. In the pop-up dialog box, select Selected Views/Sheets, then click the “Select” button to choose which views and sheets to export. Make sure to check the option Create a browseable website with HTML linked pages for each view. Finally, adjust the image size and format according to your quality requirements.
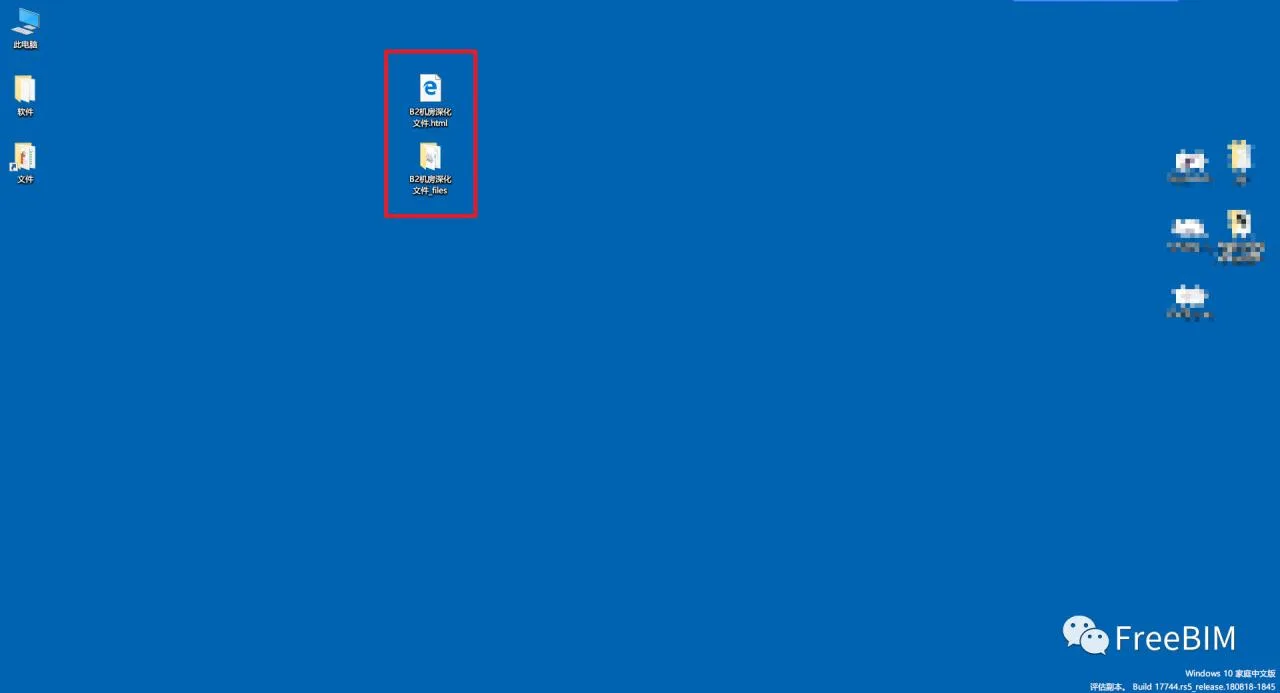
4. Once the export is finished, you can open the Revit project as a webpage for easy viewing.
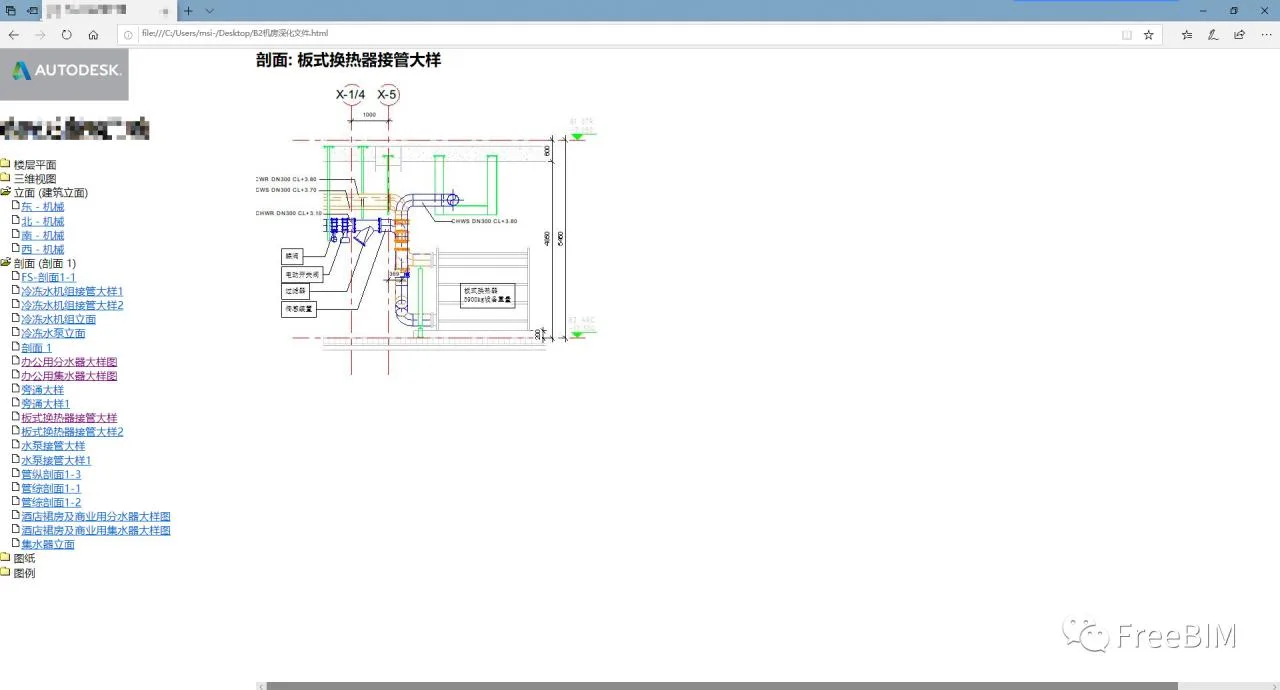
Note: What we export here are static images of each view and drawing, not the 3D model itself. The advantage is that the webpage organizes and categorizes these images neatly for easy browsing. For an enhanced experience, you can combine this with a cloud-based 3D model viewer, such as Viewer, to display interactive models alongside the exported views.
Picture
Source: FreeBIM
Author: Qiao Yongbin


Must log in before commenting!
Sign Up