Source: Rhino KeyShot Tribe

Rendering Process:
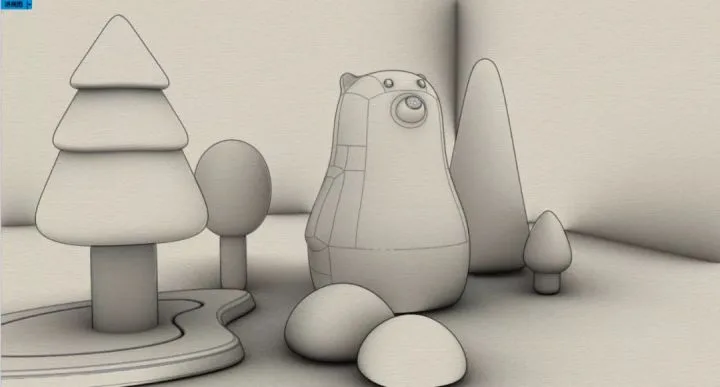
Start by opening Rhino and setting up your scene. Combine the Rhino model with subD to create trees, then arrange the teddy bear and trees thoughtfully. Composition is critical—it directly impacts the final render quality. Even with excellent lighting and materials, a poor composition can ruin the outcome. Below is the scene setup:
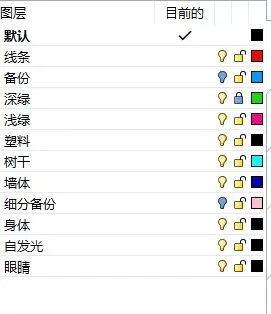
2. It’s good practice to organize your materials into layers before exporting to KeyShot. This avoids unlinking each part later, significantly boosting rendering efficiency.
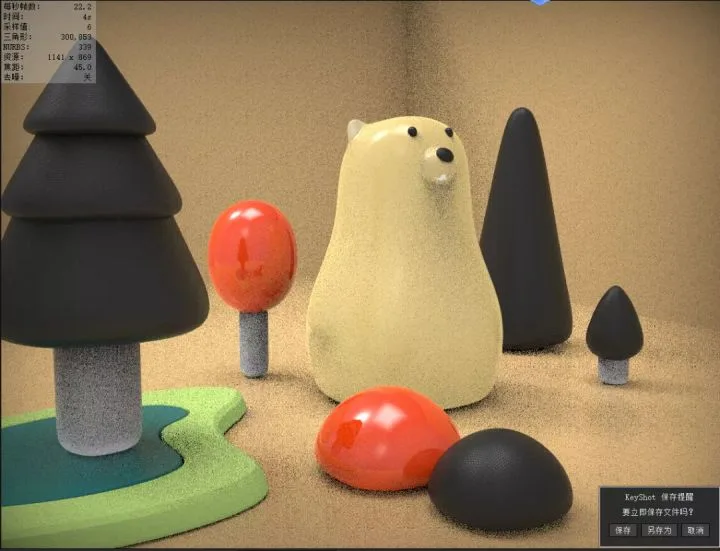
After layering, import the model into KeyShot. Before lighting, adjust materials simply to better observe lighting effects (except for diffuse reflection materials; others are fine).
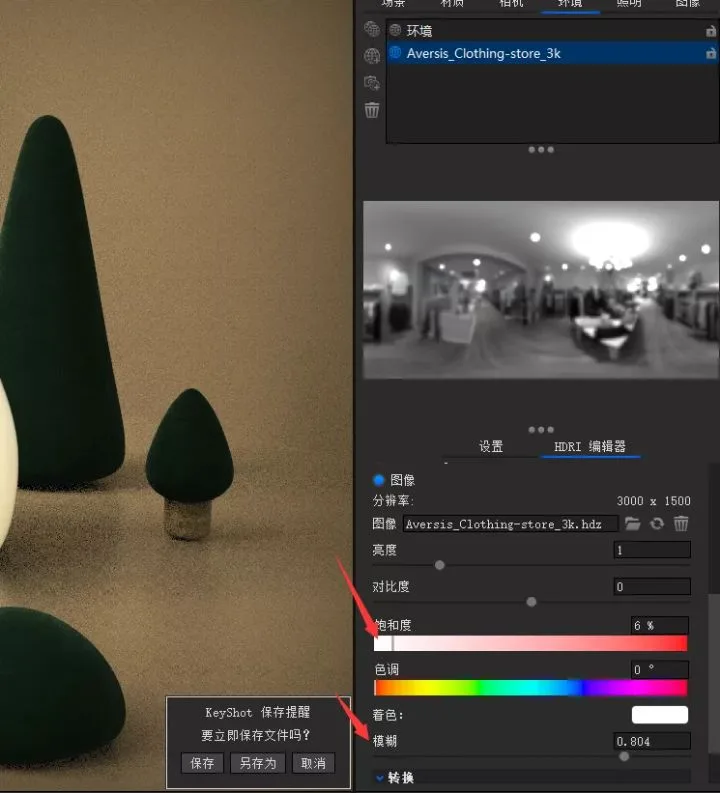
4. To begin lighting, add an indoor HDR environment. Hold Ctrl and left-click to rotate the HDR, creating a projection on the right side. Adjust the HDR’s blur to soften the environment and avoid harsh light spots.
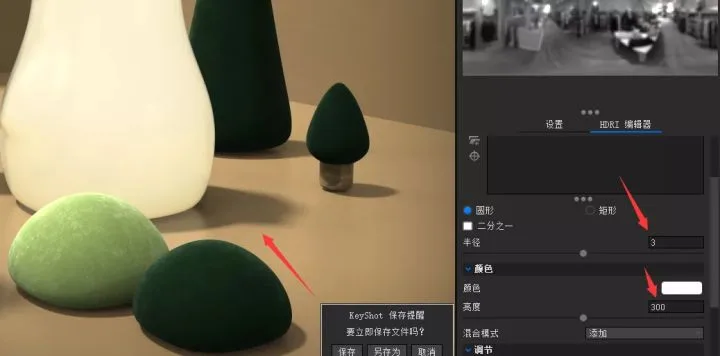
5. Next, add a contrast lamp to create a sharp projection. Create a new lamp, set its radius to 1, and increase brightness to around 1000. Position the lamp to form a clear shadow. To soften the shadow, increase the radius and reduce brightness until it looks right.
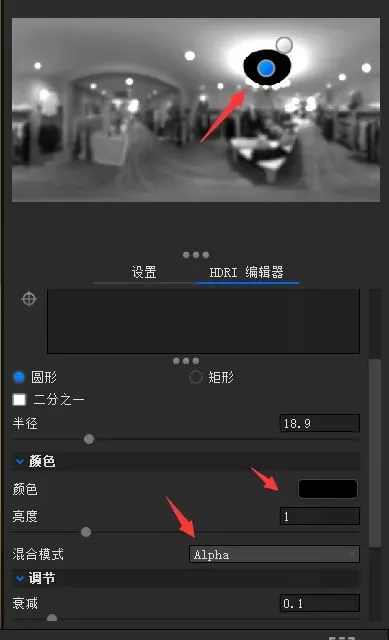
6. Use a shading device to cover unwanted HDR reflections on the object. Set the shading color to black and the blending mode to alpha to mask these areas.
7. With lighting nearly complete, adjust scene materials. Start with the ground and walls—apply plastic materials, tweak roughness, color, and add noise to bump maps for texture.
8. Next, focus on the wood grain material. Use metallic paint as the base, then add your prepared texture and adjust colors. Incorporate an occlusion node to enhance dark areas, connecting it to the base color. For roughness, blend texture with a color gradient using a color composite node, then link to roughness. Combine the wood grain texture with the color gradient for the transparent coating gloss, and use the wood grain texture for bump mapping.
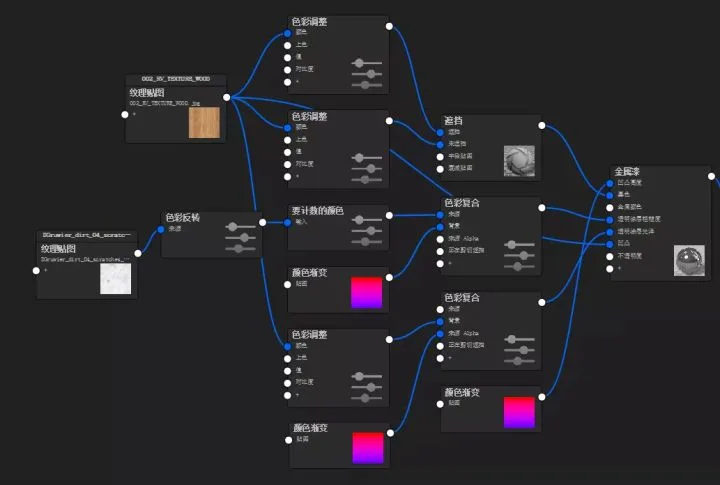
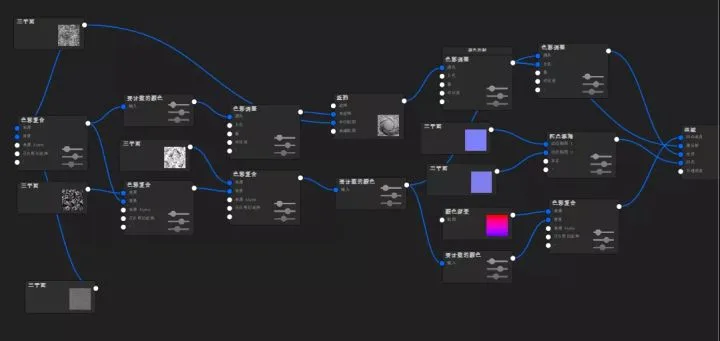
9. For the tree material, create a furry effect using velvet as the base. Use three planes to blend seam positions smoothly. Employ occlusion and color compositing nodes, and combine two textures for bump mapping via a bump addition node. The node setup is shown below.
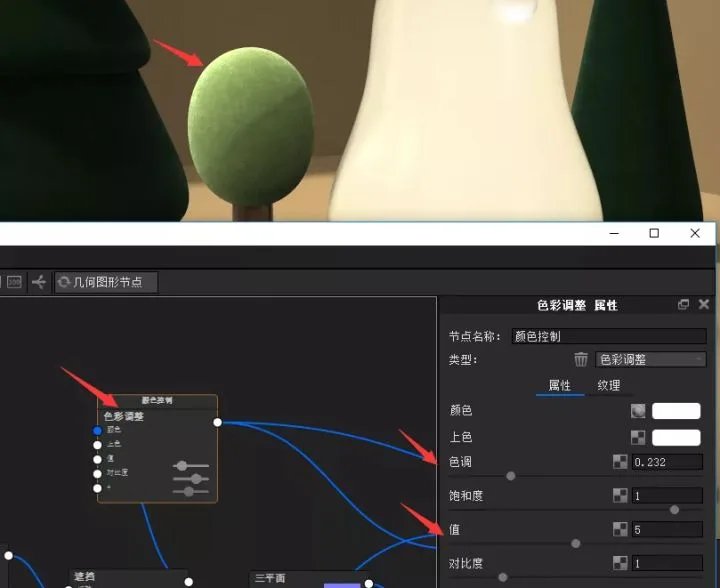
10. After finalizing this material, duplicate it and adjust the color by tweaking hue, brightness, and contrast parameters.
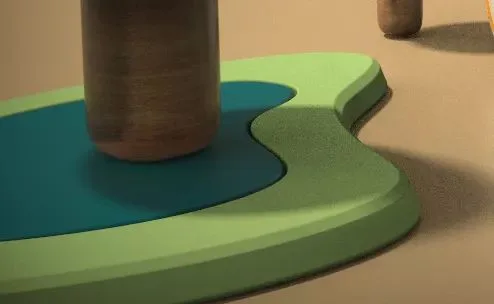
11. The small platform beneath the tree can be assigned a plastic material, with adjusted color, bump, and roughness settings.
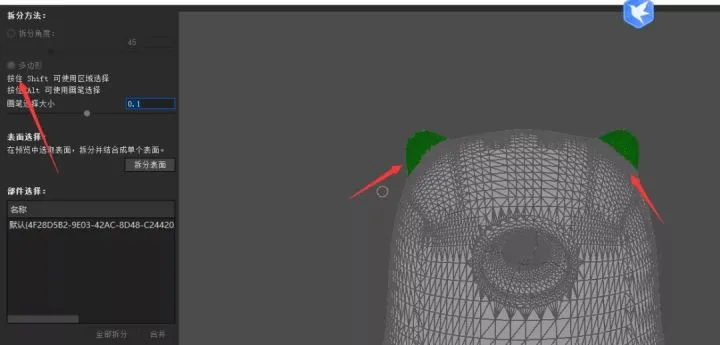
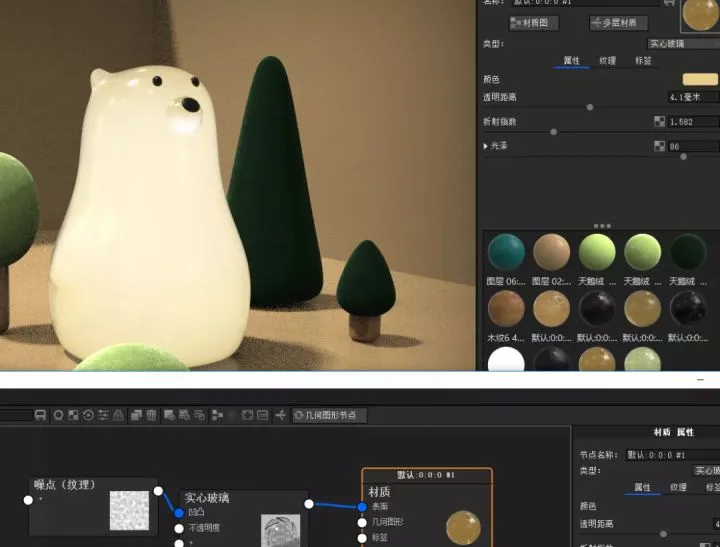
12. Finally, adjust the bear lamp. It consists of two layers: the interior and exterior. The inside uses self-illuminating materials, while the exterior requires more detailed adjustments. Since the model is a single piece, split the body, ears, and nose on the object surface for separate material application.
Apply materials to these parts separately. For the main body, adjust color and transparency distance using solid glass materials. This darkens the teddy bear’s edges and increases gloss roughness.
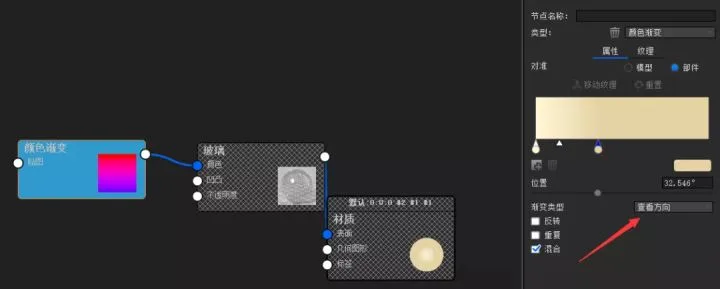
14. For the ears, apply a glass material with a color gradient. Change the gradient type to “viewing direction,” then adjust the black and white balance. Replace black and white with light yellow and a slightly darker yellow, then link this to the glass color.
15. For the nose, use solid glass with added noise connected to bump mapping. Adjust transparency distance and gloss to create a gradient effect on the nose color.
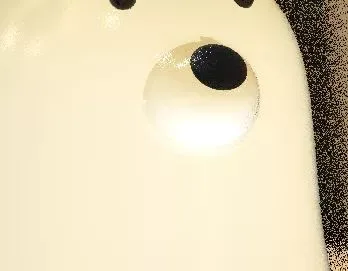
16. Apply black plastic material to the eyes and nose, adjusting roughness accordingly.
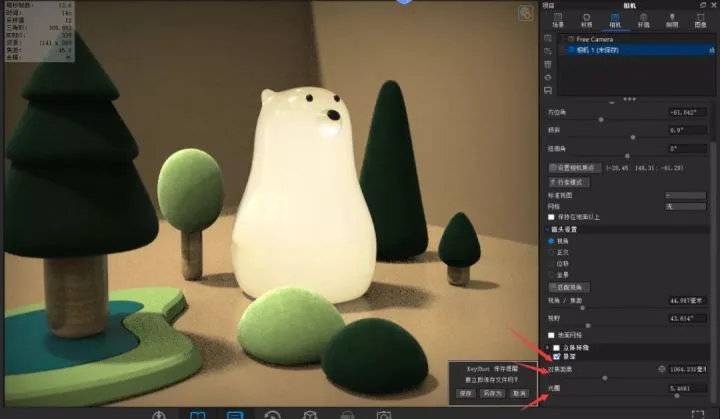
17. Switch to photography mode and tweak various camera parameters for optimal results.

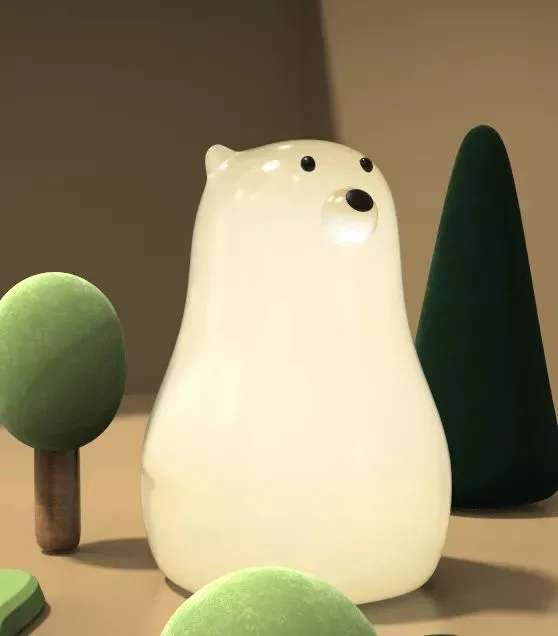
18. Enable depth of field, then set focus and aperture to enhance the final image.
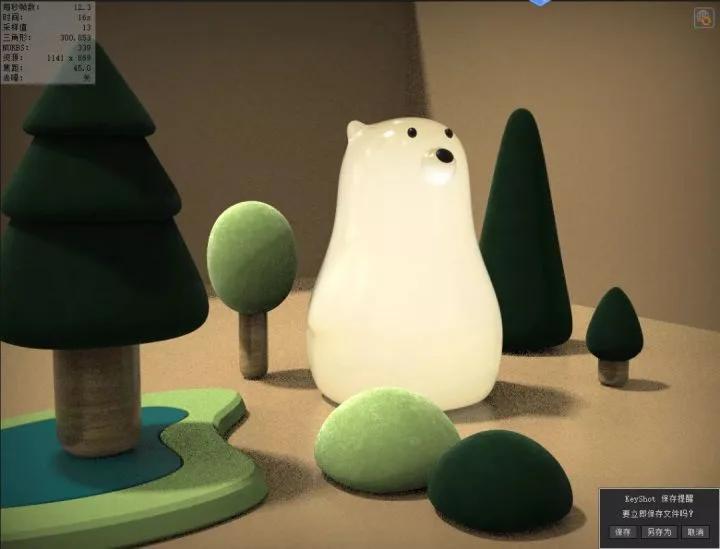
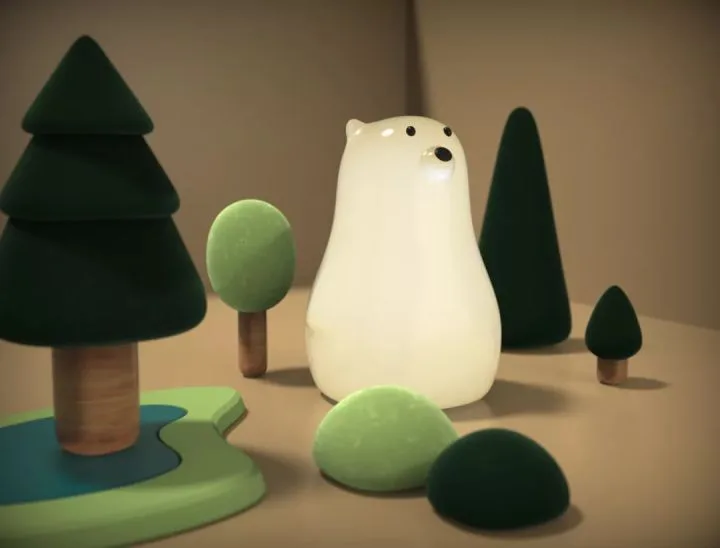
The final rendered image is shown below:


Must log in before commenting!
Sign Up