Source: Applied Consultation Society

Drawing a flat roof in Revit can be completed in just two simple steps.
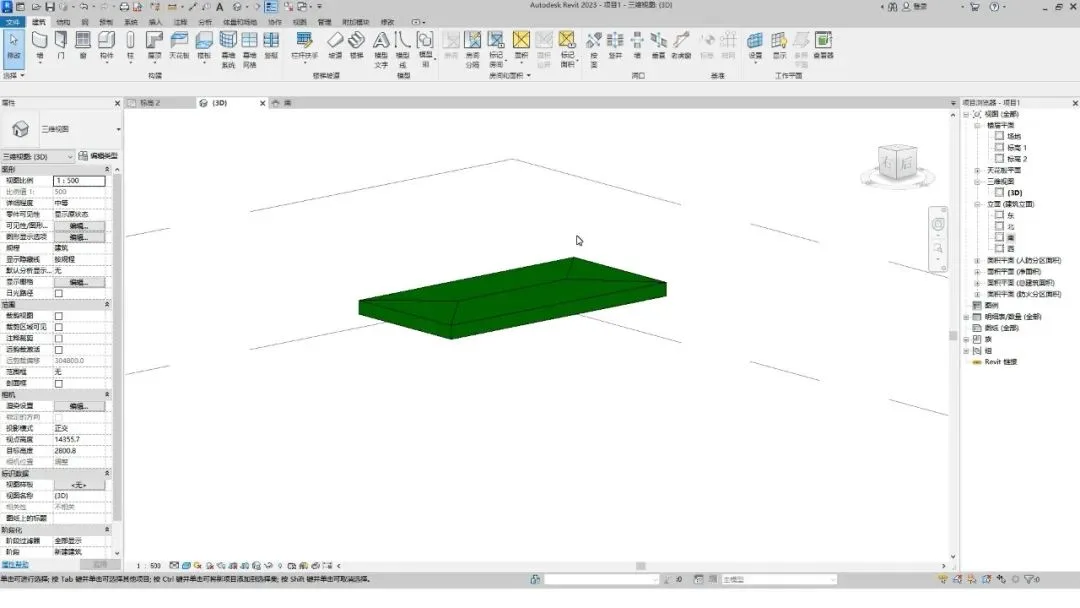
Here, we have prepared a roof without any slope in advance.
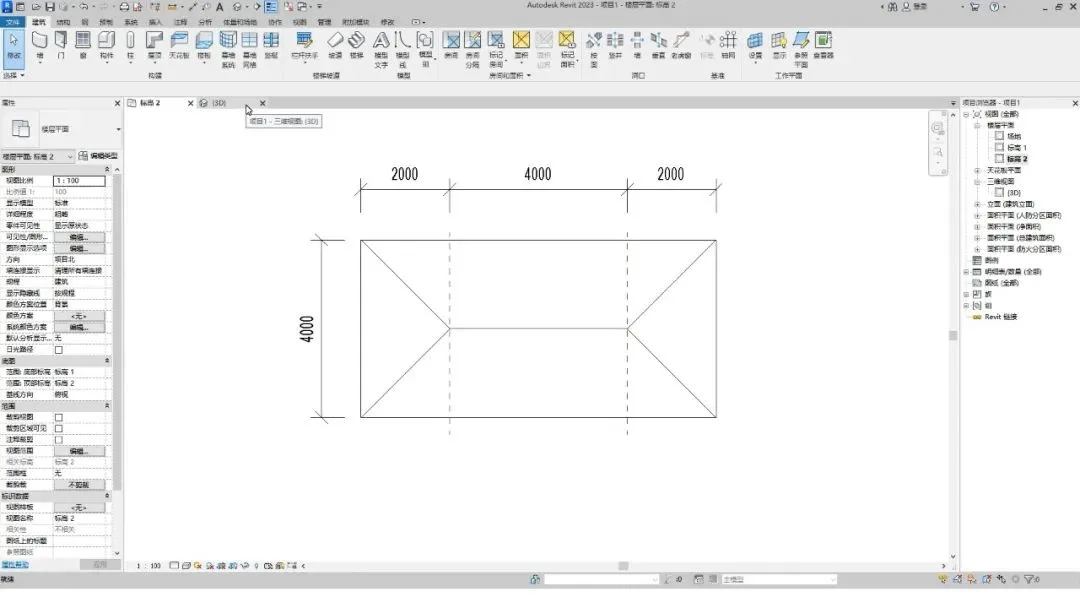
Step 1: Draw a Split Line
Begin by clicking the “Add Split Line” button located in the modification panel.
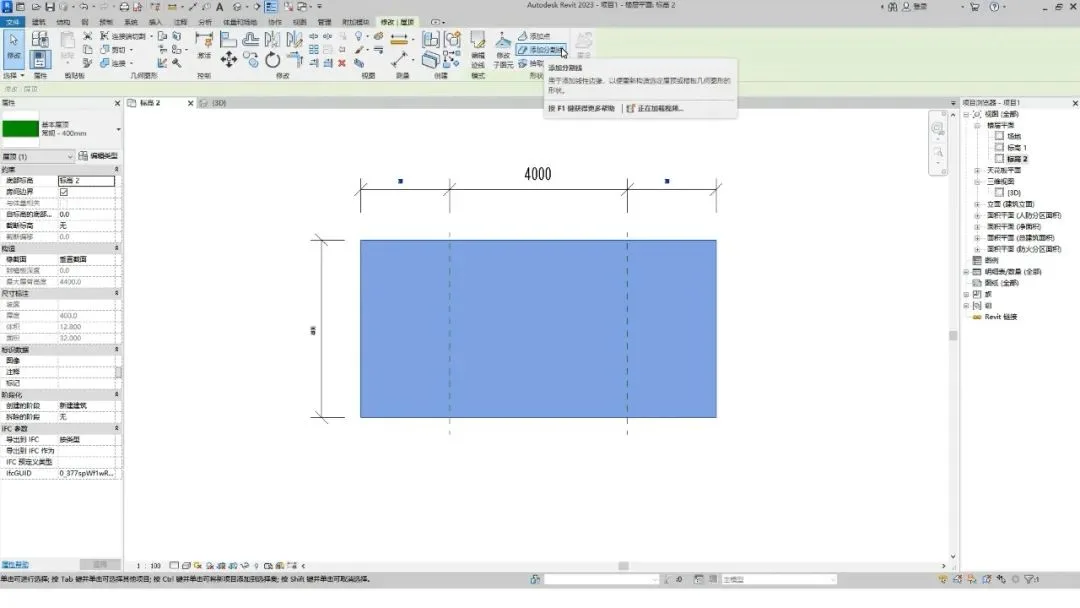
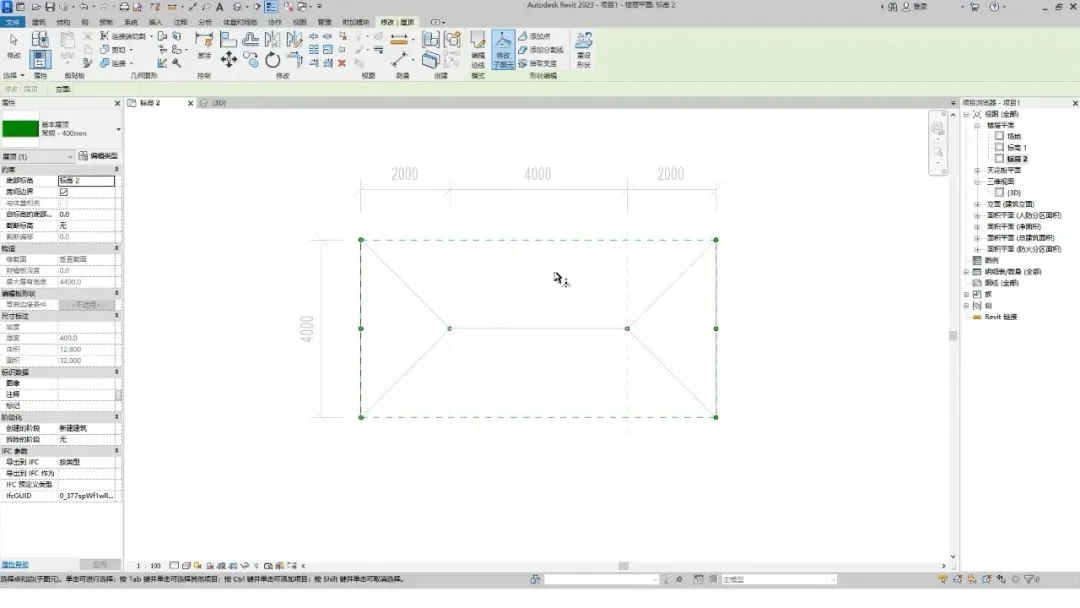
Next, draw the dividing line across the roof surface.
Step 2: Modify Sub-Elements
The goal here is to adjust the height of specific lines or points to introduce a subtle slope.
In this example, we set the roof slope to 2%. This means the middle line of the roof will be 2% higher than the edges.
The 2% height is calculated by multiplying the distance from the center line to the roof boundary by 2%.
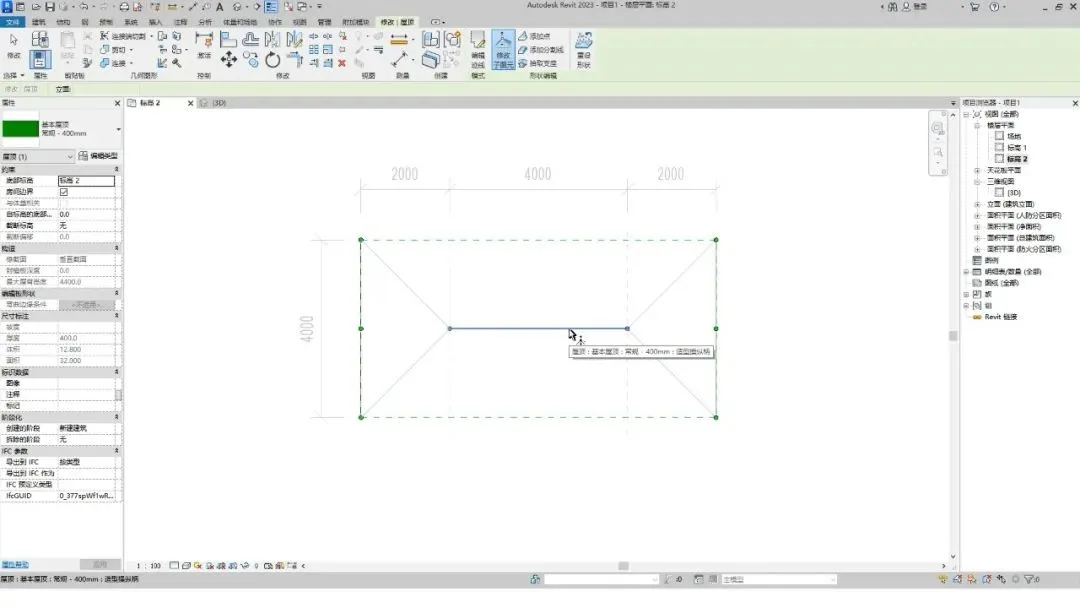
Select the middle dividing line, or both endpoints at the same time.
In the options bar, adjust the elevation value to: =4000/2 * 2%.
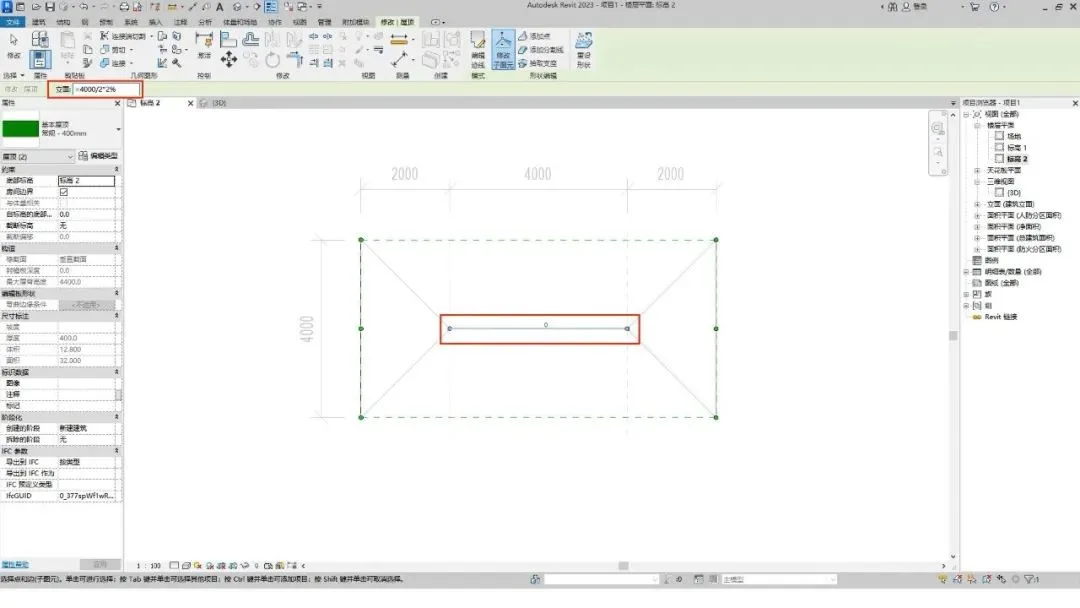
Press Enter to confirm and exit the drawing mode.
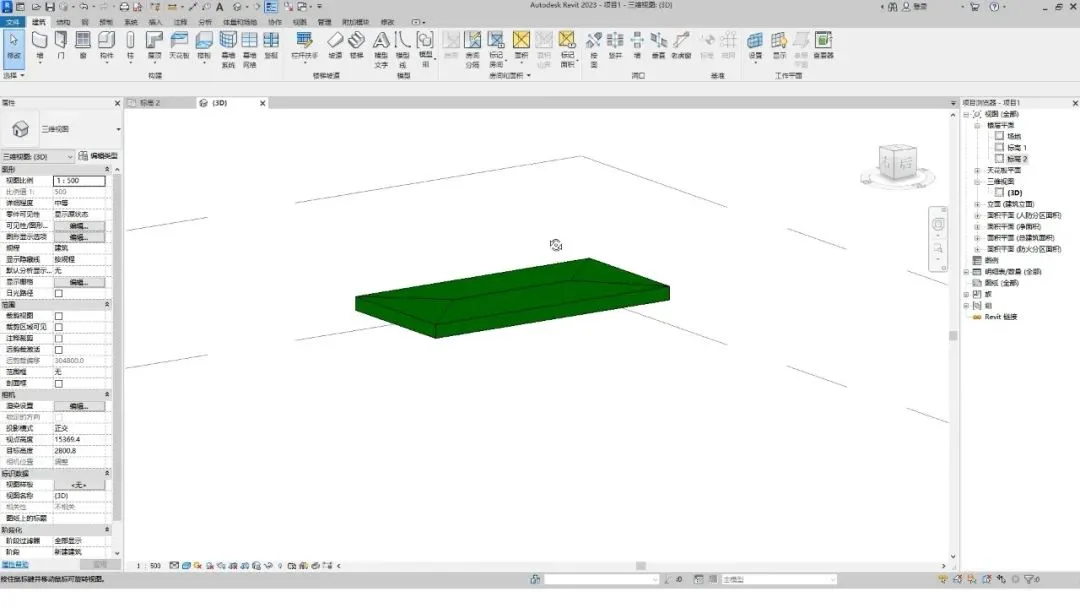
Switch to the 3D view to inspect your work.
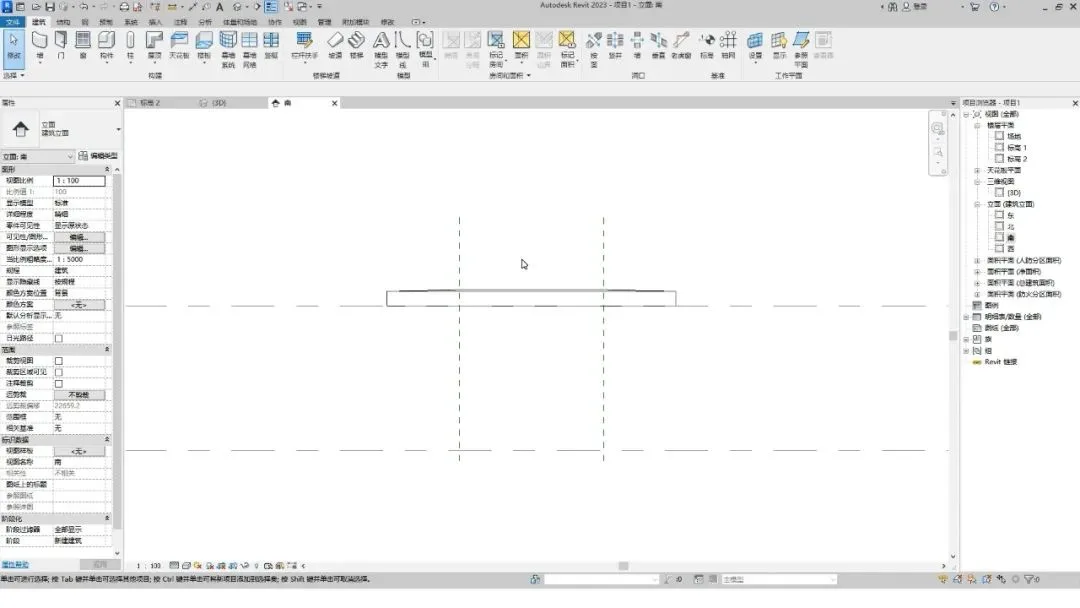
Finally, switch to the elevation view for a complete observation. The flat roof drawing is now complete.


Must log in before commenting!
Sign Up