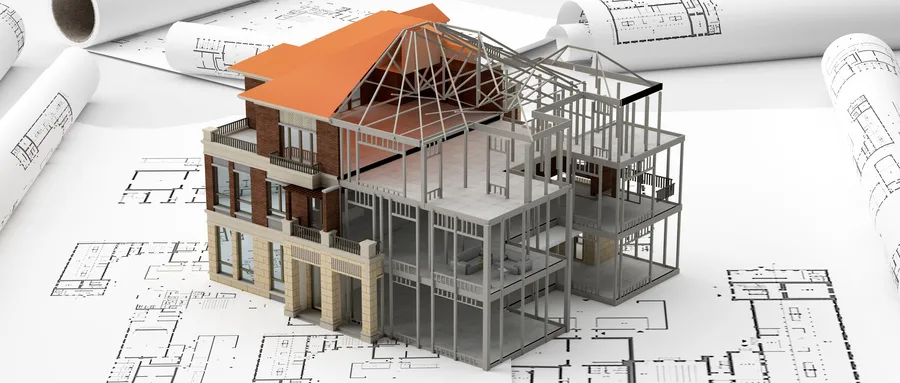
Revit modeling involves assembling “building blocks” by placing pre-made component families in designated locations. The detailed modeling process is outlined below:
1. Create a New Project File
Start by creating a new project. Choose a template type and select “Project” to begin.
2. Set Up Elevations and Grid Lines
Elevations and grid lines serve as crucial reference points for positioning component families in elevation, section, and plan views. They work together to accurately define placement locations.
3. Load Custom Families
To load families into your project:
① Drag the family file directly into the project window, or use the “Load from Library” or “Load Family” options found under the “File” menu.
② Navigate to the folder containing the desired family files.
③ Select the family file and click “Open” to load it into the project.
Once loaded, these component families become part of the project file and will appear categorized by family type within the Revit Project Browser. After loading, you won’t need the original family files for editing, saving, or modifying the project.
To edit a loaded family, simply double-click it to open the family editor. After making changes, close the editor and reload the family in the project; this updates and overwrites existing parameters while maintaining the family’s original name.
4. Place and Modify Family Instances
Create instances of the imported families, adjust their parameters to match actual sizes, and place them at the correct project coordinates. Repeat this process for all necessary component families until the model is complete.


Must log in before commenting!
Sign Up