This article is brought to you by the BIM Center of Guangdong Heavy Industry Institute.
Today’s Tip: How to Set and Edit Floor Elevations
Default Shortcut: Floor Settings – Ctrl+7
You can access Floor Settings from the menu bar by selecting Design > Floor Settings.
First, launch ARCHICAD.
Start by setting your floor elevation in the Floor Settings. If you need to adjust the elevation later, there are two methods to do this.
Method 1: Using Ctrl+7 for Floor Settings
At the top menu bar, go to Settings > Floor Settings. This will open a dialog box.
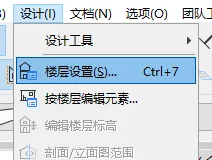
(The image above shows where to find Floor Settings.)
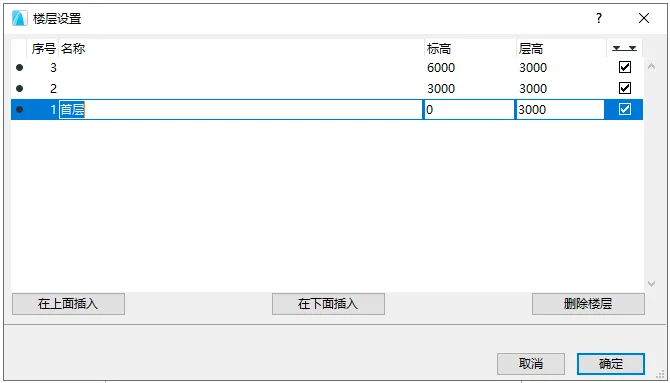
(The above image shows the Floor Settings dialog box.)
Within this dialog, you can set the floor elevation by entering values for floor height and elevation. Select a floor, then use the options below to Insert Above, Insert Below, or Delete Floor. Note: Adjusting the elevation or height of one floor will automatically update the heights of other floors accordingly.
Method 2: Adjusting via Elevation View
On the right side of the interface, find the Elevation or Section views in the browser, then double-click to open one.
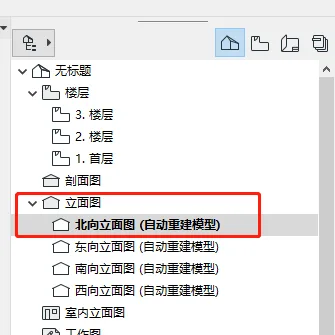
(The image above highlights the location of the Elevation View.)
Once in the elevation or section view, right-click on the elevation line and select Edit Floor Elevation from the context menu.
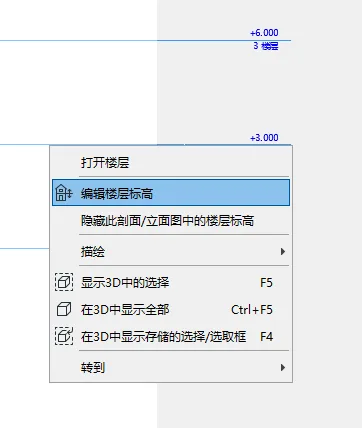
(The image above shows the Edit Floor Elevation option.)
This opens the Floor Editing Mode dialog box. We won’t go through each option here, but simply hover over them to see their functions.
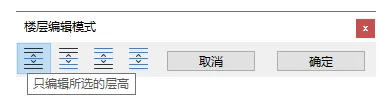
(The above image shows the Floor Editing Mode dialog box.)
Select the floor elevation line you want to adjust, then drag it to the desired height. After making changes here, the floor elevation will update accordingly in Floor Settings.


Must log in before commenting!
Sign Up