This article is brought to you by the BIM Center of Guangdong Heavy Industry Institute.
Today’s Tip: Exporting 3D Graphics from ArchiCAD
Default Shortcut Key: None
To create a new 3D document, navigate to: Browser – 3D Document – Create a new 3D document from 3D.
To export a 3D image, go to: Menu Bar – File – Save As.
01. Transfer the Model to 3D View
Start by switching your model view to 3D. If necessary, use the 3D cutting tool to section the model for better visualization.
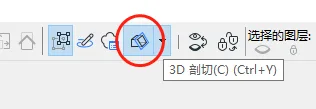
(Illustration of the 3D cutting tool)
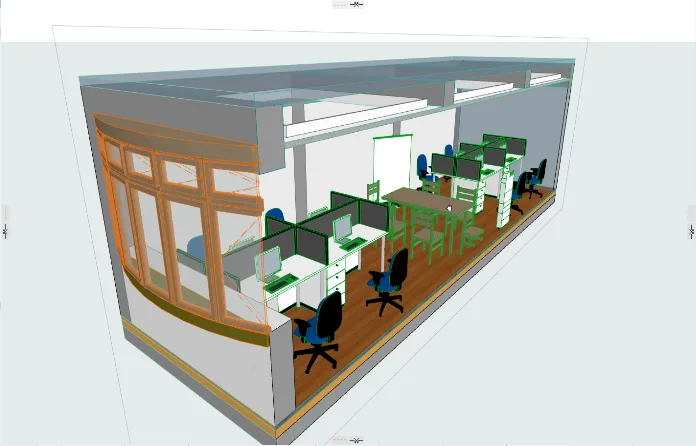
(Example of a model cut using the 3D cutting tool)
02. Create a 3D Document
Once you have adjusted the model to the desired angle, locate the 3D Document section in the browser on the right. Right-click and select “New 3D Document from 3D”. In the dialog box, set the ID and name, then click “Create”. Your 3D image will appear.
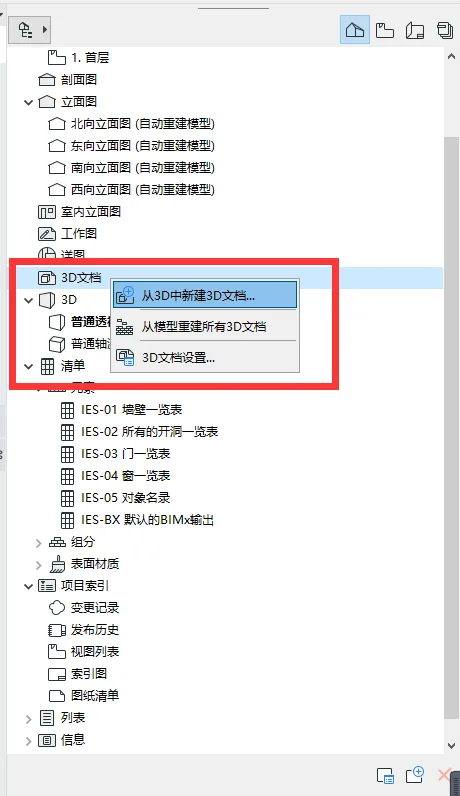
(Option to create a new 3D document from the 3D view)
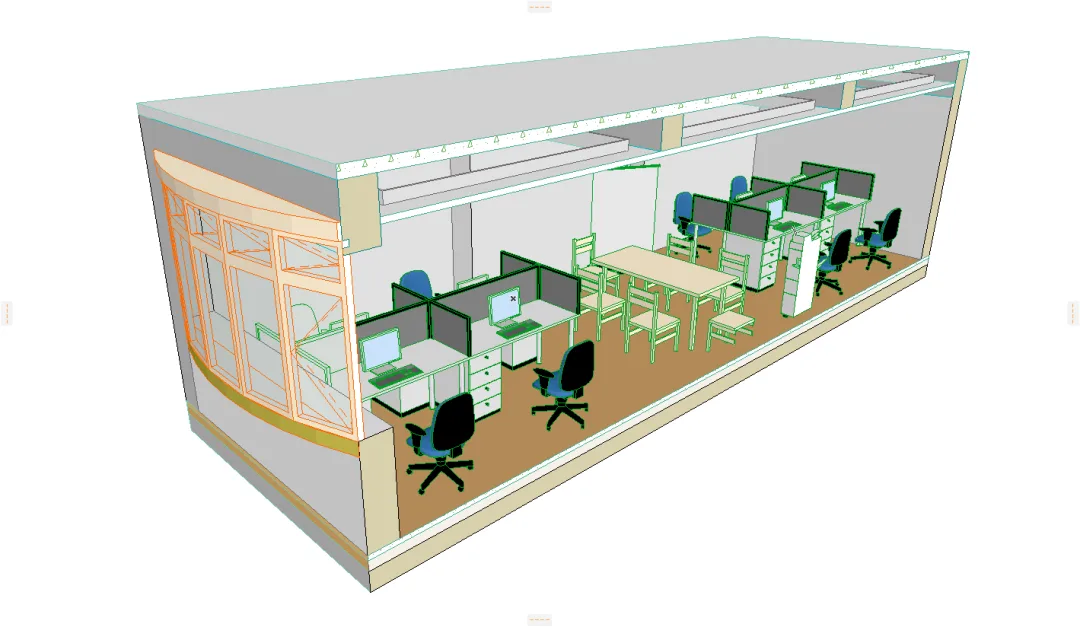
(The resulting 3D image displayed within the 3D document)
03. Export the CAD File
After setting up your 3D document, go to the top menu bar and select “File” > “Save As”. In the dialog box, choose “DWG” as the file type, name your file, and click “Save”. Your 3D drawing will be exported successfully.
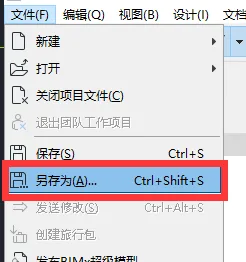
(Location of the “Save As” option in the menu)
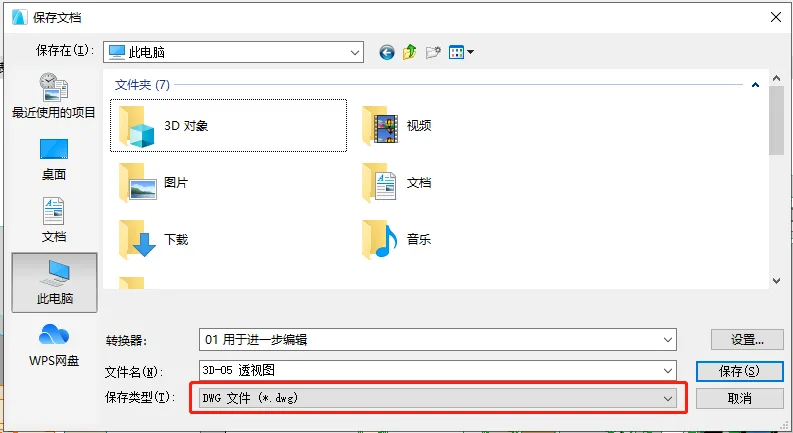
(Choosing DWG as the save file type)
Finally, locate your saved CAD file and open it to view the exported 3D drawing.
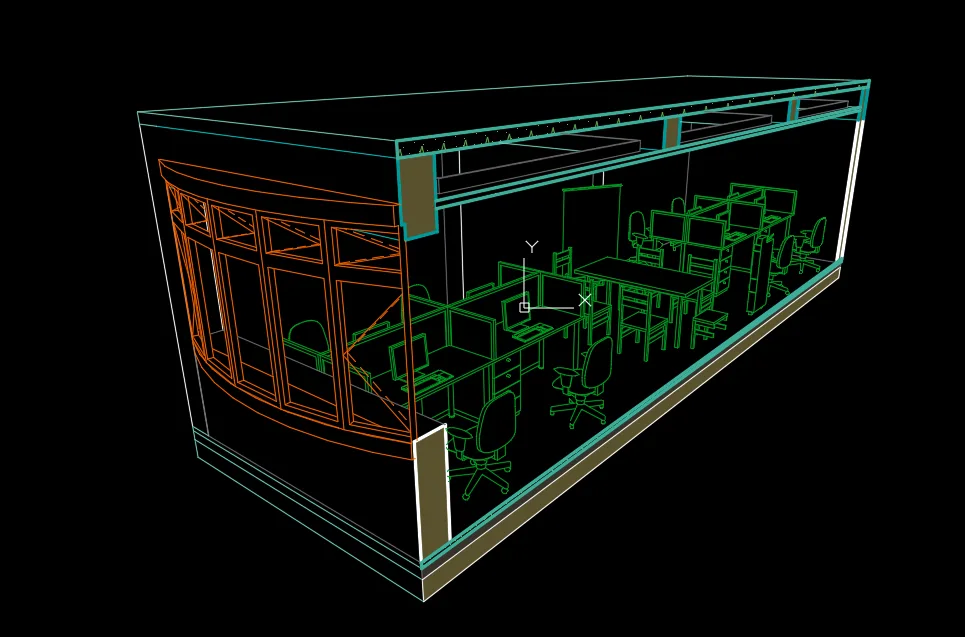
(View of the exported 3D CAD drawing)


Must log in before commenting!
Sign Up