This article is from the official account: BIM Center of Guangdong Heavy Industry Institute.
Today’s Tip: Customizing Window Decorations Using GDL
Default Shortcut Key: None
To save a window sash to a specific location, go to the menu bar and select File > Gallery and Objects > Save Selection As > Window Sash.
Begin by opening ARCHICAD and using the Wall Tool to draw a wall. Next, double-click the Window Tool to open the Window Default Settings panel. Choose a window without grilles, adjust its size as needed, and place it on the wall.
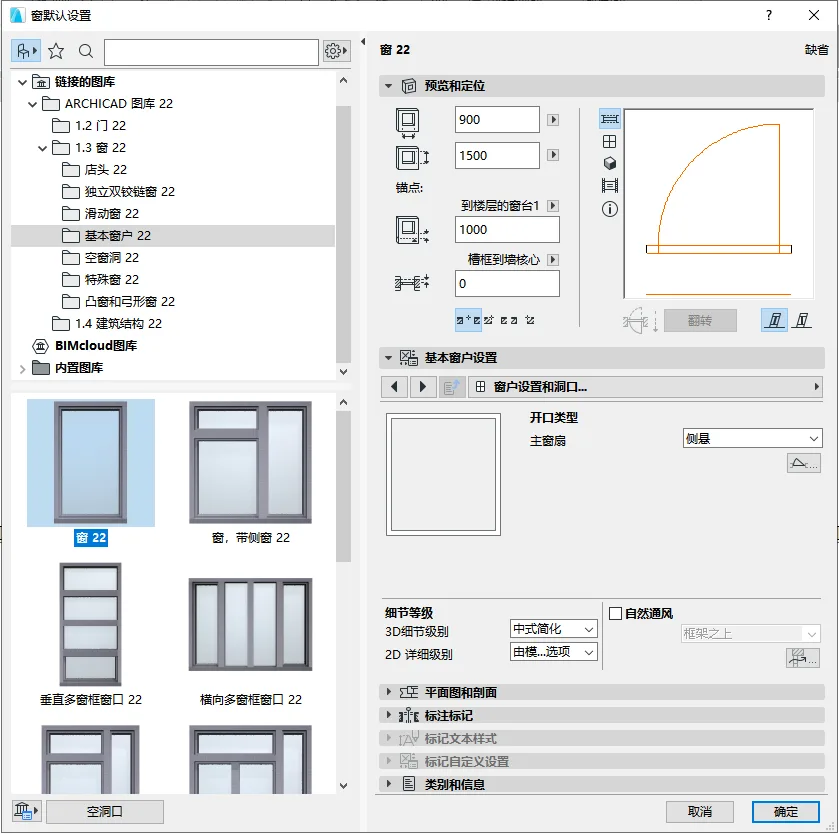
(The “Window Default Settings” panel is shown above.)
Switch to the elevation view and use the Polyline Tool to trace the interior dimensions of the window. Then copy and paste this polyline into the plan view. Note: Models cannot be drawn in elevation views; please refer to the accompanying video for detailed instructions.
Next, in the plan view, use polylines to sketch the window pattern shape. After completing the shape, use the Panel Tool to set the thickness. Hold down the spacebar, click on the outer frame line of the window pattern, and draw a panel. Note: Models cannot be drawn in elevation views; please follow the video tutorial for specific operations.
Select the board you just created, click freely on a small black dot on it, then choose the “Reduce from Polygon” option from the panel that appears. Use the Magic Wand Tool to remove any excess panel areas. Note: Models cannot be drawn in elevation views; please watch the video for precise guidance.
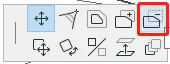
(The location of the “Reduce from Polygon” option is shown above.)
Once the window decoration is complete, select it and navigate to the menu bar: File > Gallery and Objects > Save Selection As > Window Fan. In the “Save Window Fan” dialog box, enter a name for your window decoration and click Save.
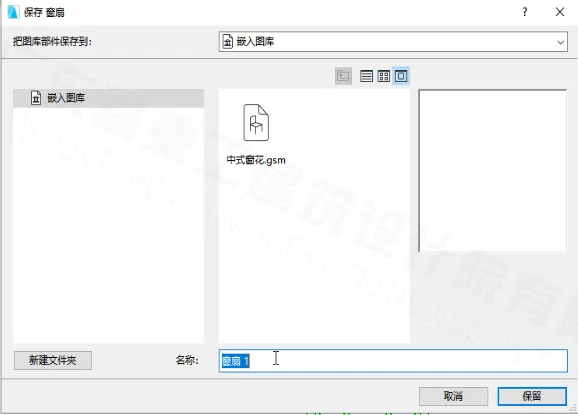
(The “Save Window Fan” panel is shown above.)
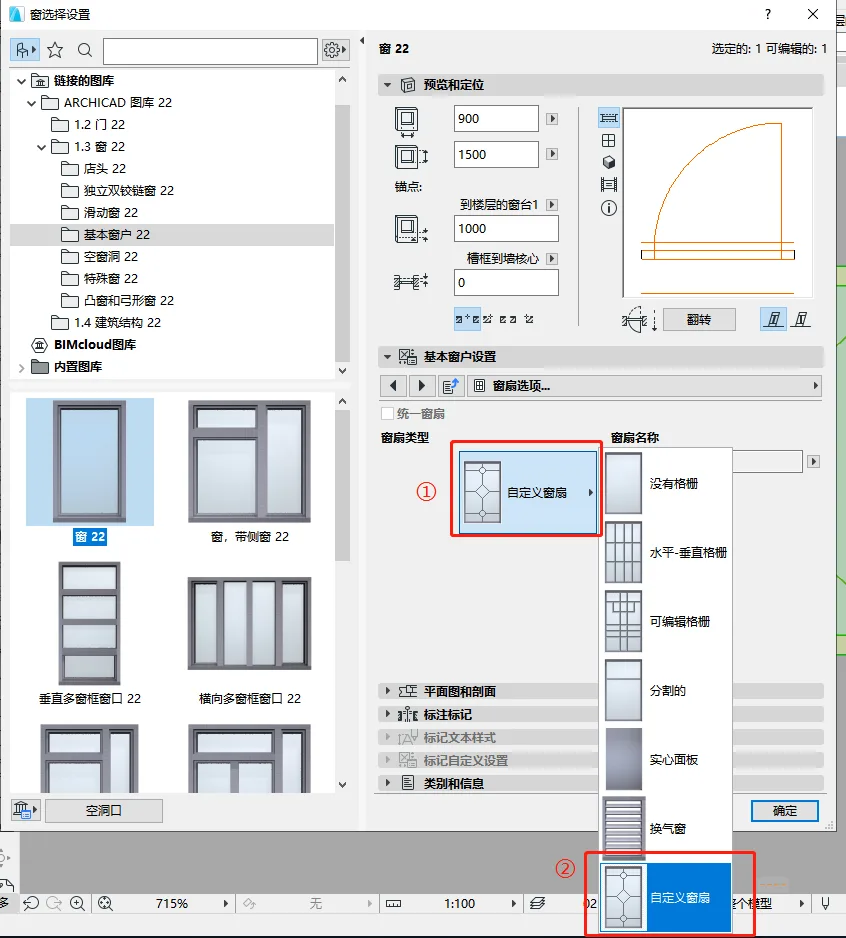
After saving the window decorations, click on the window again to open the Window Settings panel. Under Basic Window Settings, click the dropdown menu and select “Window Sash Options”.
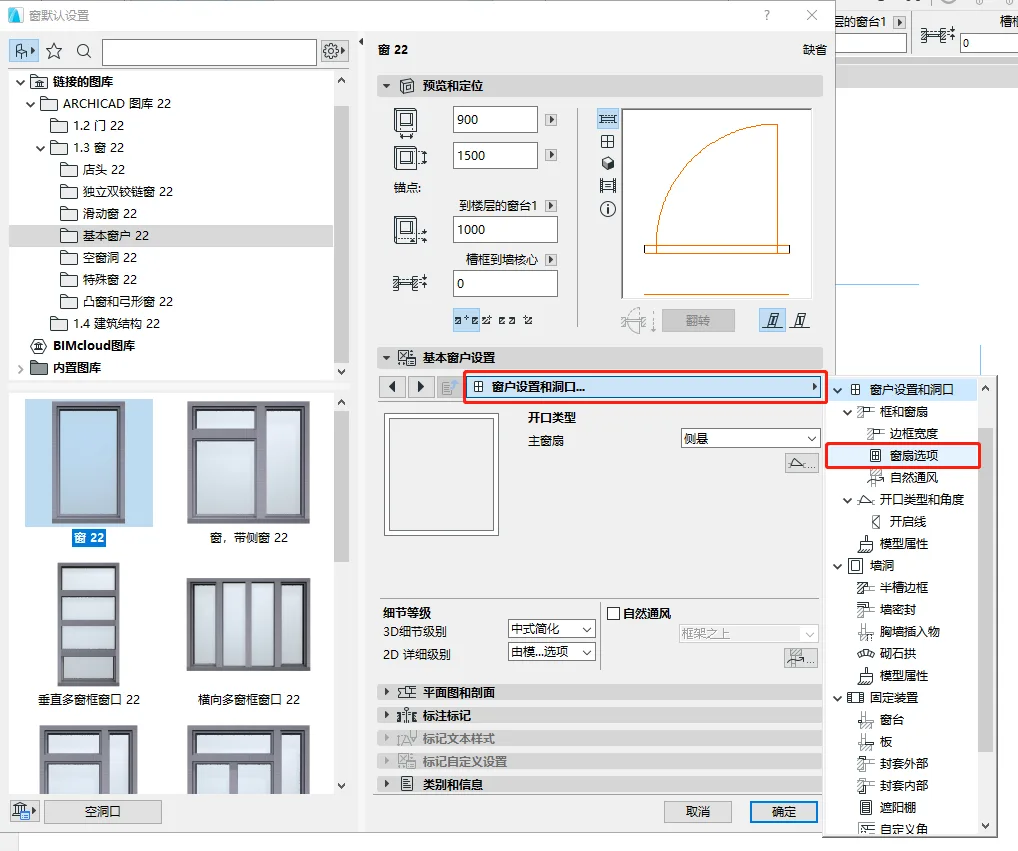
(The location of the “Window Sash Options” is displayed above.)
Click on the sash type dropdown, select “Custom Window Sash”, and then choose your newly edited window decoration from the “Window Sash Name” list.
(The “Custom Window Sash” option is shown above.)
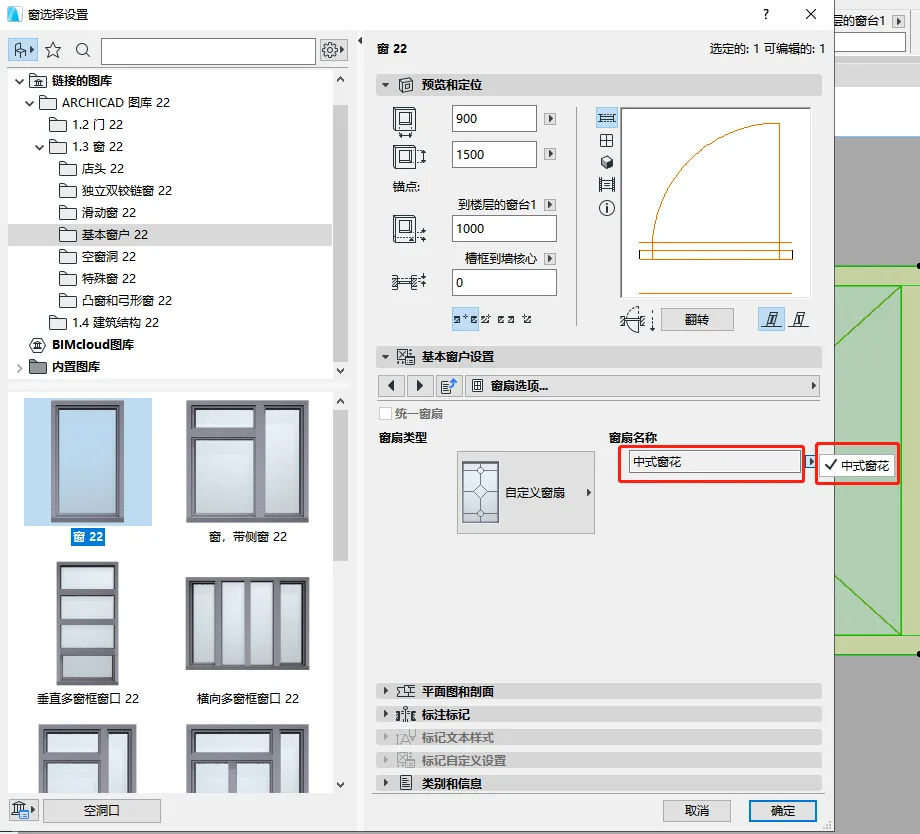
(The “Window Sash Name” selection is shown above.)
To view the window decoration effect in the elevation view, open the menu bar dropdown and select “Window Settings and Openings”. Choose “Full” under the 3D detail level, then click OK. The custom window decoration you created will now be applied to the window.
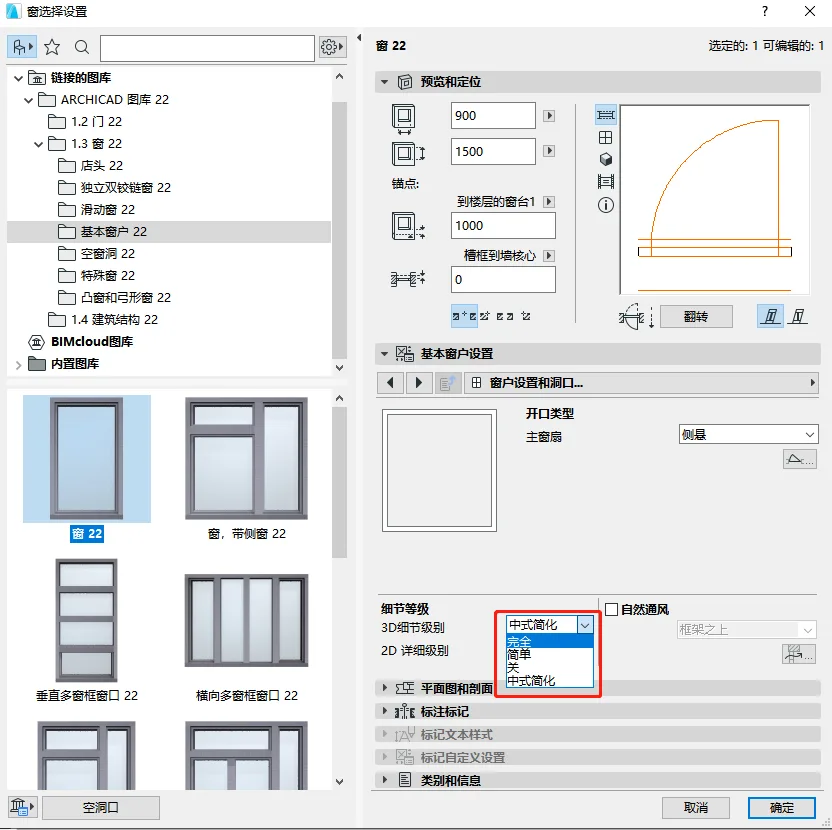
(The custom window decoration applied is shown above.)


Must log in before commenting!
Sign Up